Tuesday, April 21, 2015

FOOTBALL PLAYER CARD

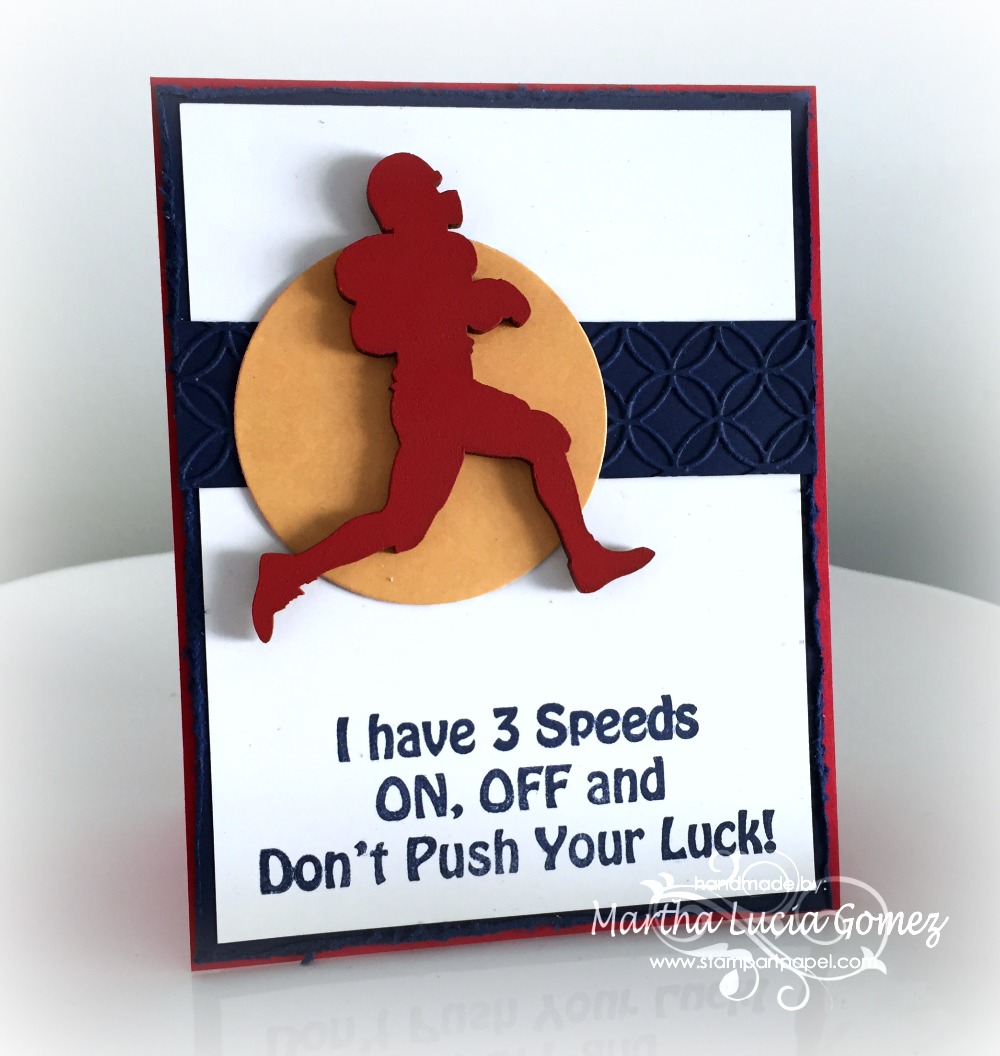
Hi everyone, Martha Lucia here with a "Football Player Card" to share with you. It's not common for me make masculine  cards but, I received this wonderful laser cut and I decided to use it immediately.

DON'T PUSH YOUR LUCK


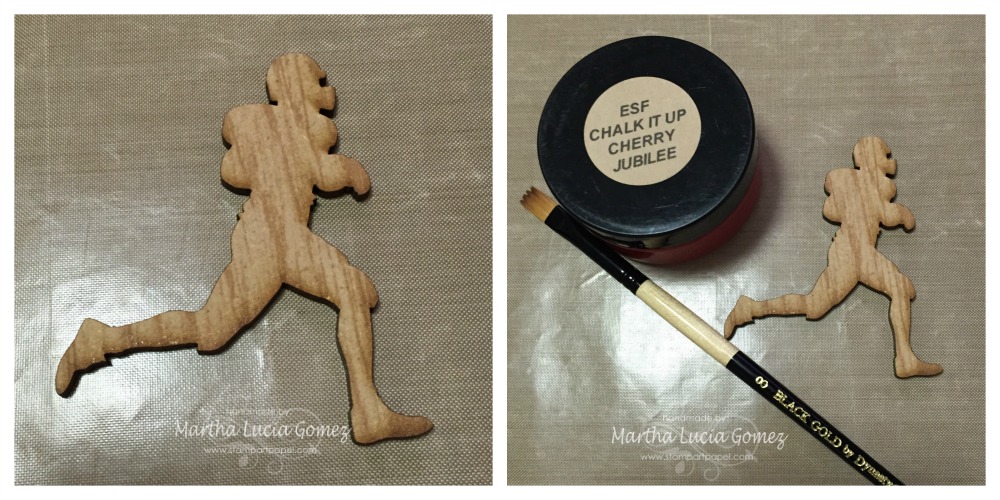
To create this project I am using a Football Player Laser Cut available in our store. It comes in natural wood, chipboard and cork.  I used the wood version and I decided to give it color using ESF Chalk It Up Cherry Jubilee.

DON'T PUSH YOUR LUCK  

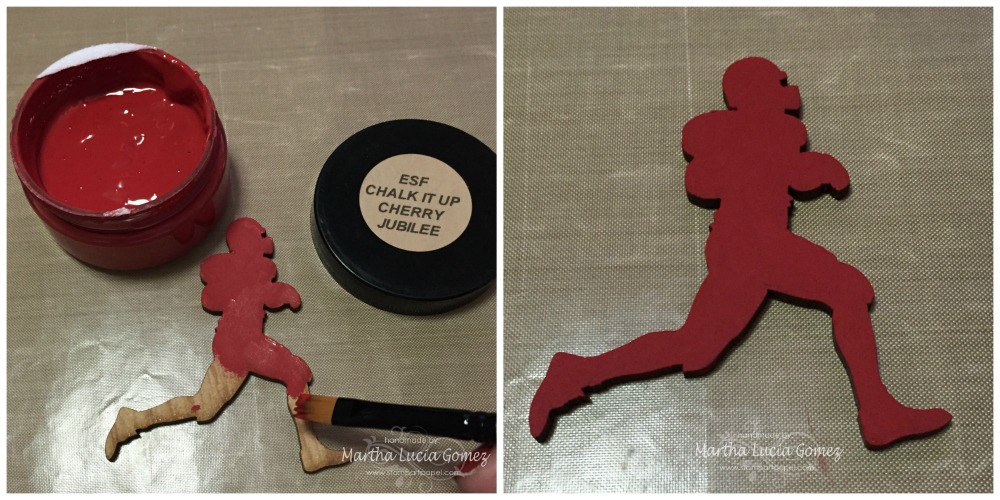
I applied the ESF Chalk It Up with a Black Gold by Dynasty paint brush and let it dry for a few minutes.
DON'T PUSH YOUR LUCK

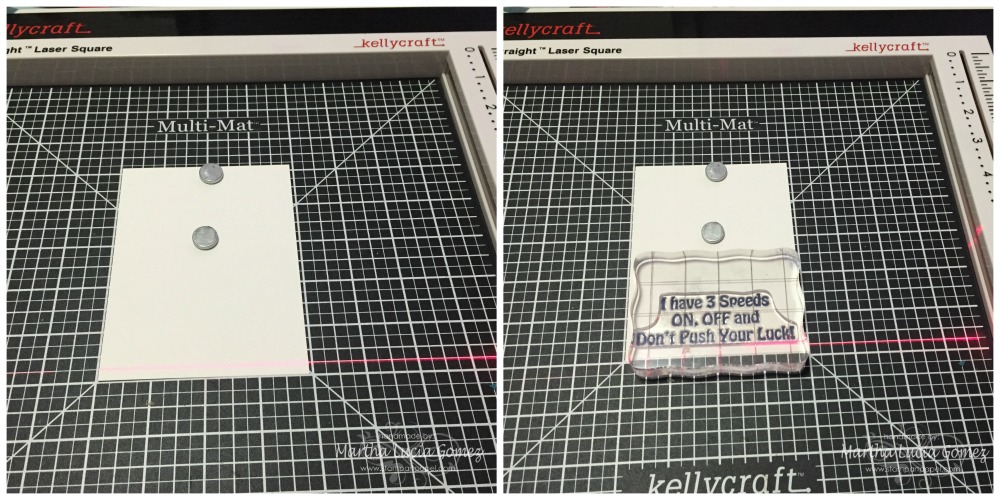
After this, I cut the base of my card using Real Red card stock. The size of the card is a regular size 5-1/2"x4-1/4". I also cut the second and third layers. The second layer is Night of Navy and the size is 5-3/8"x4-1/8" because I created a distress border over this. The third layer is 5-1/8"x3-7/8". 4. I decided to stamp the sentiment first, using my Get-it-Straight™ Laser Square. This helped me to align all my stamps. 
  DON'T PUSH YOUR LUCK

Then, I aligned the three layers and pasted these using snail adhesive and pasted the special details. I embossed a piece of card stock with a Circle Interlock Embossing Folder and pasted this over the white layer. I cut a circle with a framelit and pasted it with snail adhesive too. I finally pasted my principal embellishment: the painted football player.


I always use my Get-it-Straight™ Laser Square to align the layers, the embellishments and all the pieces that I use in my creations.

MATERIALS:
  • Football Player Unique Laser Designs 
  • KellyCraft™  Get-it-Straight™ Laser Square
  • KellyCraft™  Multi-Mat™
  • Jimbo Lojik™ Stamp Set J
  • ESF Chalk It Up Cherry Jubilee
  • Card stock Whisper White, Night of Navy and Real Red (Stampin Up)
  • Big Shot (Sizzix)
  • Circle Interlock Darice Embossing Folder
  • Circle Framelits Collections
  • Distress Tool
  • Nigth of Navy Classic Ink
  • Snail Adhesive
I hope my project inspired you. Remember to visit our store. I am sure you will find great laser cuts that you will love. Come back soon for more ideas!

Martha Lucia

Thursday, April 2, 2015

Decorative Easter Straws and Holder

I wanted to create something fun for my kids during Easter as a decoration for the table and also functional as a straw (but it could also be used purely as a centerpiece decoration for a table or the straws on their own as cupcake toppers).  The best part is the slide on the straw is removable once the straw has been used and slid onto another straw to be used again next year!!


Here is a step by step tutorial for how made the fun little holder and cute Easter straws using the wonderful Unique Laser Designs wood shapes, Canvas Home Basics papers and rope, Tattered Angels mists and paints, Die-Namites Dies, and Xyron Adhesive.


Here are some up close pictures of the straws and holders, look how the wood shapes just shine with the mists on them.


The wonderful Unique Laser Designs Easter wood pieces in Bunnies 6 pc Set, Easter Eggs 6 pc Set,
Rabbits 2 pc Set  were just perfect for this project.
http://www.uniquelaserdesigns.com/#!easter/c1z18


I hope you have a wonderful Easter, and enjoy these fun little ideas for your kids or party this Easter.

Supplies Used
Unique Laser Designs :
Cardstock - Canvas Home Basics
Rope  - Canvas Home Basics
Mists - Tattered Angels
Die Cut - Die-Namites Dies
Die Cut Machine - Cuttlebug
Punches - EK
Ink - Prima
Adhesive - Xyron
Straws - Recollections
Jar
Enjoy!!