Tuesday, September 30, 2014

Traditional Decorative Tissue Box

I am always on the hunt for awesome thrift or clearance find, at an even more awesome price.  This tissue box I must say ended up being one of them.


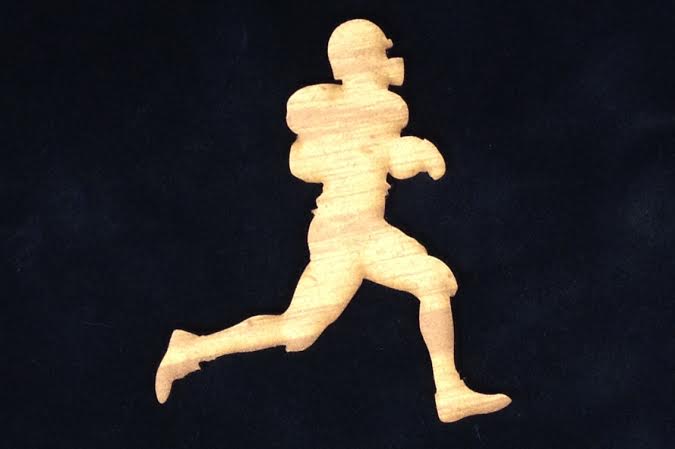
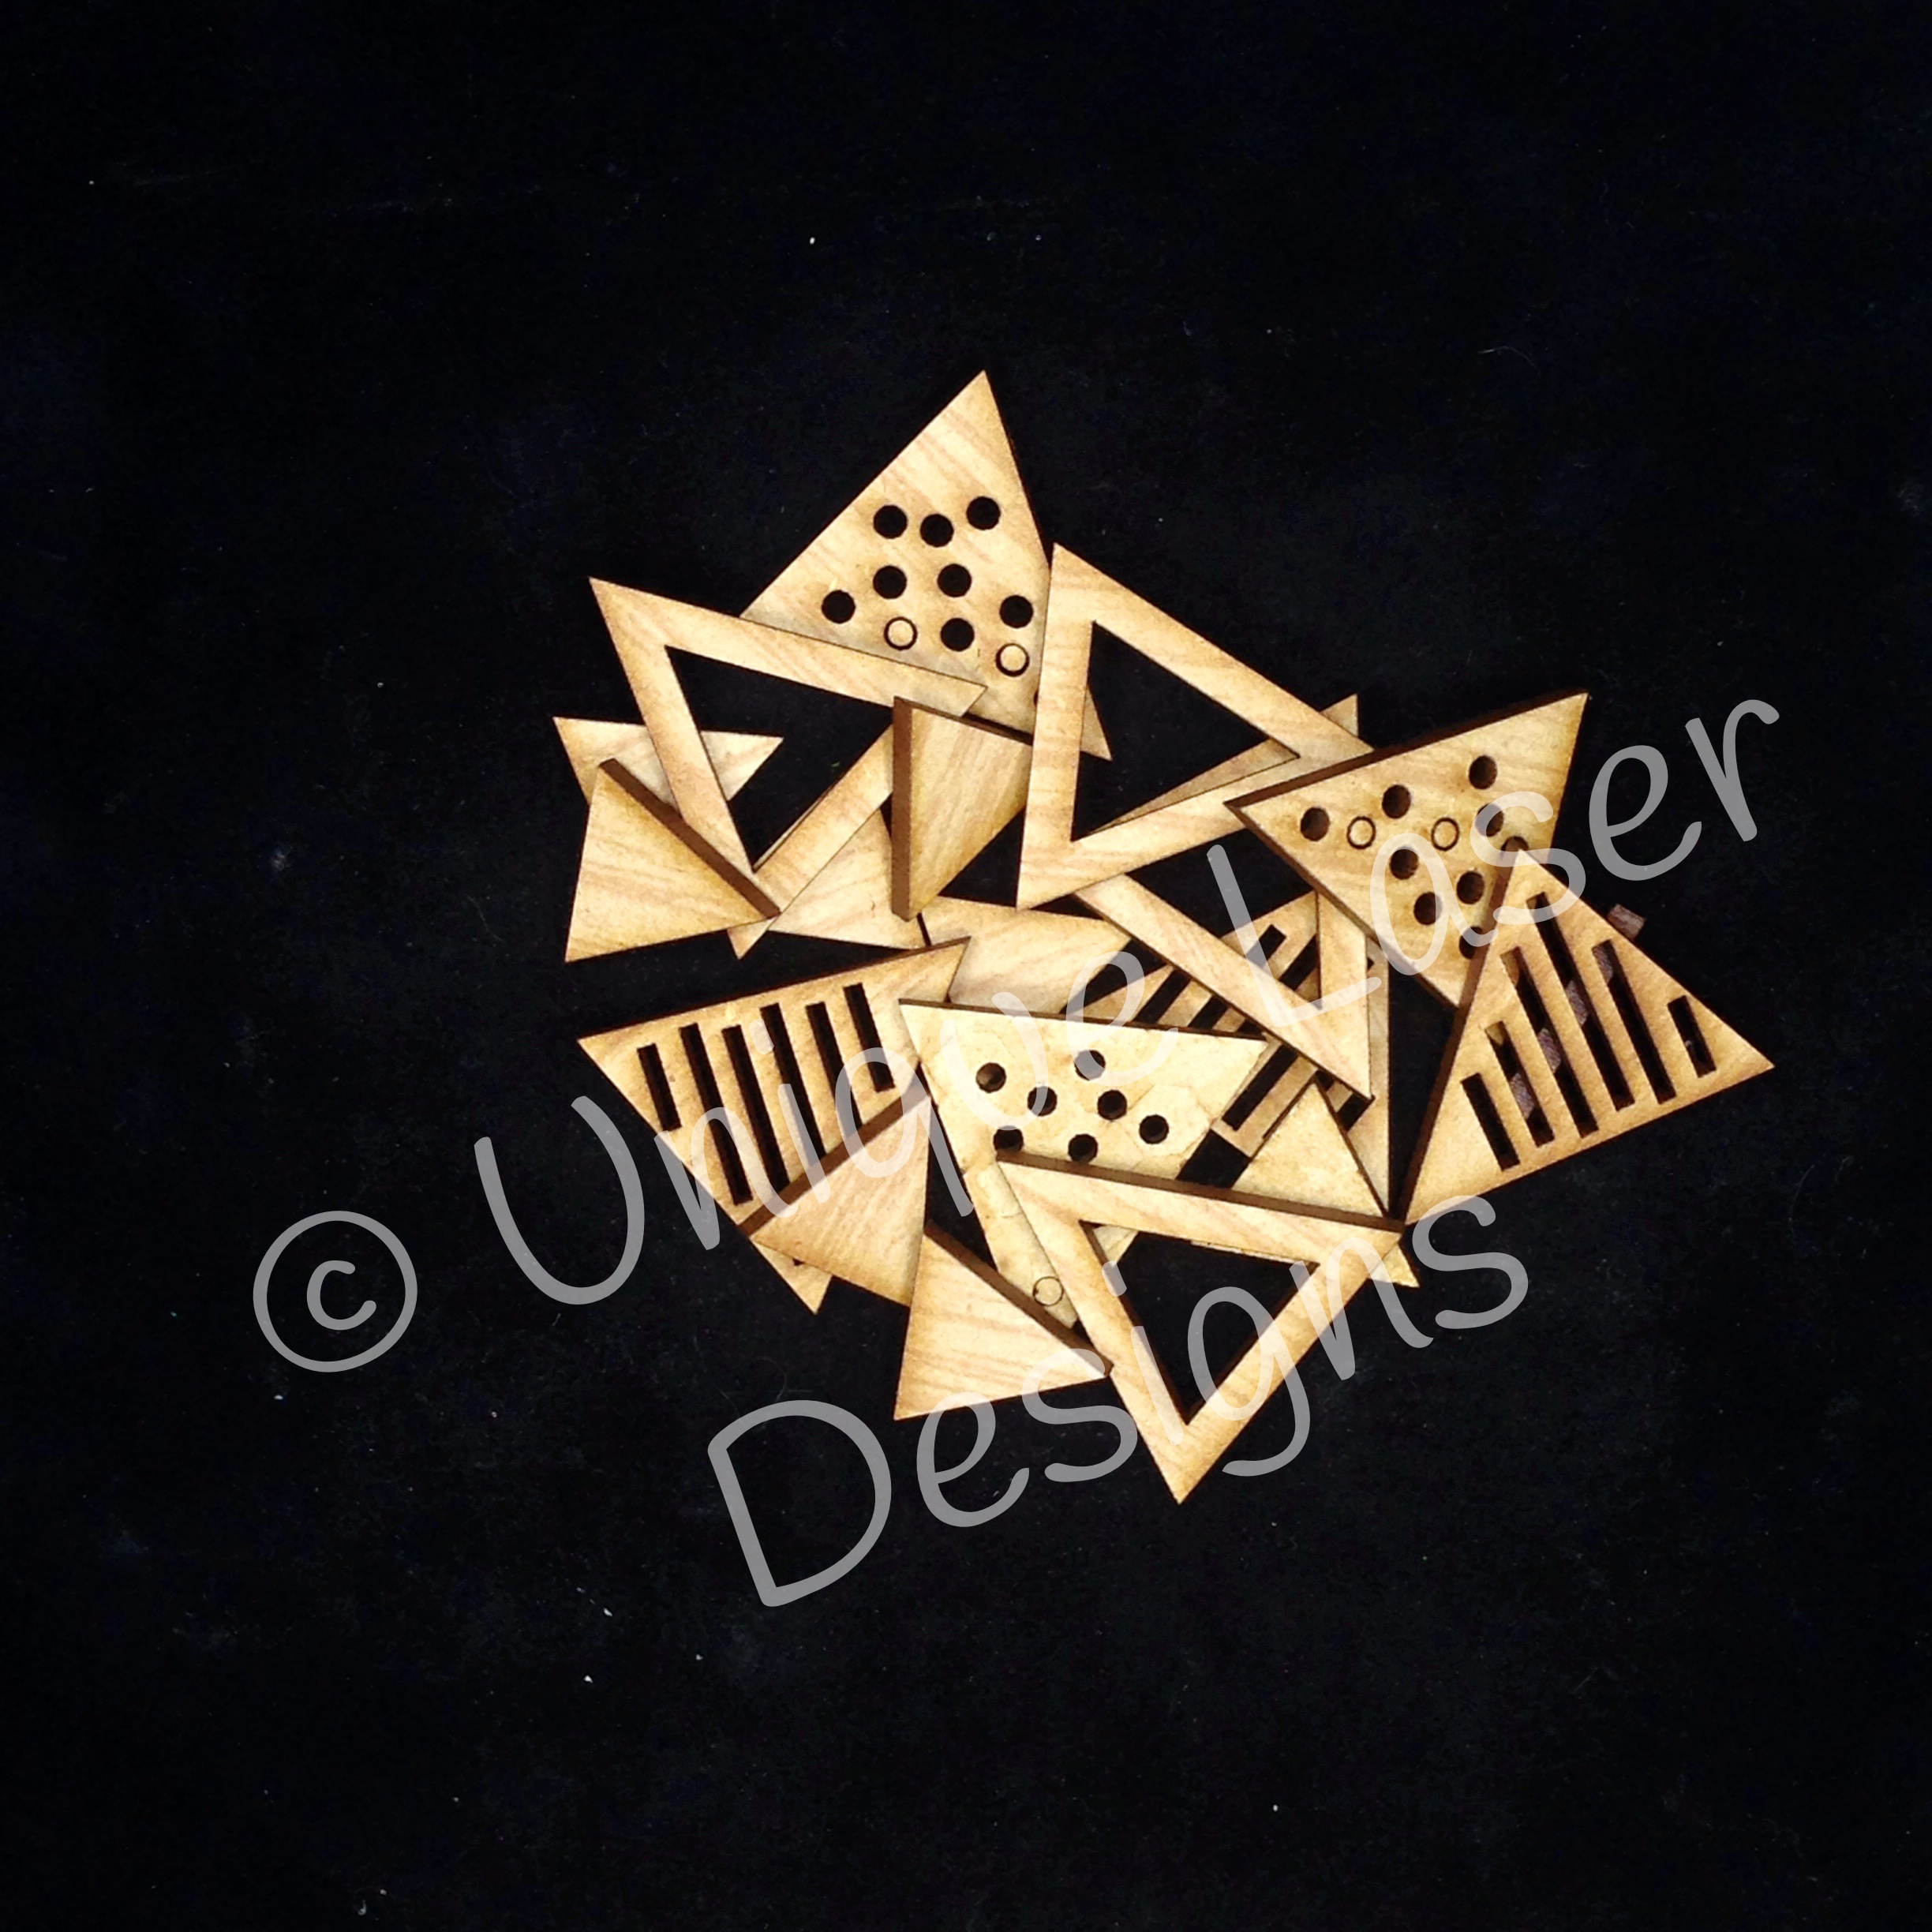
First, lets start with the wooden design I used.


These two wooden designs were custom made by Unique Laser Designs.  I think these are such classic decorative pieces and work perfect paired up with household items. 
 
Now lets get started transforming this awesome find from kid the friendly look to an adult traditional look.


First start by covering your entire box with a good coat of gesso. This step may actually require two coats of gesso, to guarantee a good base coat.  The gesso will aid in you using less paint to cover all sides.  It will also create a great surface to paint on, being the tissue box is covered in fabric.


Next I mixed my two colors together to get this fabulous deep brown/bronze tone.


Cover the entire box with your paint mix, including the inner tab around the base and the small inner lip portion.  This will give you a more finished look.  Don't concern yourself with the inside walls of the box, as this part will not be seen once your tissue supply is inserted.

 
Moving on to the fun part...enhancing the wood embellishment.


After you have covered your wooden embellishments with black soot distressed paint, begin adding the Inka Gold Rub. This quick and simple technique gives any wooden piece the look of metal.


Once you are satisfied with your paint job, then spray all pieces evenly with a gloss varnish.  This varnish will protect and seal your design from dust seeping in, moisture and most of all prevent the paint color from fading.


And there you have it, a more costly looking decorative tissue box that will display nicely in any spot of your home.


Products Used:
Fabric Covered Tissue Box
Expresso and Metallic Copper Acrylic Paints
Black Soot Tim Holtz Distress Paint
Inka Gold Metallic Gold Rub
Gesso
Helmar Crystal Kote Gloss Varnish and Silicone Adhesive Sealant

Monday, September 29, 2014

Football MVP

It's fall....my favorite season for so many reasons.....one of which is football!!!  I scrap a lot of football LO's and Unique Laser Designs (ULD) has some great embellishments to add to one of my LO's:


To the left of the picture you can see the football player wooden piece....so easy to spray black with a Dylusions spray, and add to the LO.  You could use black paint, embossing powder, any medium you want.....I like the shadow look it gives.  Here is the piece I used:


On the kraft cardstock under the football player I used the brick wall stencil:


I used the same spray mist as for the football player, here is a closer look:


Don't be afraid to use ULD pieces on your scrapbook LO's!  They have a lot of options for some fun easy embellishments!

Thanks for stoppin' by today!!


Sunday, September 28, 2014

Mixed Media Canvas


Hello there everyone, Heidi back here sharing a gorgeous little 8x8 canvas I made of my eldest daughter and her partner.  Spring has arrived on our side of the world and I wanted to do something bright and bold.


I started off by painting the canvas with some gesso, and then got some Double Scoop Gelato's.  I just love the bright bold colors.  I randomly colored in squares on the canvas using three of four different colored Gelatos and then using a wet wipe blended the colors together.

Once I was happy with the background, I added some texture paste and the diamond stencil on it and did some random stamping using black ink.

I then cut up some circles and squares from some old papers and added them to the canvas to bring in some other bright colors.

For the gorgeous Triangles I just used Faber Castle Big Pen Marker to color them in,  I have to say I just love the shapes and I have ordered some of these in cork too.

.                        

Here is a little close up of the Triangles - I just love the texture they give the canvas


Finally added my photo and some White Ink spats over the canvas, and my canvas was done.


Product used :-

Triangles in MDF, but also available in Cork and Chipboard
Canvas
Double Scoop Gelatos
Faber Castle Big Black Pen
Texture Paste
Diamond Stencil
Black Ink
Stamp
White Ink

Hope you have found some inspiration on how these gorgeous triangles can be used with mixed media as well.


TFL & Happy Scrapping


Saturday, September 27, 2014

Mmmmm Memories Layout

Hello Everybody!

Katy here, and today I made a layout using my Unique Laser Design wood pieces.

Here is what I used:

Mmmmmm-Wacky Font Small, Memories-Script Font Small, and Shapes-Triangles.


Here is the layout that I made using my wood embellishments.  There is also an arrow that I believe came from a Kenny's Scrap Collection.  These are fun collections of different pieces that may be different size then their normal sizes or pieces that were left over.  

The arrow and the triangles are painted with yellow craft acrylic paint.  The Mmmmmm Memories is embossed with an Emerald Green embossing powder.  I was looking for more of a green color so when I used this embossing powder my color profile changed a little bit.


The 12X12 sheet of white cardstock started off blank.  Then I added 3 drops of Glorious Green Stampin' Up ink refill to a little bottle of clear liquid shimmer.  Together this made a shimmery mint spray that I sprayed randomly onto the cardstock.

Here is a closeup of the title and some of the beginning work on the background.  Then I used some random stamps and Mint Melody SU ink and stamped the background.  Some stamps that I used were Tim Holtz and Stampin' Up.  I also used some light modeling paste and a stencil to create some layers in the background.


Here is a closeup of the triangles as a banner.  You can see yellow dots in the background.  I diluted some yellow paint and splattered dots randomly.


Here's a closeup of my title.


Thank you for stopping by!  For more inspiration be sure to check out our Pinterest Boards and Facebook Page.  And if your are ready to do some shopping-be sure to stop by the store! :)


Friday, September 26, 2014

The Beauty of Wood!

Hi there crafters!
Rachelle here today to share my latest project using some 
beautiful products from

Fall has arrived and that means time to change the front door
decor. Here is a perfect way to do this.

Burlap Wreath


 Burlap Letter Decor

This is how to begin using the burlap twine. You can use tacky glue
or hot glue gun.

 This is another letter I started for a friend.

Once the wrapping is done it's time to apply the wood pieces. For this project I loved using the bare wood. The colors blended so well together without paint.


The corners were glued together and placed in the center. Next, I applied the hearts and used rhinestones on the word.


Swirls placed at the bottom.


All done! This decor can be hung with the wreath or just with the letter.
 I hope you enjoyed my project today and hope that you give these and much more other beautiful products from
a try.

See Ya Soon!


Thursday, September 25, 2014

Happy Life Wooden Tag

Hello Unique Laser Design Fans!

I have a small project to share with you today. I decorated one of ULD's wooden tags. The tags come as a set of three, so I culled one from the herd.


The tag was given a layer of gesso, then sprayed with various mists while the gesso was still wet. I then immediately misted parts of the tag with water so the mist would look marbled. After the tag was dry, I inked a stencil on the left side. The rub-ons were added next.

I cut out paper embellishments and glued them down with gel medium.  I must have really enjoyed the gel medium, because I decided to add it over the whole tag.  Remember to use a dabbing motion when adding gel adhesive over dye ink because it will smear with your brush strokes. Once the gel had been applied, I sprinkled micro-beads over the tag. When micro-beads are applied the only sensible thing to do is add another layer of gel medium to seal those little guys in! I also gave the curly tree embellishment micro-bead treatment.

The tag was finished off with the Curly Tree laser cut, flowers and ribbon. Thanks for stopping by and having a look!


                  ULD Products used:                                      
Tree- Curly
Wooden Tags


Wednesday, September 24, 2014

Falling Leaves


There are unlimited ways to be unique with your wood, cork, or chipboard!  I could sit all day, going through my paints, inks, mica flakes, colored lacquers, colored pencils, pastels, and so much more!

Above are leaves I created using different techniques and materials.  So fun playing and deciding what to do to add texture and dimension.  I will keep these leaves handy for art coming up!


Used for this project is mainly the large leaves.  The leaves also come in a small size.


Also used a butterfly from the mini cut outs as an accent.


This leaf background can be painted, inked, or used with alcohol markers.  I distressed the leaf and used Distressed ink to stamp a light background to look subliminal.  Then I used StazOn to add a darker stamped image.  The blending of both looks cool and adds dimension.  The butterfly is also stamped and beads on wire wrapped around.


The second leaf is colored in a dull green, browns, and copper.  I used a fine line embossing pen (Available at your local craft, stamp, or scrapbook store.) to draw leaves and color patchy areas for shadows.  The embossing powder I used is "Antiquities," it is more of a textured type embossing powder and not slick.


After painting the background and shading, I found bits and pieces of rhinestones in an orange-coppery color and added some glitter to the edges.


The last leaf is designed using USArtQuest's Prills.  Prills are delightful little soft bead material with many sizes and colors mixed in each jar.  I used Perfect Paper Adhesive and a little scoop spoon to add the Prills after adding the adhesive.    I might have to try this for a Christmas project with a ULD ornament and use many colors.  It looks really cool in different shades.

Be watching to see what I do with these leaves!!!


Sneak peek at a design I created for next month for another DT.  See how wonderful ULD leaves work for any project.  These are the smaller leaves.


Check your stash and see what textures and materials you can add to your ULD art!


Cre8tivelea Yours - Lea