Showing posts with label Heidi Barclay. Show all posts

Sunday, November 30, 2014

Such a Cutie

Hello everyone, Heidi back again and I hope everyone had a lovely Thanksgiving.  Today I have a layout to share using a Brick Wall  and the Cherry Blossom both in chipboard as opposed to MDF.


For the Cherry Blossom I decided to paint it in white first and then on the below branch I popped it through my cricket and used a swiss dot embossing folder.  Once it was dry embossed I decided to use some very link pink embossing powder to give the branch a nice soft colour.  I just used plain white for the Brick Wall Stencil and placed that underneath my photo.


For the other piece of the Cherry Blossom I did the same thing except for the dry embossing, so this one is nice and smooth.  Look at the cool little tile you get when you order the Brick Wall, 


I created some texture with Gesso for the background and then used some Gelato's to get that water colour effect.  Once that dried I used some texture paste and a mask to give it some more texture.


I hope everyone has a wonderful Christmas, and I just wanted to thank Unique Laser Designs for this fabulous opportunity of being part of this awesome team,  so for the last time...

TFL & Happy Scrapping


Sunday, November 16, 2014

Christmas Cheer

Hello everyone, it's Heidi back again to share some Christmas Inspiration.  Oh I just love Christmas and cannot wait.

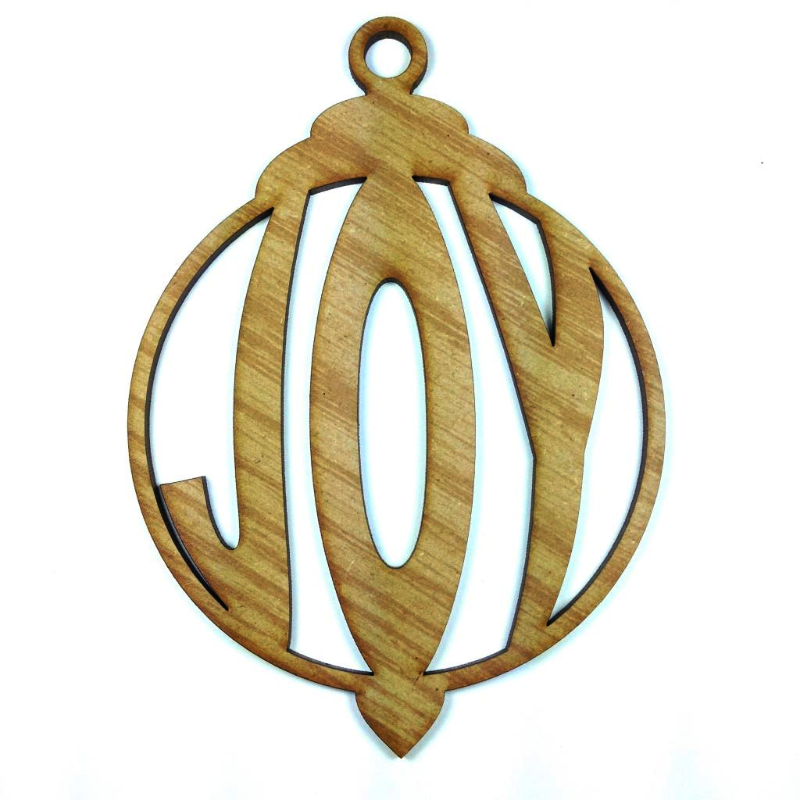
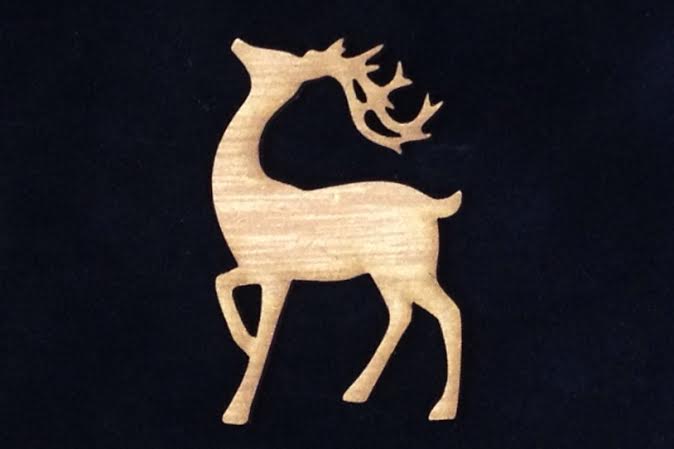
Today I am going to share a little project I did using a recycled picture frame. These are the two Unique Laser Design Christmas items I have used for my project.  I chose the items in chipboard as opposed to MDF.


I have used an old picture frame, and painted the backing with chalkboard paint, and then painted the frame with some Gesso as I wanted it to look rather rustic.


For the Joy Ornament, I have just used some Silver Embossing powder on it, I love the sparkle it gives the ornament.  


So to put the frame together, all I did was String some hemp across the backboard and staple it in place.  Then added the frame to it, and there you go - you have your  blackboard picture frame all ready.


Next I added my little reindeer which I have left raw to give it that rustic feel, and then added my ornament onto the bottom right hand corner of the frame.  Hey presto - you are all done.  Just need to add your photo's and a Christmas message.


Perfect little frame for an entrance way wishing everyone a Merry Christmas as they come in.

TFL & Happy Scrapping


Monday, October 27, 2014

A Gift of Love

It's under two month's till Christmas and I wanted to share a little 8x8 canvas of my niece for my mother for Christmas.


Dot Graph
Feathers

The three products I have used, are the gorgeous feathers in chipboard as opposed to MDF, the MDF Dot Graph and the little tile with the word "smile" engraved on it from the Brick Wall pattern - again in chipboard.

I covered the canvas with gesso and then applied some texture paste with a mask.  Once dried I used Cotton Candy Tim Holtz distress stain over the masked area.

For the Dot Grid and Feather I used my White Prima Chalk Ink directly on them and dried with the heat gun.   For the feather I then applied some gel medium and applied some white sugar dust on top.  It has come out so beautiful and shiny.  I just love the white on the feather it looks awesome.


Here is a close of the Dot Grid which I slipped underneath the photo 


A nice simply canvas which is a beautiful gift of love, perfect for a Christmas present.  I hope I have inspired you to create some wonderful gifts.

Happy Scrapping


Sunday, October 12, 2014

Paris Paint Palette

Hello everyone, Heidi back with another OTP Project to share.  I received this paint palette in a kit I ordered, and decided it would be the perfect project for my daughter's recent trip to Paris.  I asked Shilo to cut me an Eifel Tower out of MDF and am absolutely thrilled with the project.


I have gone with soft tones of pink and green, using some gelato's, mists and gesso.  I first covered the entire palette with Gesso and then added some strips of paper to add texture and then painted it with Gesso again.  Once dried I used some texture paste and a mask to add some more texture and started spraying some mists which I watered down to get that water colour look.


For the dot graph as well as the Eifel Tower I used some Shimmerz Texture Paste to cover the MDF.  It worked so well, I just love the way it came out.


Because I only ordered on of the Dot Graph's I didn't want to use the whole item on one page, I wanted to stretch it as far as I could, because I love it so much, so I cut sections out of it to slip under the photo's.


The Shimmers Texture Paste gave the Eifel tower a nice glimmer, and to finish it off I added some beautiful Prima Flowers and some Sequins.


I

Here is another close of the Dot Graph


So please remember if there is a special request for that very special project you have in mind, just ask!!

TFL & Happy Scrapping

Sunday, September 28, 2014

Mixed Media Canvas


Hello there everyone, Heidi back here sharing a gorgeous little 8x8 canvas I made of my eldest daughter and her partner.  Spring has arrived on our side of the world and I wanted to do something bright and bold.


I started off by painting the canvas with some gesso, and then got some Double Scoop Gelato's.  I just love the bright bold colors.  I randomly colored in squares on the canvas using three of four different colored Gelatos and then using a wet wipe blended the colors together.

Once I was happy with the background, I added some texture paste and the diamond stencil on it and did some random stamping using black ink.

I then cut up some circles and squares from some old papers and added them to the canvas to bring in some other bright colors.

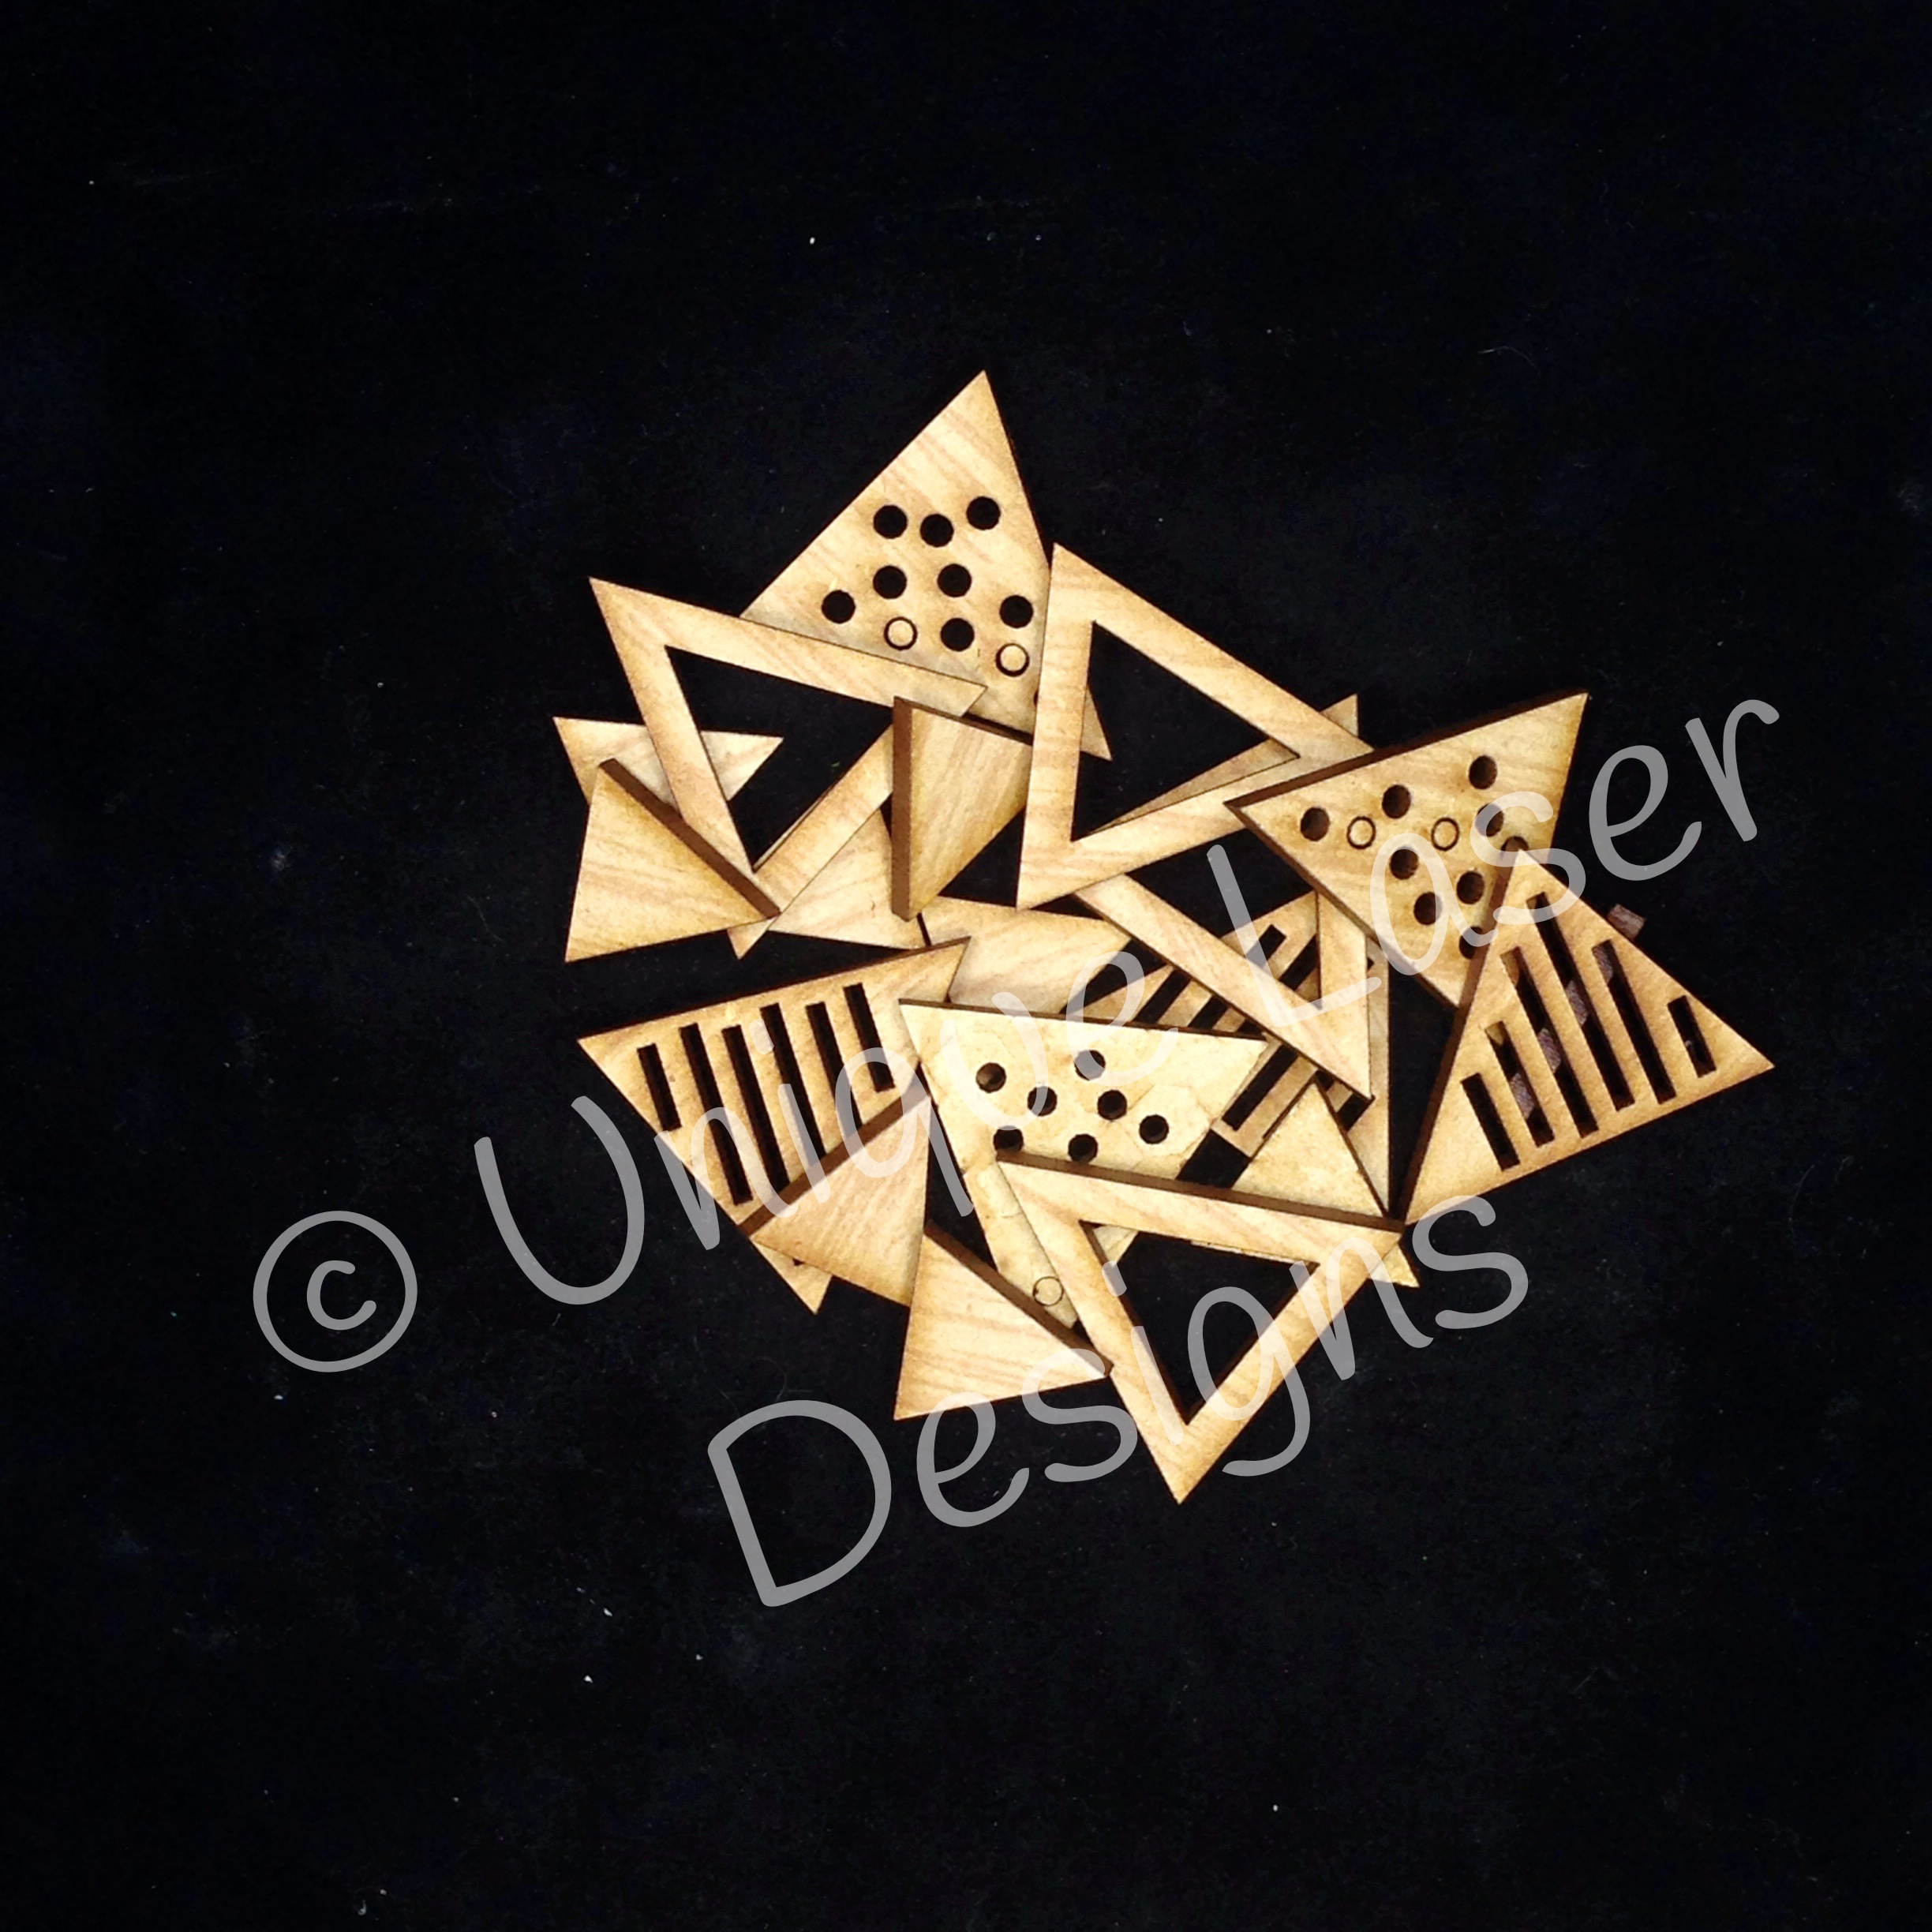
For the gorgeous Triangles I just used Faber Castle Big Pen Marker to color them in,  I have to say I just love the shapes and I have ordered some of these in cork too.

.                        

Here is a little close up of the Triangles - I just love the texture they give the canvas


Finally added my photo and some White Ink spats over the canvas, and my canvas was done.


Product used :-

Triangles in MDF, but also available in Cork and Chipboard
Canvas
Double Scoop Gelatos
Faber Castle Big Black Pen
Texture Paste
Diamond Stencil
Black Ink
Stamp
White Ink

Hope you have found some inspiration on how these gorgeous triangles can be used with mixed media as well.


TFL & Happy Scrapping


Friday, September 12, 2014

XOXO - step by step

Hi everyone, Heidi back with a short tutorial of how I created this layout using the new Circle Stencil. [W-1165 Circle Stencil 5" x 5"]


Your first step is to prepare you plain white cardstock, apply some Gesso over most of the area (this will help with the Inks so they don't soak up into the cardstock). 


Hope you enjoyed the little tutorial, go and check out the other stencils which are also new in the shop, they are gorgeous, gorgeous, gorgeous.

TFL & Happy Scrapping


Saturday, August 30, 2014

Burst of Color


Hi everyone, it's Heidi here again to show you some more inspiration using the gorgeous ULD goodies.  Today I have created a layout with burst of spring colors since we will be going into Spring next week (here in NZ)


To start off with I applied Gesso to plain white cardstock, then used some yellow water colour paint to the background.  After that I used my Prima dots stencil and applied some whipped spackle to create some texture.

Then the fun began, I used some gelato's to color the circles in different colors, the make them darker once they dried I went around the ends with normal water color pencils.


I used plain gesso on the frame , which gave it a nice soft look, and then layered my papers on top of that with my photo.

DF DOLLY FRAME - W-0408 Deco Frame - Dolly (Opening 2¼" x 2¼") 5" x 5"


To give it some extra dimension I have added some hearts and circles which again I painted with gesso and then went over it with White Prima Chalk Ink.  For the heart same I added some texture paste with a stencil.


Shapes Circles - W-1156 Shapes - Circles Approx. ¾" - 1¼"Shapes Hearts W-1153 Shapes - Hearts Approx. ¾" - 1¼"
And finally finished with some beautiful flowers to match, and some other bits and pieces - love the plain white chipboard on the cardstock, it just looks fabbo!


TFL and Happy Scrapping


Saturday, August 23, 2014

Friday Fun !!!!

Hi everyone, it's Heidi here to share another layout using the some of the new gorgeous triangles and filmstrip's in store.  

You just have to love these little triangles, there are four different triangles, one has circles inside, one is plain, one has stripes and then you get a small solid one as well.


I am really loving mixed media at the moment, so have created this layout and to embellish it I have used the triangles which I have inked in black for contrast and then embossed with Lime Green American Crafts Embossing Powder.


Because the background is full of colours and textures, I needed the dimension from the triangles, to stand out.  Take a look at the close ups


I find using a hot glue the easiest to stick them down with.


The 2nd item which I have added to my layout are these gorgeous little filmstrips... OMG they are just fabulous.


I cut one in half and then cut different lengths, inked them with Black Brilliance Ink and added them onto the layout, 


So stop on by the shop and pop these into your shopping cart next time you are shopping, they are just gorgeous and you will not be disappointed,

TFL and Happy Scrapping