Showing posts with label distress ink. Show all posts

Friday, January 16, 2015

My Angel Wings

Hi there, it's Martha Lucia here! I hope you are very inspired with all our creations. Today I want to invite you to fly with me. I am using the Angel Wings to create a beautiful frame.


When I saw these wings, I knew I wanted to do something special. So I decided to create a frame that I can exhibit in my Atelier and show you all my spirit. I starting to give color to the Angel Wings. I chose these in MDF, but they are available in chipboard too. For my wings I used a product called Inka Gold in color Turquoise mixed with water.


You can apply the Inka Gold directly over the wings with you hands. The MDF or Wood material perfectly keeps the metallic shine of this product. 


After I finished the wings, I created the background of my frame. I bought a plain frame from IKEA, I took off the papers  and sized the total window and my real space was 5"x7".

I took a piece of Very Vanilla Card Stock and a Memory Box Stencil called Distressed Grid and using a blending tool and Antique Linen Distress Ink to create the texture.


The next step was the flower. To create this I used a Spellbinders Die called Spiral Blossom Four that I cut in very vanilla card stock using the BigShot.


To give more dimension to the flower I decided to apply this Powder Puff Chalk Ink Caribbean Blue from Quick Quotes all over the border. This  color offered my the perfect match that I needed. 

After this, I rolled up the flower and pasted it with my glue gun of silicone. To decorate the center of the flower I put a Doubleclick Skittle in the same color from So Suzy Stamps.

The final step was pasting all over the background. First I inserted the decorated very vanilla piece into the frame and then I pasted all my pieces with sheer glue.


Here you will see a few close details all my angel wings.


Materials:


Wood Frame, Inka Gold Turquoise, Very Vanilla Card Stock, Memory Box Stencil Distress Grid, Distress Ink Antique Linen, Blending tool, BigShot, Spiral Blossom, Powder Puff Chalking Ink Caribbean Blue Quick Quotes, DoubleClick Skittle, Liquid Glue, Silicone.

I hope my project inspired you to create something special. You will find great cuts with different styles and designs in Unique Laser Designs Store. I recommend this to you! See you soon!

{{Hugs}}

Monday, January 5, 2015

GARDEN OF LOVE

Happy New Year!!!
Hello everyone, it's Martha Lucia here today and it's so good to share a card I've made using the Tree Bare, one of my favorite cut out embellishments! When I saw this cut out in the Unique Laser Design Store, I just knew I had to get my hands on it.


I started by creating my card in a 6"x6" size over textured white card stock (close). Then I created all the pieces to decorate my card in my Cricut Explore using the Design Space. With this program I cut the grass, the fence, the clouds and the small hearts.

After this small process, I started to work with my Tree Bare. This product is available in wood, chipboard and cork. I chose mine in chipboard to use with distress inks and markers to give texture and color. I used the Tim Holtz Distress Ink colors Antique Linen and Vintage Photo to get the wood color and for the end of the branches I used  PITT artist pen big brush from Faber Castell in colors Light Green and Earth Green.


Then I took all my paper pieces and began the big process, but don't be scared. It was very easy! I just cut a square of bashful blue cardstock and pasted it over the base of my card. Also I cut a frame in textured cardstock (red) and pasted it over the entire base and using dimensionals and glue dots I stuck each of the parts beginning by the clouds, tree bare and last one the fence.


After this part, I pasted the fences and using Tombo Multi Liquid Glue I started to paste the hears over the branches.


To finalize the project, I cut and embossed a little butterflies with the embosslits Beautiful butterflies from Stampin Up and pasted these with dimensionals.


Materials:
Tree Bare - UNIQUE LASER DESIGN, Cricut Explore, Cardstock, Adhesives, Big Shot, Embosslits Beautiful Butterflies.


I really liked the simplicity and colors of this project and how the tree bare gave the real touch to my garden of love. I hope you liked too. Happy crafting!

{{Hugs}} 
Martha Lucia

Friday, December 12, 2014

My 3 Wise Men Ornament

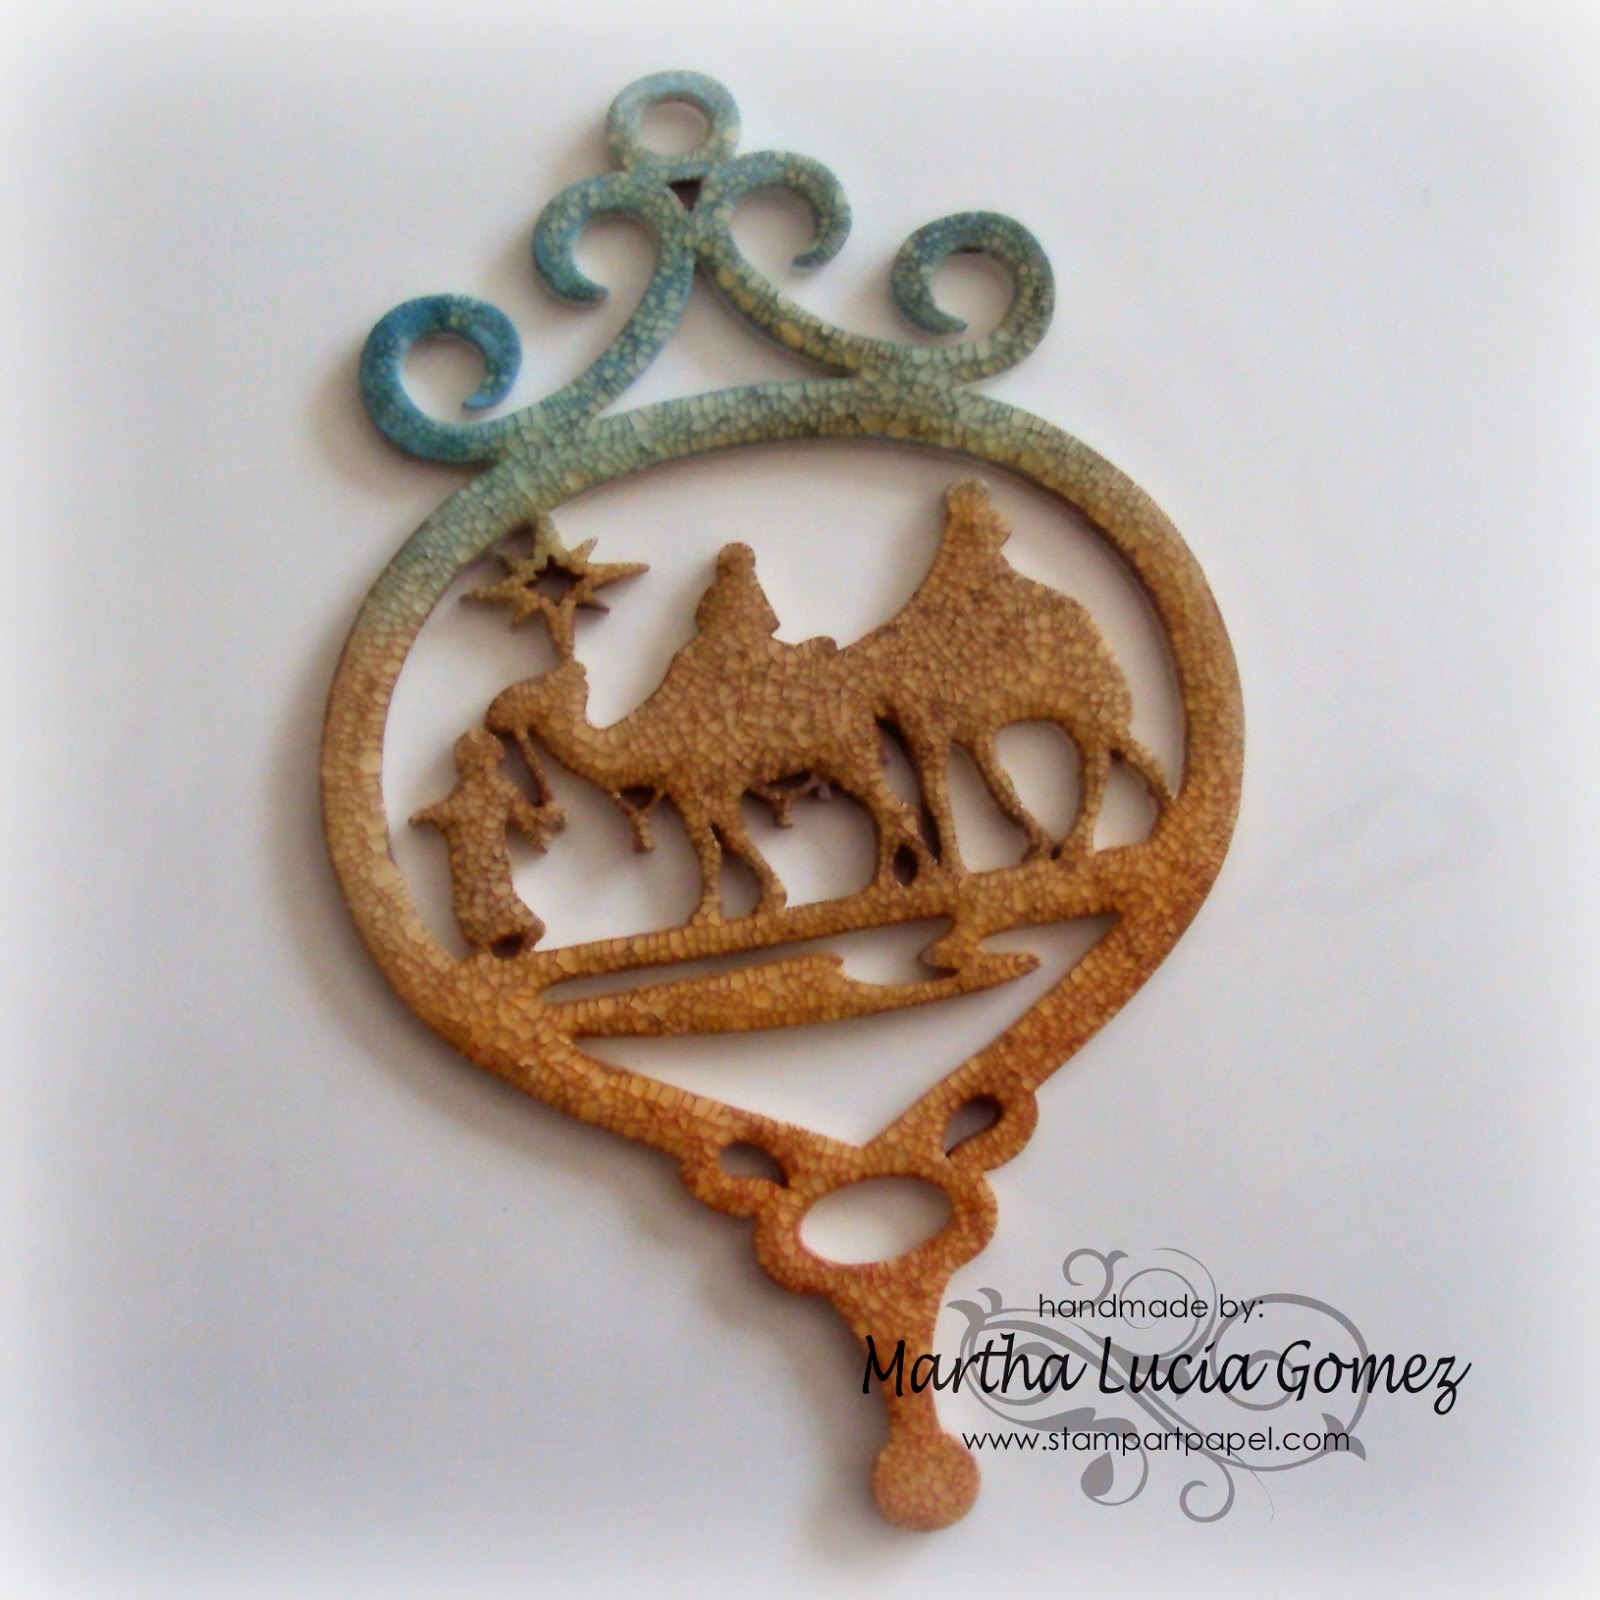
Hi everyone, it's Martha Lucia here, with something very special to me. I want to share a gift that my friend Shilo send me with and special order. This year my mother in law wants her Christmas tree decorated with only Unique Laser Designs Ornaments, and I was very happy helping her to make these. With this order, Shilo send me this, 3 Wise Men Ornament, and I was shocked as soon I opened the package.


Do you want to know how I made this? Let me show you.


The first step was painting the ornament on both sides with White Acrylic Paint and letting it dry. My 3 Wise Men ornament is en MDF and you also can get this in chipboard. 


Using a small paint brush, cover the front side of your ornament, with a medium coat of Distress Crackle Pain and again let dry. It took me about 2 hours. Remember to wash you paint brush immediately if you want to use it again.


When the crackle paint is dry you will note all the crackle details over the entire image.


To give color you can use Distress Ink in different colors or only one color, as you prefer. Using the blending tool to apply the ink. 


Easy peasy, especially when you have to do 52 different styles of ornaments!!!! I really love to make this model of ornament but you can see this and other beautiful designs in Unique Laser Designs Store and the best part is that you can use different techniques in each one and use them like ornaments for the tree, for your presents, cards or special gifts.

See you next week with another idea and don't forget that you can always find great tutorials here to make your creations Unique using Laser Cuts.  

Materials:


  • White Acrylic Paint
  • Distress Crackle Paint - Tim Holtz
  • Brush Painters
  • Dristress Ink
  • Blending Tools


{{HUGS}}
Martha Lucia

Thursday, November 6, 2014

Desktop Display


Hi everyone! This is Martha Lucia with my first project in Unique Laser Designs! I am very excited to share this with you. My project is a "Desktop Display" that I altered with a few things. Let me show you.


I start by selecting two products from ULD Store, which was the most difficult part because I was shocked by all these options. But I needed to start with something, I took the wheelbarrow and the shaped circles in wood. 

Then I used different colors of Tim Holtz distress ink to color the circles and after they dried, which only took a few seconds, I stamped them with  Memento Tuxedo Black with a text stamp.

For the wheelbarrow I used a patina technique with VerDayProducts in Bronze Color. I love this effect over the wheel and handles.  The steps to get this effect  are too easy, I only needed to paint the wheelbarrow with bronze paint and after it dried I sprayed it with VerDay Patina Solution. Note the details:


The base of my desktop was natural wood, so I painted it with a Red Wood Stain from Ikea. I let it dry and then I cut a little small piece of designer paper for the stand.  


To decorate the stand I cut some words  in card stock Rich Razzleberry using my die cutting machine and framelits or cutting templates from Little Yellow Bicycle.


As I was thinking of a display, I decided to decorate some journal cards with gold glimmer paper , staples and bakers twine, so I can interchange the board message every day. 


To keep these cards in place I created to decorate a paper clip with metal on topper, using a piece of Polished Purple Metal Sheet from Add a Little Dazzle and the design of one embossing folder. I pasted the piece of metal with Sticky strip to keep this in place over the black part of my paper clip.


The last part of my project was the assembly. And I decided to top the wheelbarrow with some little paper flowers. I pasted the circles and the wheelbarrow with dimensionals to give more dimension to the project.


Now I want to show you what the original products I chose looked like and invite you to visit the ULD Store because you will go crazy with all the special pieces that you can find to create and embellish your projects. 


Products Used:
  • Shaped Circles
  • Wheelbarrow
  • Desktop Display (Heidi Swap)
  • VerDay Bronze Kit 
  • Polished Purple Metal Sheet (Add a Little Dazzle)
  • Distress Ink (Tim Holtz)
  • Red Wood Stain Behandla (IKEA)
  • Paper Flowers (Crafty City)
  • Cutting Templates (Little Yellow Bicycle)
  • Journal Cards (We R Memories)
  • Designer Series Paper & Card Stock (Stampin Up)
  • Big Shot 
  • Multi Tombo Liquid Glue
  • Dimensionals
  • Paper Clip

I hope I have inspired you to create something for you or a present during this holidays. Come back soon to see more wonderful ideas!

{{HUGS}} Martha Lucia!

Wednesday, October 29, 2014

Just a Note

Hi everyone!  Once we are closing in on November, I start thinking of fun little ideas for gifts or even favors for holiday gatherings and parties.  I love something I can make quick, easy, yet cute!  Even better if I can slip a gift card inside!  This project is a perfect example:


These note pads are very easy to make, which means you can make a lot of them quickly for a great little gift that anyone can use.  You can personalize them to any occasion by using different patterned papers.  I used a fall theme for this one.

The Unique Laser Designs Music Notes are a perfect touch to give them a little extra pizzazz!  These are the ULD pieces I used:


                                          W-1071L Music Notes 1"

Even better....since it's a set of 10, you can make at least three note pads with one set.  Again, great for making a large amount....you could even use a personal name instead of the word "notes" and they could be used as place cards at a party.

The base is simply a 8" by 3&1/4" piece of cardstock, scored at 3", 3&1/2", 6&1/2" and  7".  Here's a peek at the inside....it holds a standard size post-it note pad:
 

The closure is a piece of ultra thin velcro....but regular velcro works just as well.

On the music notes, I used Walnut Stain Distress Paint and then when dry, brushed Black Soot Distress ink on the edges to give the notes some depth and shading....again, I was thinking quick and easy so I can make a lot of these:


Thanks for stopping by the blog today....hope you are inspired to get that holiday crafting started....a lot of great ideas in the Unique Laser Designs store....check back soon for more ideas!


Saturday, October 25, 2014

Colorful Fall Layout

Hi again everyone! 
I’m back to share my second project as Guest Designer for Unique Laser Designs! For this project I decided to do a layout using their beautiful wood leaves. They smell so good! I really hesitated to do anything to them at all because the wood grain is so lovely but I had a specific project in mind so went ahead with my original plan.


First, I gave them a coat of Gesso.


Then, I spread some Aleene’s Turbo Tacky Glue over a small section at a time, then placed my pre-treated eggshell over it, and gently pressed it down. Do this until it’s completely covered with eggshell pieces and leave just a little space between pieces. I got the Eggshell Tutorial from Gabrielle Pollacco a few years ago. The pretreatment is the most tedious and time consuming, so you really have to want to try this technique to do it! (I will cover that part at the end of the tutorial for those that want to try it.)


Once you get them all done, let them dry completely. Then you’ll have to carefully break off the eggshells that hang over the edges.


Next, I gathered all my Tim Holtz Alcohol Inks that I thought I might want to use for my leaves. I knew I wanted an Autumn theme so these are the colors I came up with, as well as a little gold Metallic Mixatives and Alcohol Blending Solution.


After being satisfied with the colors, let them dry and add a layer of Ranger Glossy Accents. This seals the eggshells in and leaves a beautiful clear coat over the mosaics. Here are the finished leaves.                                              


Now, for my layout. It took me quite awhile to choose my background paper to compliment the photos I wanted to use as well as the leaf mosaics. I distressed the edges and added Tim Holtz Vintage Photo Distress Ink to the edges with the wood tool and felt.


This is the first non-human layout I’ve made and it was a challenge for me using so many pictures. It took me several hours of deciding how to place them because I wanted to be sure and feature the beautiful wood pieces I’d just decorated. I also had trouble deciding whether or not to mat the pictures but in the end decided I didn’t want to cover anymore of the background paper than necessary so I just inked the edges of the pictures with the Tim Holtz Vintage Photo.


I then did a little dragonfly stamping and stamp-embossed a dragonfly at the bottom as well as some pretty leaf vines. I then added the title and a few birds and beautiful butterflies from Reneabouquets.com.

Thank you for stopping by! 
All of the trees pictured here were photographed by me on our property with the exception of the aspen, which is at our neighbor’s that is right next to our driveway.

PRODUCTS USED:
Daler Rowney Gesso (from Walmart)
Tim Holtz Alcohol Inks – Currant, Butterscotch, Citrus, Sunshine Yellow, Rust, Meadow, Ginger, Red Pepper and Gold Metallic Mixatives
Ranger Glossy Accents
Bo Bunny Forever Fall Bouquet (background paper)
Tim Holtz Vintage Photo Distress Ink Pad
Fiskars Butterfly Magic Clear Stamps (lower dragonfly)
Inkadinkado Foliage Trails Clear Stamps
Hot Off The Press Dragonfly Clear Stamps (small dragonflies)
A La Mode Embossing Powder
Reneabouquets.com butterflies


To pretreat eggshells: Save up several and soak them in warm water and a bit of anti-bacterial water for at least an hour or overnight. Pull out the membrane and be sure to get all the little bits or the shell pieces won’t glue to your chipboard. Then let them dry for a few hours on paper towels. Then you are ready to go!

Thursday, September 25, 2014

Happy Life Wooden Tag

Hello Unique Laser Design Fans!

I have a small project to share with you today. I decorated one of ULD's wooden tags. The tags come as a set of three, so I culled one from the herd.


The tag was given a layer of gesso, then sprayed with various mists while the gesso was still wet. I then immediately misted parts of the tag with water so the mist would look marbled. After the tag was dry, I inked a stencil on the left side. The rub-ons were added next.

I cut out paper embellishments and glued them down with gel medium.  I must have really enjoyed the gel medium, because I decided to add it over the whole tag.  Remember to use a dabbing motion when adding gel adhesive over dye ink because it will smear with your brush strokes. Once the gel had been applied, I sprinkled micro-beads over the tag. When micro-beads are applied the only sensible thing to do is add another layer of gel medium to seal those little guys in! I also gave the curly tree embellishment micro-bead treatment.

The tag was finished off with the Curly Tree laser cut, flowers and ribbon. Thanks for stopping by and having a look!


                  ULD Products used:                                      
Tree- Curly
Wooden Tags


Friday, August 8, 2014

Beach Bliss and Seahorses

Hi there everyone!  Laura here and so excited to share my first project as a newbie on the DT!!  Unique Laser Designs wood pieces have such detail, they are an amazing way to embellish a scrapbook LO:


For this LO I used:

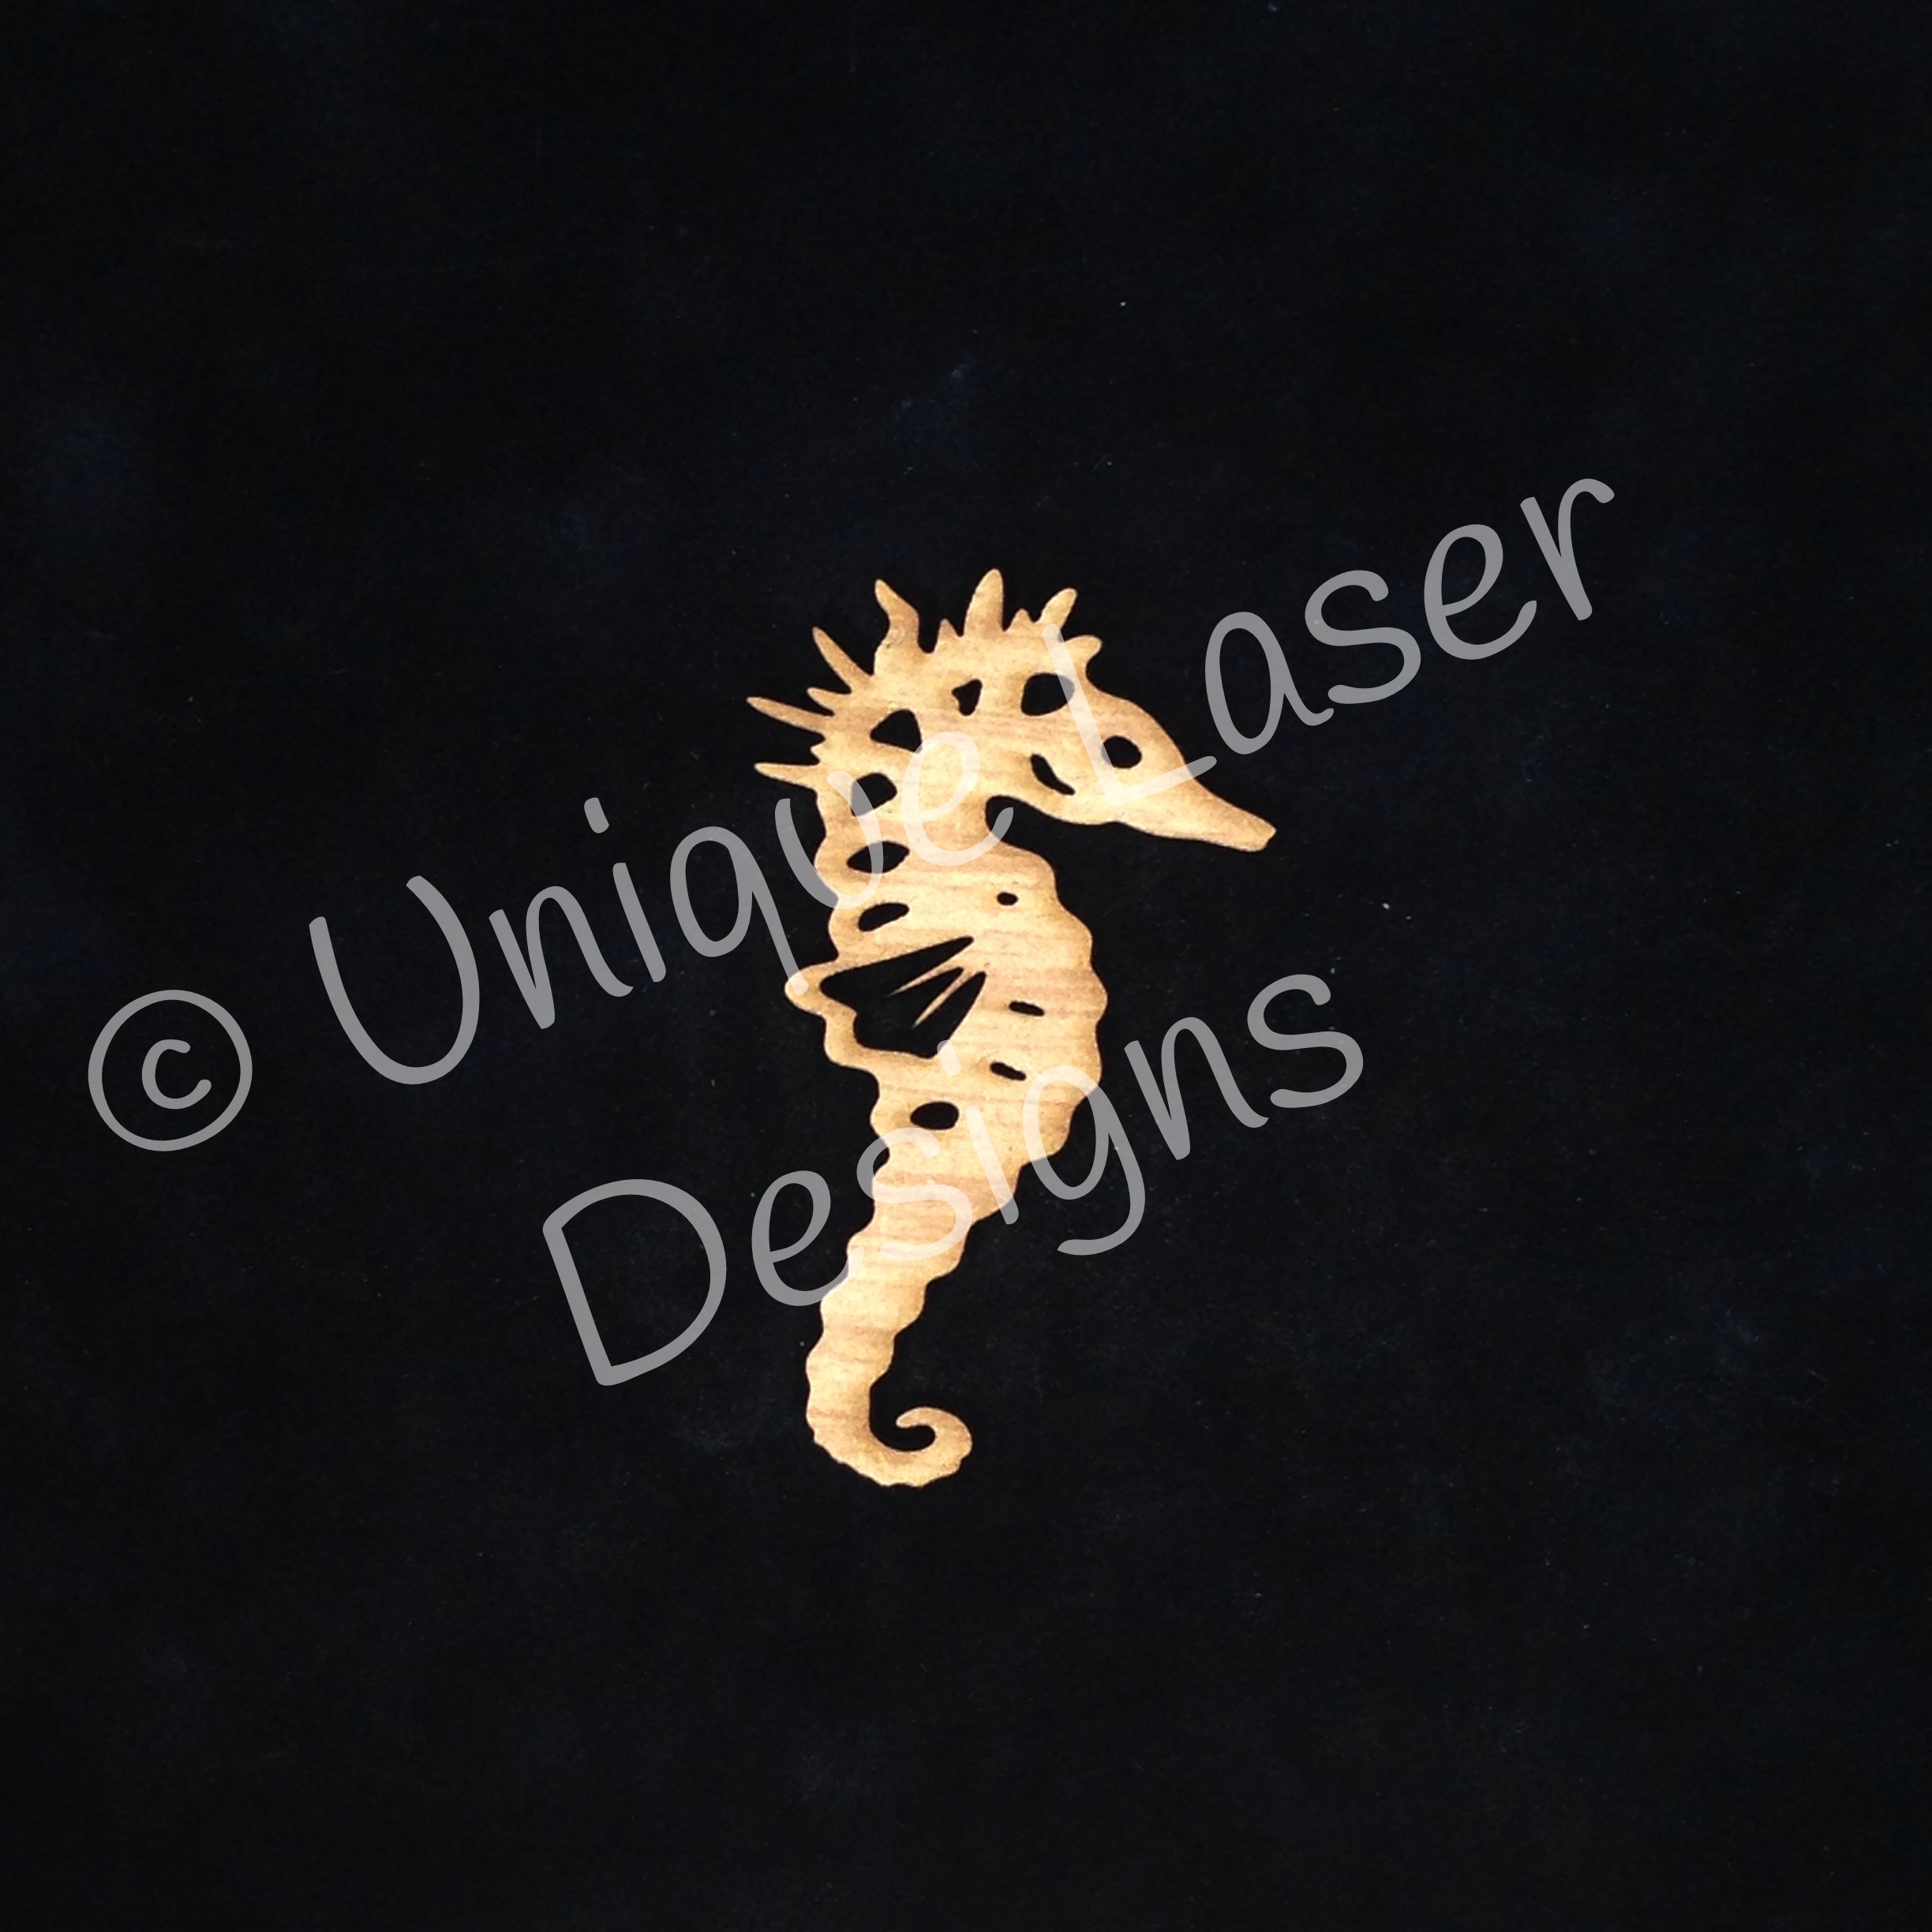
ULD Seahorse:


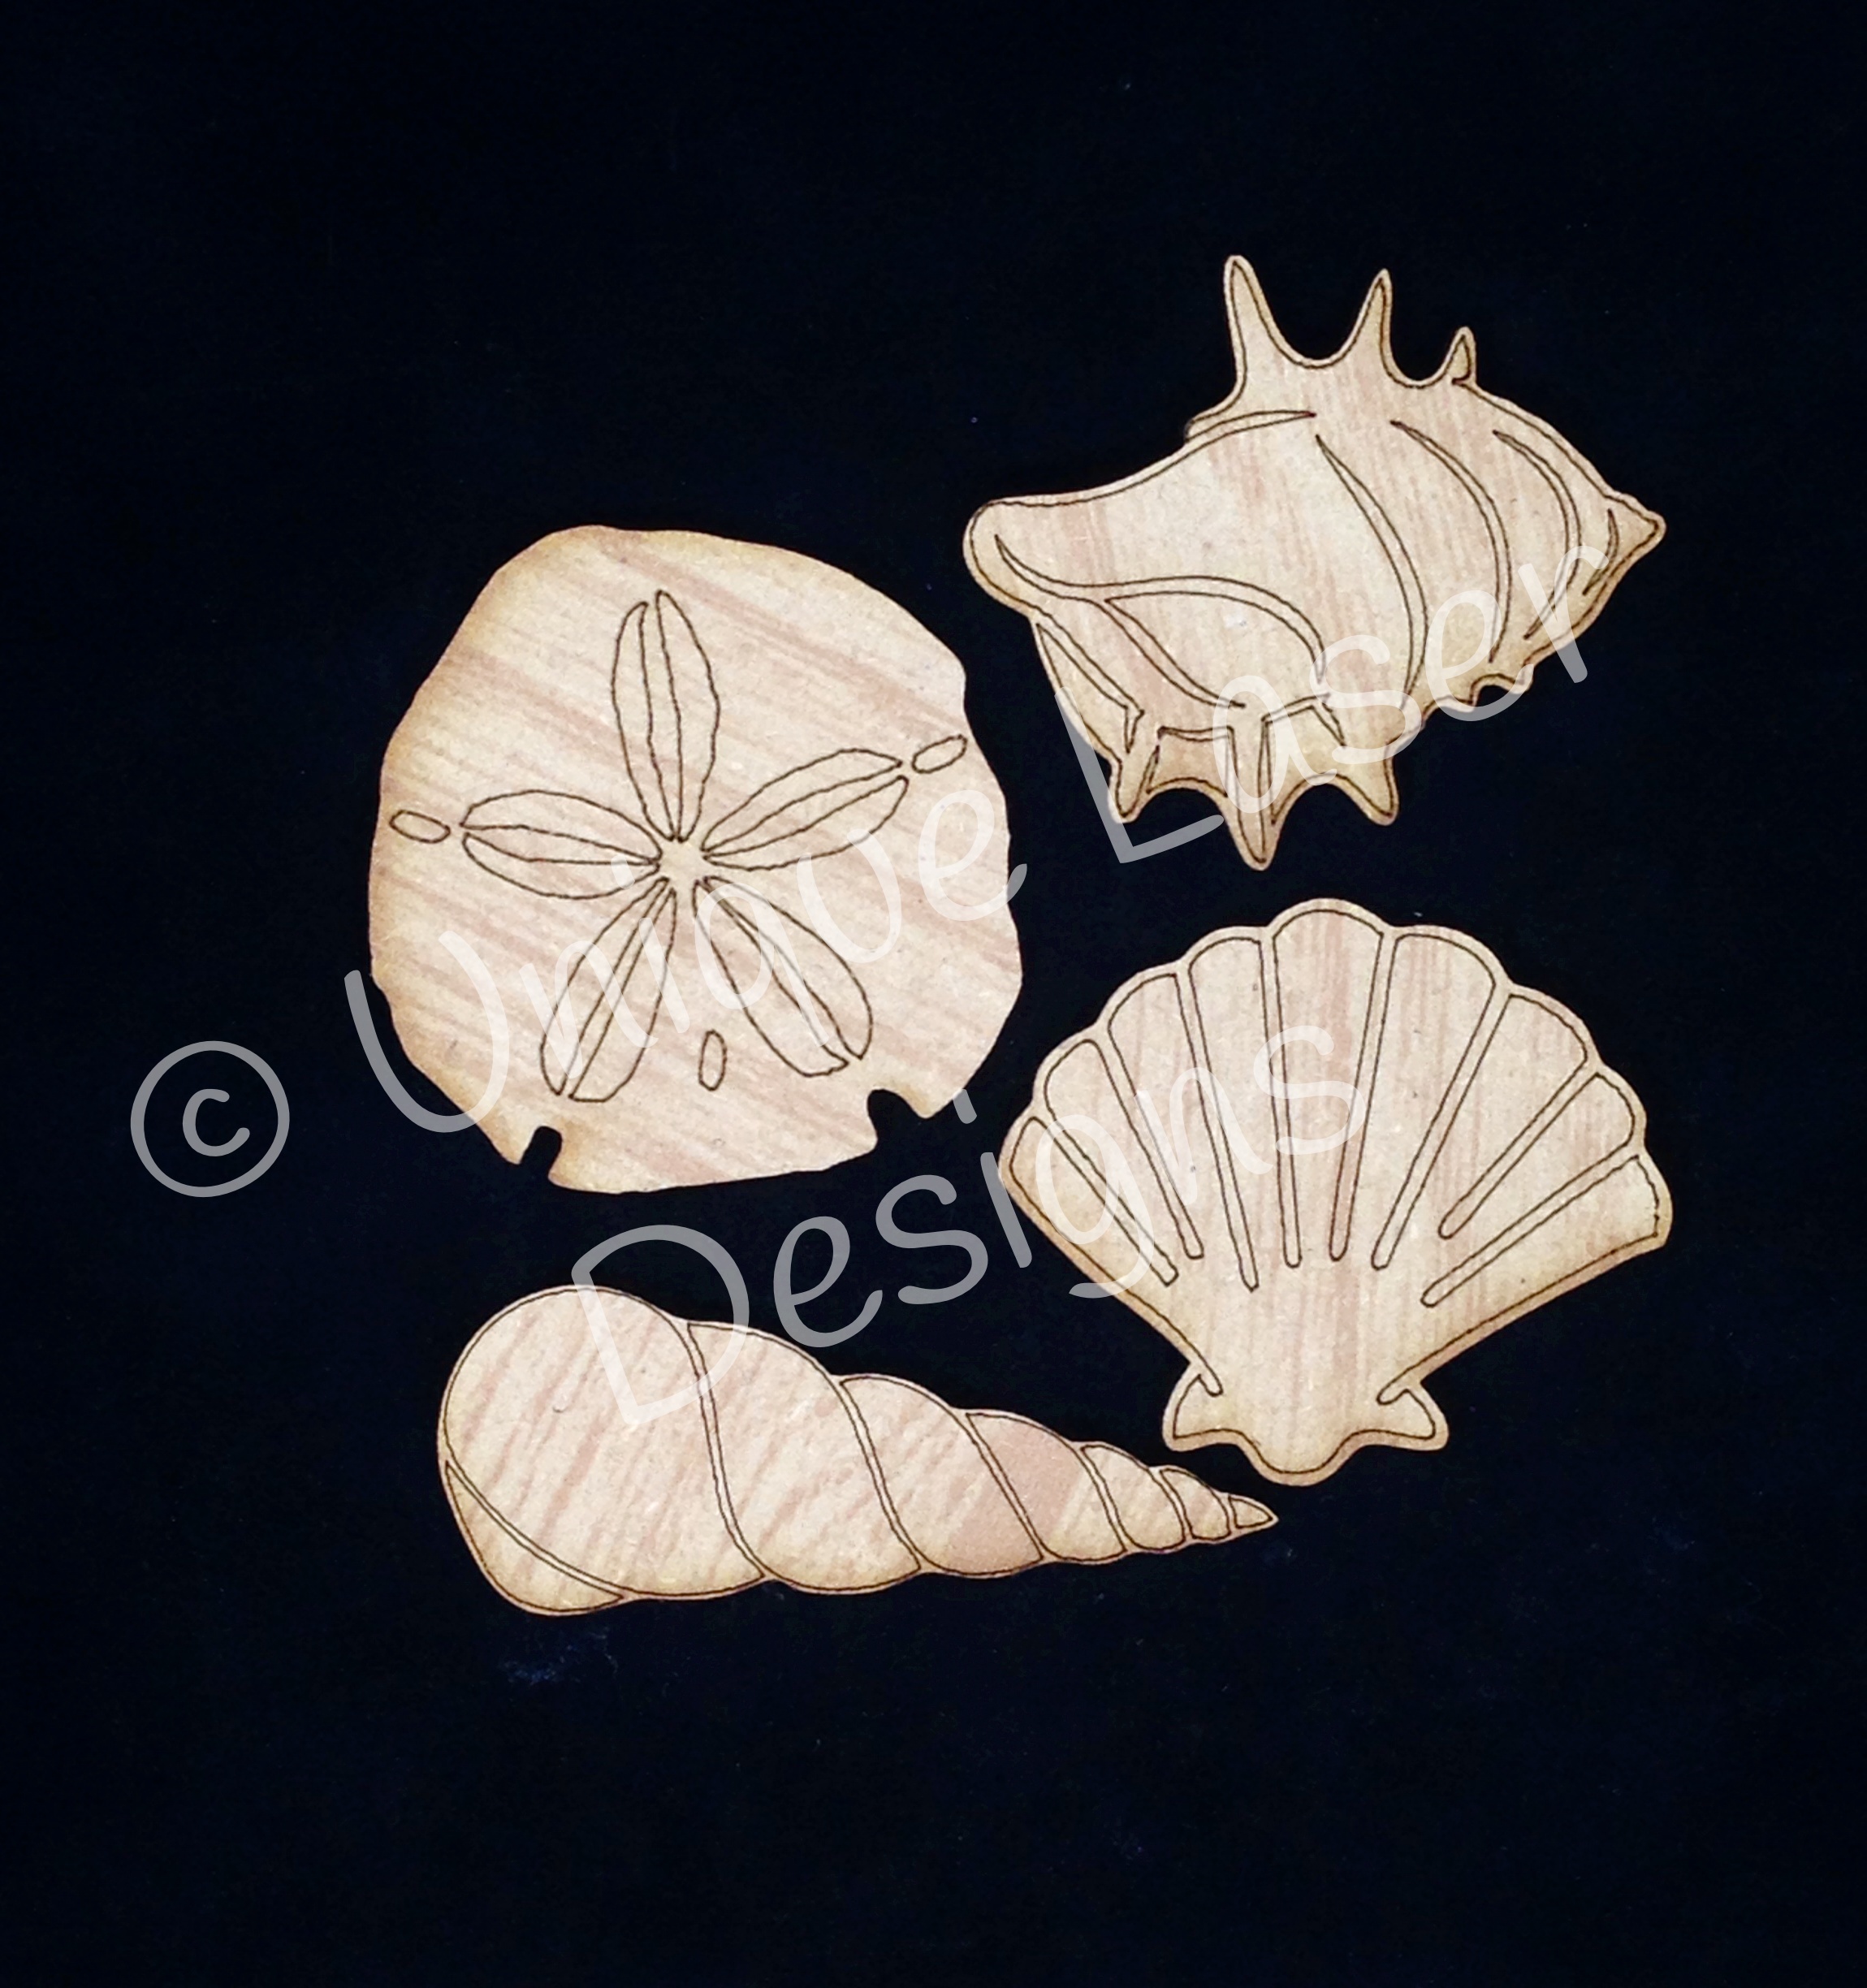
ULD Shells:


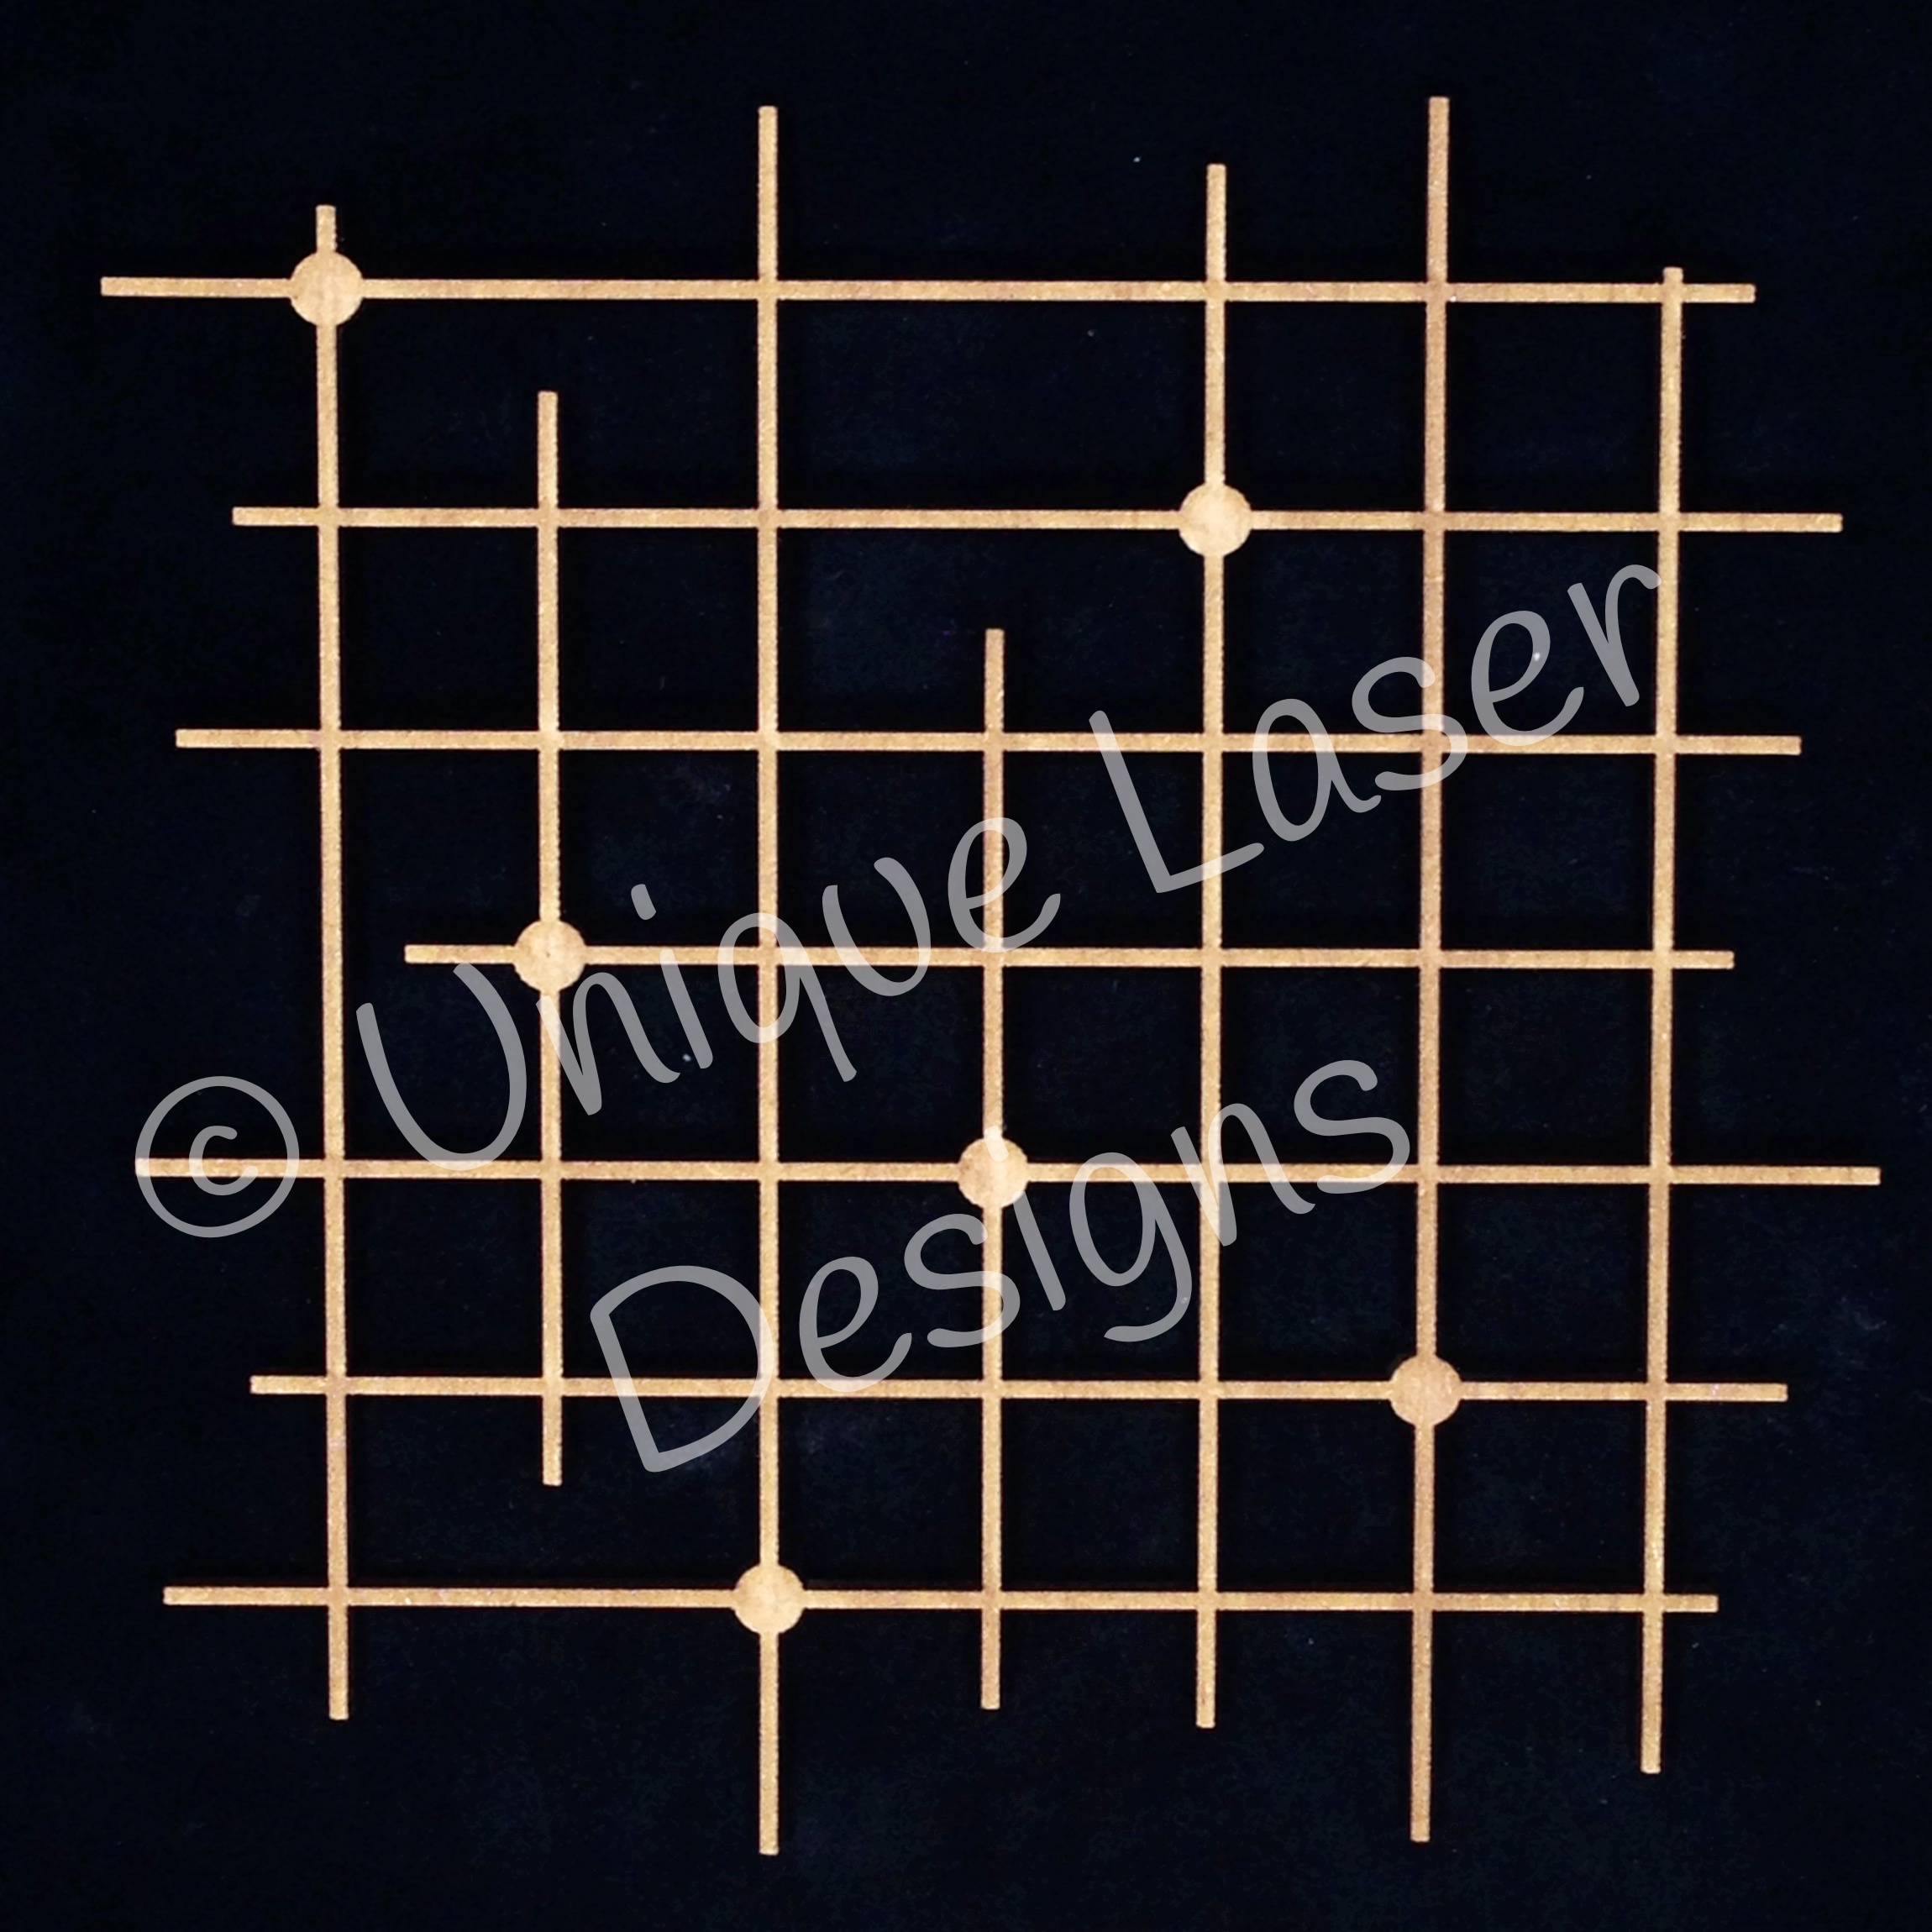
ULD Dot Graph:


To color the seahorses, I started with a layer of aqua paint:


Then layered on Distress Paint and a bit of black acrylic paint (while still wet....yep, I'm impatient....lol):


I finished them off with a spray of Biscotti Perfect Pearls.  The square tiles on the LO were done the same, except I did not spray them with Perfect Pearls, but I did add a layer of Glossy Accents to make them look like tiles.  The squares are the negative space pieces that came from the dot graph piece.

Here is a close up of the finished pieces:


From the above photo you can also see where I used the Dot Graph piece as a stencil for black spray mist.

The seashells were brushed lightly with Picket Fence Distress Stain, then Antique Linen Distress Paint, and then brushed with Vintage Photo Distress Ink....I sprayed them with the Biscotti Perfect Pearls to give them a hint of shimmer:


Wooden embellishments are such a hot trend....and ULD has so many different and detailed designs, it's hard to choose! Can't wait to start the next project to share with you soon!   Thanks for stoppin' by today!


Supplies Used:
Paper:  Prima-Seashore; kraft cardstock
Ink/paint: Adirondack Paint Dauber-Aqua, Black; Distress Paint-Peeled Paint,
Antique Linen; Distress Stain-Picket Fence; Distress Ink-Vintage Photo;
Perfect Pearls-Biscotti; Color Shine Spray-Black; Glossy Accents
Embellishments: Unique Laser Designs-Seahorse, Shells, Dot Graph; Prima-
Seashore clips and ATC cards.