Showing posts with label Frame. Show all posts

Thursday, March 26, 2015

DAISIES FOR MY FRAME

Hi friends, here Martha Lucia with my most recently creation using Daisies from Unique Laser Designs Store. We are officially in Spring and as you can note I love frames, so now it is time to create one for this season.


In this opportunity I am using a silver frame from IKEA, they are very cheap and you can change your layout very frequently. This silver color is sophisticated and looks perfect with these laser cut: The Daisies!!!


I gave color to the Daisies using watercolor paint. I mixed white, yellow and dark orange.


I started with the a solid color and then changed my mind to mix all the colors. I used an acrylic block to mix the paints and water.


Here you can see the color transformation or combination. You choose.


I let my daisies dry completely and in a while i cut a basic gray cardstock to put inside of my frame. I cut and layer my photo to paste over this layer. For me it is easier to decorate my frames when the layers are placed within the framework.


I aligned all the elements and pasted the daisies flowers using a liquid glue. After this I pasted a black stone on the center of each flower and on top of the central banner. As a final touch I gave it a little bling using my brush of Wing of Stella Clear over some petals and stamped a sentiment to put vertical over the right side.


Materials:


I hope you like this frame, visit us in Unique Laser Design Store and choose your embellishments to create your own frame using different techniques and products. Here in our blog you always will find great inspiration.

See you soon with other idea to make together!

Martha Lucia

Thursday, March 5, 2015

IRISH COFFEE FOR SOMEONE?

Hi friends, Martha Lucia here with an irish coffee to share with you! Have you see this beautiful clovers and swirls in the Unique Laser Store? I have to tell you that as a Colombian girl, we don't celebrate St. Patrick's but here in the US I saw a lot of ideas that inspired me to create something beautiful for you, so I decided to combine a few cultures in my creation.


I created a frame with a big size, 8"x10". This is perfect to use in our office or kitchen, near to the coffee maker. With this in mind I changed the traditional phrase Kiss Me, I'm Irish with Drink Me, I'm Irish.


These were my main materials, all from our Store. I used a different pieces. The top clover is a beautiful piece of 1"x1" that come in a package of ten and is called Clovers. The little square is a scrap piece from Kennyscrap and the large clover is a Special Order Item from Unique Laser Designs.  

I painted them with Watercolor Green the clovers and the swirls with Yellow Paint, letting them dry for a few minutes.


Then using a Thinlits Little Letters and the big shot , I cut all my letters using the same colors. I pasted the green letter over the yellow a little bit moved to the right to give dimension to each one.


To compliment the decoration of my frame, I stamped a coffee cup with classic Ink Early Espresso over Very Vanilla Cardstock using the stamp set Perfect Blend from Stampin Up. After the image was stamped, I cut it with scissors.


After this, using my Get-It-Straight Laser Square from KellyCraft I aligned all the letters and embellishments over the paper base and pasted them one by one using a liquid glue. I started with the letters and and then with the embellishments.


Here some details of my laser cuts:


Materials:
See you very soon with another Unique idea. Enjoy your Irish Coffee!

Thursday, January 29, 2015

ULD - BABY FRAME


Today I am sharing a picture frame that I created for a 
very special little one named Alexis.  
She brings much joy to our family.  
We are all in Love...

I started with the unaltered products.


  First, I used gesso on the picture frame, ULD pacifier, bib and gears.

The sprocket gears were then re-painted with white acrylic paint and Mod Podge.


The bib was covered with Crackle Paint, Tattered Rose, as well as  the pacifier (only on the nipple). The same was done on the two  gears that were not photographed.

I painted the rest of the pacifier with Distress Stain, Barn Door and around the edges of the bib.
After the crackle paint dried, I used Distress Ink, Fired Brick lightly over the cracks to make them pop.  I smothered all the pieces with Clear Crackle Paint, Rock Candy.


The picture frame was inked with Distress Ink, Tattered Rose.  A 6x6 Gears stencil with D.I. Barn Door was used around the picture frame.  Darker on some areas than others, then covered with
 Mod Podge.
Note:  When Mod Podge is used over Distress Inks it smears.  This was done intentionally to soften the hard lines created by the stencil.
I hot glued the Lace Ribbon around the edges,

Added the string of white pearls on the outside and inner part of the frame.  

Mounted the gear embellishments in place using E6000 & hot glue.

On the bib and pacifier, I added Recollections Tiny Rhinestones and a baby bottle that I painted  using a Copic Pen, R08.


I added a white bow to the bottom and some 
Creative Imagination epoxy letters for the sentiment,
"Grandpa's Little Girl."

Hopefully, you were inspired by our work here at ULD.
Visit
for your laser cut embellishments!
Thanks for stopping by!  
Enjoy your day!
Ivette


Supplies Used
Unique Laser Designs: pacifier, bib, gears
Michaels: gesso, mod podge, E6000, glue gun, glossy crackle accent, acrylic paint, white bow, TH distress ink, distress stain, crackle paint and sprocket gears, string of pearls, lace ribbon and wooden picture frame.
TWC 6x6 mini gear stencil.

Tuesday, August 19, 2014

A birthday, a birthday, and back to school


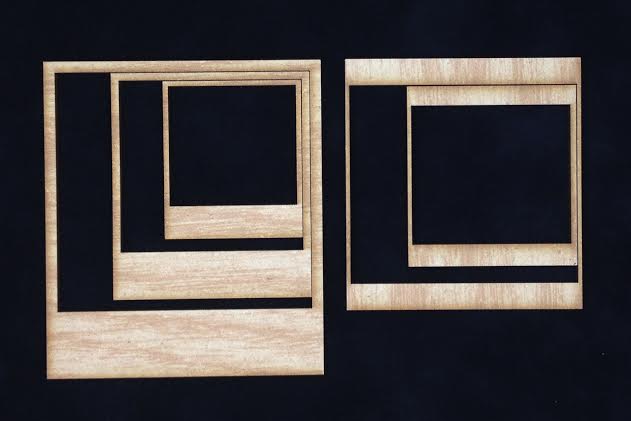
August---full of birthdays and then onto eeeek--"school".  The mere mention of it sends shivers down my spine.  But, I will acknowledge its upcoming presence by the end of  this post.  First, I just wanted to share a few quick cards with you that I made using the Polaroid frames from Unique Laser Designs.  Yes, you can use them to frame a photo, but look how cute they are on a card!

On this ice cream card, I colored the frame with a creamy metallic silver gelato.  The little hexagon is colored with a sparkly gel pen. Did you guess that the scoop of the ice cream is really a cloud? I'm so sneaky!  I colored that with a Copic marker and then swirled Stickles (rock candy)on to make it sparkle.


Hexagons are the theme for this next card.  I dry embossed a hexagon pattern on the card and then added a  Unique Laser Design Polaroid frame---this time I used a paint marker to color it black. The small wood hexagons with the sentiments-- I rubbed on different ink pads, just like I did the cute bee (see below)---easy easy easy and quick! 


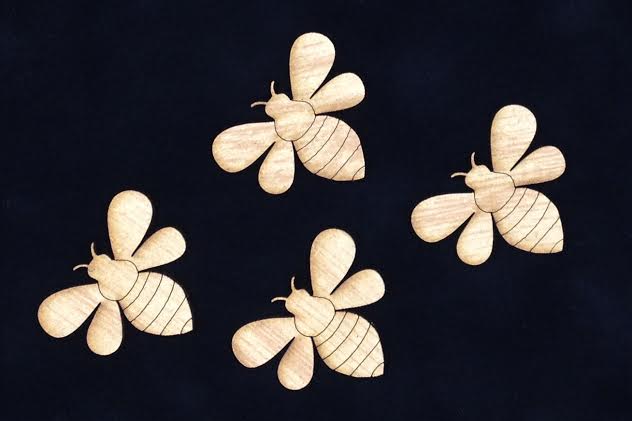
I used a Sharpie to color the black stripes on the bee and then covered it (really thick) with a layer of Stickles (rock candy again). It looks like a suncatcher--so crackly and sparkly at the same time.


Now, onto school.  My daughter is going to be in 5th grade and is SO excited to find out who her homeroom teacher will be.  To celebrate that first day of school, I used a Unique Laser Designs ATC card and made a chalkboard by painting on a few layers of chalkboard paint before adding some die-cut letters and leaving some room to write with chalk.  A few strings of twine hot-glued onto the back and it's ready to hang around a soda bottle.  Now, it's re-usable and her teacher can pass a message on and  be "soda-lighted" for someone else (for a birthday, a great test score, a travelling award around the classroom).


Hope you are "soda-lighted" with these projects that you are feeling inspired to celebrate a birthday, a birthday and school!


Wednesday, August 6, 2014

New Product Announcement


"I love your designs....but wood is too thick..."      
 "Your embellishments are amazing, but I've never tried using wood..."    
"I'm just not sure I'd know how to use MDF..."
"I couldn't use wood on a card !"


These are some of the comments we frequently hear from people who see our products. 

In an attempt to help solve this conundrum, we chose to work with a group of talented designers, and nearly daily, projects are posted to help inspire you with all sorts of different ways that ULD products can be used...on just about every type of surface and in just about any way you could imagine...projects to show you that MDF isn't something to shy away from, but rather something so embrace !

Change can be scary, the thought of trying new things can seem daunting, stepping out of your comfort zone is overwhelming...  
So...in an attempt to give everyone the opportunity to have access to our amazing designs, and possibly "test the waters" and maybe try their hand at wood...we've decided to produce our designs in a more well known material that you'll be familiar with
...CHIPBOARD !
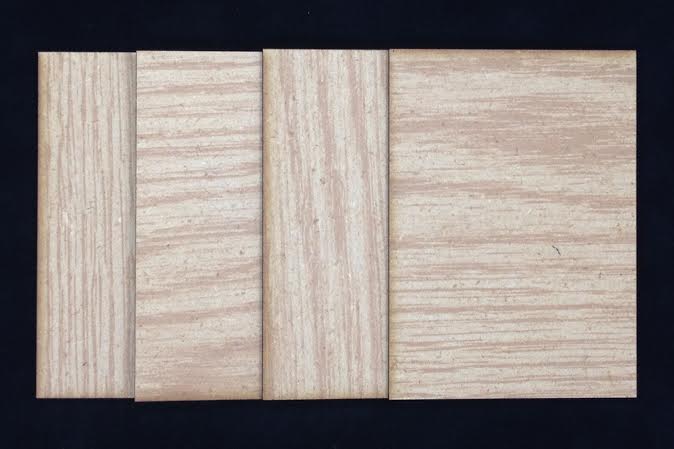
A tiny selection of whats available in chipboard
Due to the nature of some of our designs, not everything will be able to be cut from chipboard, but there is an enormous selection still to choose from.  
As a way to try and slowly show you that you can do the same things (often times with more successful results) by using MDF in your projects...I'll add a little special something to each chipboard order. ;)   I ask that you keep an open mind and use it.  I'm sure you'll soon realize that it is much better than you anticipated it would be !  :) 

Here are a few projects using our MDF products in places some wouldn't consider doing so.
Home Decor Items. Designed by Katy

Banner - Designed by Kisha.
Burlap Canvas.  Designed by Katy
Kids love ULD !  Designed by Samantha
ATC - Designed by Rachelle
Cards !  Designed by Kelly
Mini Album.  Designed by Kimberly
Scrapbook Layout.  Designed by Heidi
Gift Bag.  Designed by Kisha