Showing posts with label bunnies. Show all posts

Thursday, April 2, 2015

Decorative Easter Straws and Holder

I wanted to create something fun for my kids during Easter as a decoration for the table and also functional as a straw (but it could also be used purely as a centerpiece decoration for a table or the straws on their own as cupcake toppers).  The best part is the slide on the straw is removable once the straw has been used and slid onto another straw to be used again next year!!


Here is a step by step tutorial for how made the fun little holder and cute Easter straws using the wonderful Unique Laser Designs wood shapes, Canvas Home Basics papers and rope, Tattered Angels mists and paints, Die-Namites Dies, and Xyron Adhesive.


Here are some up close pictures of the straws and holders, look how the wood shapes just shine with the mists on them.


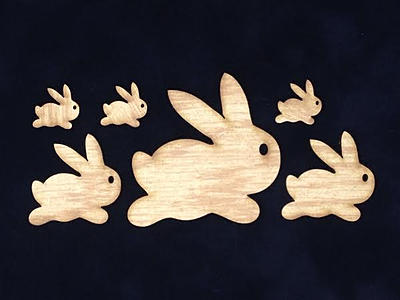
The wonderful Unique Laser Designs Easter wood pieces in Bunnies 6 pc Set, Easter Eggs 6 pc Set,
Rabbits 2 pc Set  were just perfect for this project.
http://www.uniquelaserdesigns.com/#!easter/c1z18


I hope you have a wonderful Easter, and enjoy these fun little ideas for your kids or party this Easter.

Supplies Used
Unique Laser Designs :
Cardstock - Canvas Home Basics
Rope  - Canvas Home Basics
Mists - Tattered Angels
Die Cut - Die-Namites Dies
Die Cut Machine - Cuttlebug
Punches - EK
Ink - Prima
Adhesive - Xyron
Straws - Recollections
Jar
Enjoy!!

Wednesday, March 25, 2015

Lovely Easter Shaker Card

Have you seen these fun shaker cards? They are everywhere and so easy to make, especially when you have beautiful laser cuts from Unique Laser Designs

For today's Easter shaker card, I used four different ULD wooden laser cuts:
1. Bunnies (6 pc. set)
2. Easter Eggs (6 pc. set)
3. Butterflies (Sm)
4. Daisy-Chubby (5 pc. set)

Decorate the wooden laser cuts any way you'd like. You could leave them bare, paint them with acrylic paints, or paint and cover them with pretty Easter glitter.

To make the card base, begin with a pink piece of card stock, cut 5 inches square. Then take a piece of black card stock, 4.75 inches square, and the flower patterned piece, cut 4.5 inches square. Adhere the black card stock on to the pink card stock.


To make the insert wreath, take a second shade of pink card stock, and die cut the Grendon Wreath, from Poppystamps. Carefully punch out and set aside. Then center the metal die cut onto your patterned piece, tape down with a little piece of removable tape, and cut out the wreath. Carefully remove the die cut from the pattern.


Carefully insert the pink wreath into the patterned card stock. Use a little removable tape on the back to keep it snuggly in place.


Turn the pattern piece over and adhere a piece of plastic acetate over the back of the wreath. Use as little glue as possible to keep it securely in place. Cut out a square piece of craft foam and adhere it onto the back of the patterned piece of card stock. Apply glue and let it sit for a moment. This photo shows the back side of the patterned piece, the blue removable tape holding the wreath snuggly in place, the acetate piece glued on top, and the black craft foam piece glued into place, with more glue on the top.


On top of the black card stock, add a colorful piece of pattern paper and glue securely in place. Make sure it will not show through the flowery pattern piece that will fit on top. Add your shaker filler to the center of the card. You can use colorful sequins, micro beads, confetti, whatever you choose. When the sequins are in place, carefully adhere the pattern piece 'window" you have created and press in place. Set aside and let dry. Do not be tempted to shake your card until it is completely dry! When it dries, add your beautiful Unique Laser Designs wooden laser cuts. I used a bunny, an Easter egg, a tiny butterfly, and a chubby daisy to make this colorful Easter shaker card!


Thanks for joining us today!

Live your life in color!


Materials List
Unique Laser Designs Bunnies (6 pc. set) W-1008
Unique Laser Designs Easter Eggs (6 pc. set) W-1054
Unique Laser Designs Butterflies (Sm) W-2024
Unique Laser Designs Daisy-Chubby (5 pc. set) W-1157
Pink card stock - 2 shades
Black card stock
Patterned card stock (2 complimentary patterns)
Grendon Wreath die cut, available from Poppystamps
Clear Acetate transparent plastic sheets (available at craft or computer stores)
Shaker filler: sequins, micro beads
acrylic paint (white, blue, yellow & pink)
glitter (white, blue, yellow & pink)
craft glue

Sunday, August 10, 2014

Kids at Play!

Today I am sharing some pictures from a recent Kids Scrap Camp I hosted.


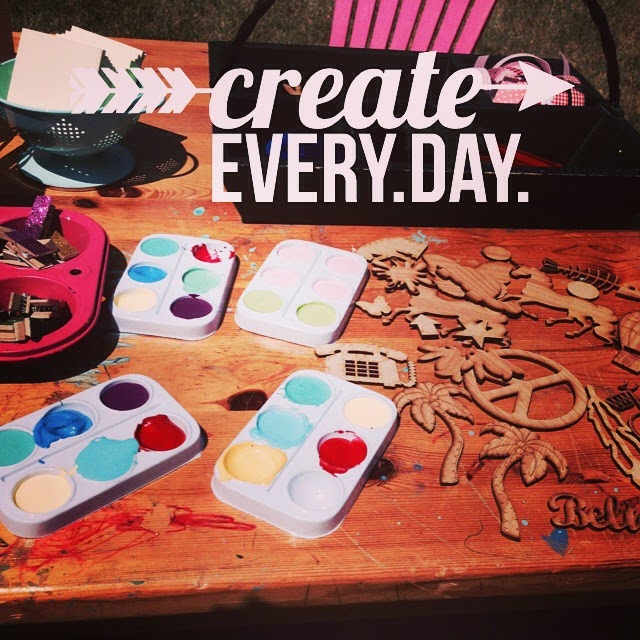
It was finally going to be a hot day, so I put a craft table in my back yard.  I set up some paints, wood pencil boxes, and tons of the Unique Laser Design Images that I thought kids would like.

I told the kids to do whatever they wanted with the shapes.  Most of them grabbed the peace signs, unicorns, and bunnies.  I loved their idea of sharing the images by tracing the image on the box first.  Then they were able to all have a peace sign.  Since we were outside the paints dried fast so they were able to add extra layers of colors. 


Adding Layers to her butterfly.

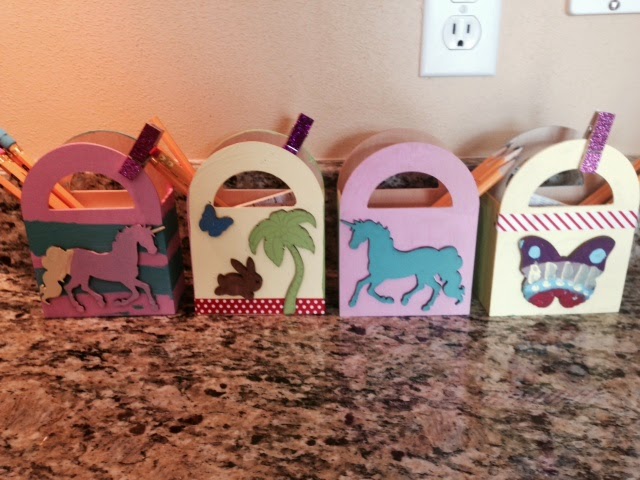
Here is a look at some of the finished pencil boxes. 
They either traced the images from a ULD or
they adhered the image to their box.


Here they traced the peace sign image.

If this group of girls can have this much fun working and playing with the wood embellishments... I am sure you can too!
If you are ever in my neighborhood (Chicago/Milwaukee area) stop by and I will let you play with some wood!


Monday, April 14, 2014

Easter Candle Ring

I am super excited to bring you my first project as an official member of the Unique Laser Designs Design Team. And boy oh boy do I have a fun project for you.  How about an adorable candle ring with lots of bunnies and Easter eggs.

So let's get moving, and I'll show you how it was made.


I went through my stash of embossing powders and pulled out all the fun spring colors.  All but one piece on this candle ring was heat embossed.


 For this egg,I embossed the entire egg in a pastel purple, the added a layer of embossing glitter around the edges.


As you can see, I love to add glitter and bling to my projects.  It's a rare day that I make a project that doesn't have shine and shimmer on it somewhere. :)


The rabbits were also embossed.  For these guys, I added several layers of embossing since I wanted a bit more texture.


To finish the rabbits, I added a bit of Smooch ink to the nose, a crystal to the center of the flower, then a pom-pom to make a super cute fuzzy tail.


This is the one piece that is not embossed.  I simply inked up this adorable bunny with spray ink, then with a layer of shimmery ink.


Now it's time to start adding on the finishing pieces.  Each egg was decorated differently, some with flowers, some with crystals, some with buttons.


As for the bunny, I simply adhered a small butterfly. Then, it's simply a matter of attaching the pieces together.  I used a hot glue gun and simply attached all the pieces together in a ring shape.


How cute is this? A perfect way to create a centerpiece for your table.


One word on safety...the pieces are made of wood which are highly flammable.  If you are using a candle with a flame, be sure to remove the candle ring while burning the candle.


If you're using a flameless candle, then there's really no need to remove the ring while the candle is lit.


Wednesday, April 2, 2014

Wishing for spring wreath


My wish...SPRING!
Oh spring, spring...where for art thou spring?

I created something springy and crafty last week, but it really didn't seem to have any effect on Mother Nature, so I'm trying again. This time, I'm making a wreath to grace the door and scare away the winter spirits.  And I'm using ADORABLE spring shapes from Unique Laser Designs!

First, I took a straw wreath and wrapped and wrapped it with this pastel variegated yarn.
Next, I took some canvas flower shapes from Linnie Blooms,  I colored them with gelatos (pink and orange), and spritzed with water so I could spread the color with my fingers.  On some of the flowers I added LOTS of color, some just a bit.  Some are more orange, some are more pink. A flowery hodge-podge!
Next, it's painting time!  I painted these ADORABLE Easter shapes and letters from Unique Laser Designs.


I "marble-ized" the solid egg and bunny by blending gelatos over the dried acrylic paint and then splattered the letters with pink paint after covering them with a few thin coats of Distress Stain Picket Fence.


This is my ode to spring.  Mother Nature are you listening this time?


I couldn't stop playing with these adorable shapes, so I'm tucking in a few more ideas if you get a few minutes to play.


Pin It