Hello
Friends!
I am
so honored to have been invited to be a Guest Designer for Unique Laser Designs
and my first project is a Christmas card featuring a removable Christmas
Ornament if the recipient desires to use it on their Christmas tree!
So, first,
I’m sharing a step-by-step tutorial of how I put this together starting with
the ULD embellishments:
I used
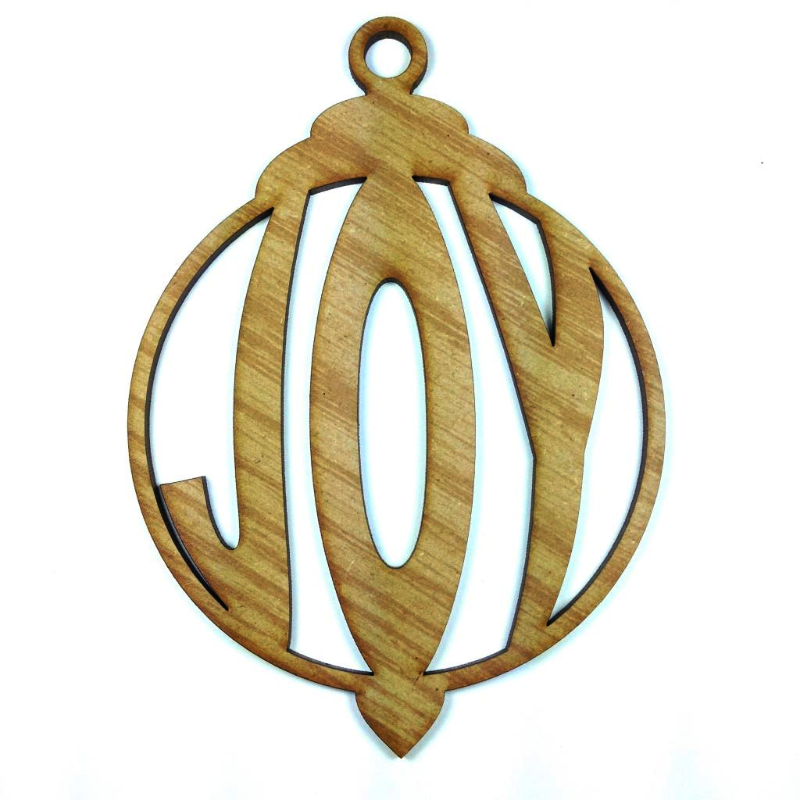
the title in chipboard and the ornament is the good-smelling wood!
First,
I painted the title chippie with white acrylic paint, sprinkled on some
Stampendous Shabby White embossing powder while still wet and then heat
embossed it. I then rubbed a little Tim Holtz Fired Brick distress ink around
the edges to make it stand out a little and match the color scheme of my papers
I used for the card.
For
the wood embellishment I painted on a coat of Gesso, then dabbed a paint brush
in some water, wiped it off a bit, then dipped it in my Perfect Pearls Forever
Green for the leaves, Forever Red for the berries, Perfect Gold for the vase
and Perfect Bronze for the candle. After it dried I used Glossy Accents over
the ivy and vase to give it a little gloss.
I then
got out my homemade texture paste (from a Gabrielle Pollacco tutorial), grabbed
a plastic knife and dabbed it at the top of the candle to look like dripping
wax.
The
next step I used Tombo Mono Liquid Glue on the flame and sprinkled Doodlebug
Design, Inc.’s Sugar Coating glitter in yellow and black for the base of the
snow globe. For the outer rim I used Diamond Chunky Glitter Glass from
Reneabouquets.com. I also dabbed a little white paint on the candle, ivy and
vase to look like snow.
Now,
to make the card…
I used
K & Company’s Elizabeth Brownd Visions of Christmas Designer Paper. I cut
out the blue snowflake background first, wanting it to appear as looking out a
window.
I used
G45 Botanical Tea paper to make my window frame.
For
the valance, back to the K & Company paper and a Martha Stewart Doily Lace punch.
I then
misted it with water to make it easier to pleat by hand. When dry I added some
small self-adhesive foam squares to apply to the top of the card and a little
trim I had in my stash on top of that.
I then
decided to use a little more texture paste to make the window frame appear to
have snow settling on it!
I also
used some Ranger Star Dust Stickles here and there on the background paper to
make it appear to be snowing! I then added a little cocoa mug sticker from Walmart.
And
there you have it!
Have a
great day friends!
Elizabeth
ULD Products
used:
Other products:
K
& Company EB Visions of Christmas 12x12 card stock paper pad
G45
Botanical Tea 12x12 card stock paper pad (for the window frame)
Perfect
Pearls – Forever Green, Forever Red, Perfect Gold and Perfect Bronze
Glossy
Accents
Doodlebug
Design, Inc. Sugar Coating glitter
Diamond
Chunky Glitter Glass from Reneabouquets.com
Tim
Holtz Distress Ink – Fired Brick (around Merry Christmas) and Vintage Photo
(around windowsill)
Martha Stewart Doily Lace
punch