Showing posts with label halloween. Show all posts

Thursday, October 30, 2014

BOOtastic Gift

Happy Hallow's Eve!!
 
Today I'm here to share with you a BOOtastic giftbag and mini album. This is a great gift for the host of a adult Halloween bash as well. 

 
First I will start you off with how I altered the Wood Skull for the giftbag.


These are the supplies I used to alter the skull.


 To begin the distressing process, I used a black piece of cardstock to give base to the back of the Wood Skull (eyes and nose). This is to give be a foundation to add the bling.

 
Cover the face of the skull with Distress paint, be sure not to cover the teeth.  Then while still wet, cover with Distress Embossing Powder and heat set.


Next, let's work on the eyes.  Now this part could have been completed in one of two ways.  You can add one diamond as the center of each eye then fill in the rest of the eye with white or your choice of color embossing powder or any other medium.


I chose to fill the eye socket with bling. Next I enhanced the teeth using Liquid Pearls in silver.


Now let's build the giftbag. 
 

The ziz zag you see on the giftbag is actually what would be considered the negative from a design cut.


I cut this piece into three sections and used the same embossing method to distress it.
 
 
And here is another look of the embellished giftbag.
Now, let's take a look at the mini album.


For the front of this mini I used a Chipboard Corset as the focus.
 
 
This is how the Corset looks unfinished.  I love this design, especially being it has usable holes for lacing up the front instead of having faux holes.
 
 
I altered the Corset by mixing the two main colors used throughout the mini album.  Starting with the center of the corset, being very careful to only ink up the section I want to emboss in the lightest color.  Next I moved over to the next section to emboss in black, and continued until the entire piece was completed.  Finally ending with threading the center of the corset.


Here's a glimpse of the inner pages of the mini album.  Each page has been mildly altered to prep for those fun Halloween photos.


I also used a Custom Decorative Wood Design on the second page of the album. I love how the mix of embossing powders gives this wood design the look of rustic metal. While the base embossing color is still hot from heat setting, lightly sprinkle darker embossing powder on sections.  As you heat set each layer, add more embossing powder where needed. Then using a my distressing toothbrush, I spritzed gesso over the piece to add more of a weather look.


Products Used:
 

Monday, October 13, 2014

An Eerie Steampunk Tag

Hi everyone!  Sharing a tag made with Unique Laser Designs goodies with a Halloween Steampunk mixed media vibe:


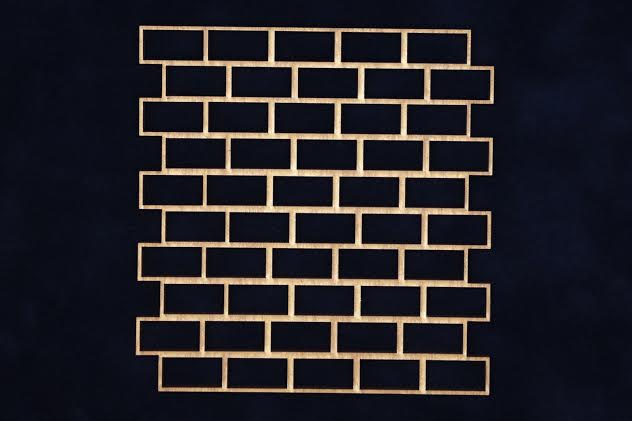
This tag started with a blank base tag that I sprayed with orange spray ink, then black spray ink through the brick stencil from ULD:

                                          W-1124 Brick Wall 4¾" x 4¾"

Here is the look after I added some black soot distress ink to the edges and to soften the tag, and then used water dripped on to give this distressed look:


And here is the finished look with the stencil in the background:


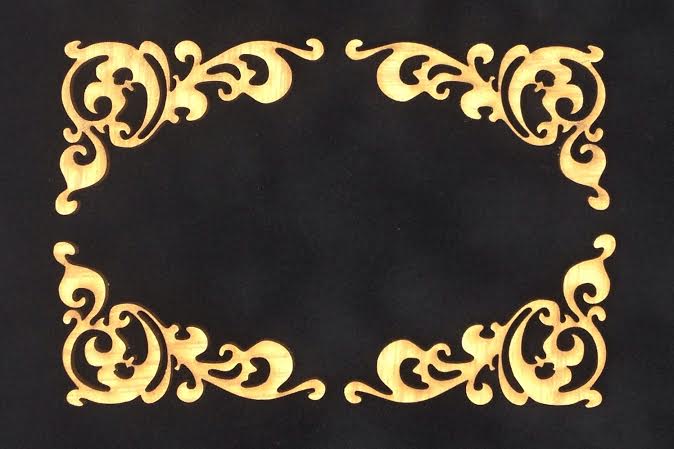
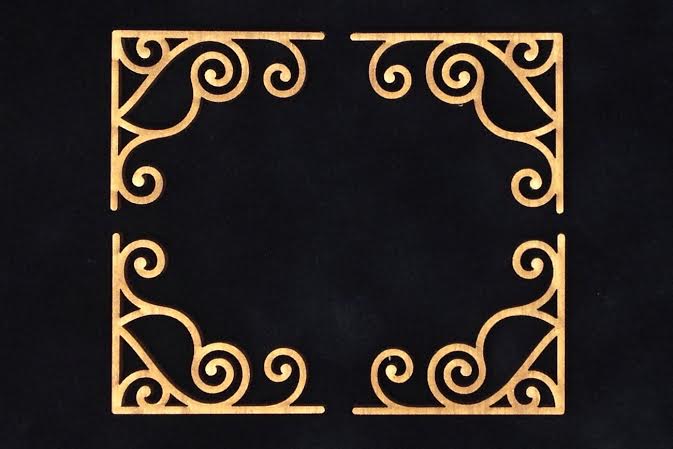
Next I took 2 corner scroll pieces:

                                          W-6000 Corner A (Set of 4) 2½" x 1¾"

I dabbed these with embossing ink, and then used embossing powder to cover them:


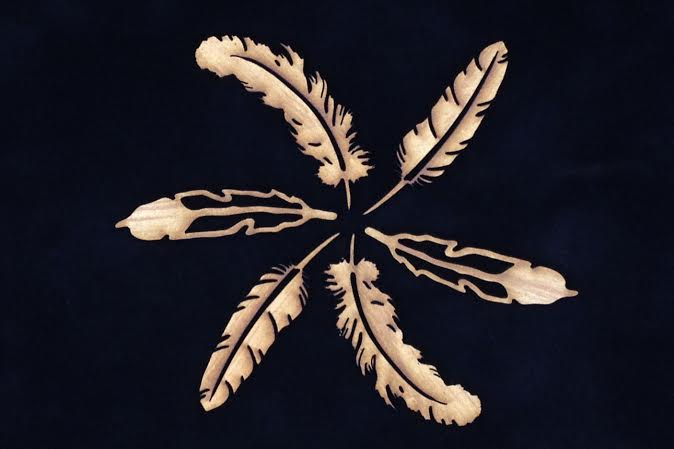
I also used this on one of the feathers from this set:

                                          W-1072L Feathers (6pc Set) 4"

Then I added some stamping to both pieces using black archival ink.  I also added some black glitter to the edges of the feather.

To add to the steampunk look, I added a gear from this set:

                                          W-1052L Gears Set B (12pc Set) 6" (Lg), 3" (Md), 2¼ (Sm)

The gear is painted with black paint, and sprinkled with a bit of the copper orange embossing powder. 

Here is a closer look at the embossed, stamped and glittered pieces:


Thanks for joining me on the blog today!  Have a little creative mixed media fun....grab some ULD pieces, ink, paint and embossing powder, and have some creative play time!


Monday, October 6, 2014

Boo-ti-ful Candy Fun!


French Fries anyone???  Decorate a fry container to create treats for parties and special friends!  The container can be made by a template (Mirkwood), electronic svg file, or die cut file for your Cuttlebug or Sizzix.  I cut mine electronically.


Parts of this set was used and some custom cuts - "Boo" and extra bats.


I used Glitter Paste over the black stripe on the paper and the word "Boo."  Adds sparkle and dimension!!


This is a holographic glitter so it has clear and greens in it - a perfect match for this treat holder.  The glitter is all over but highlights in picture where the light is hitting it.  More clear where the light doesn't hit it.  Almost glow in the dark.

Creating a ton of these is fast and easy with paint and markers!!!


Make your own containers or save containers that foods (no residue of course), gifts, or other items come in.  Upcycle into cool decor or gift packaging.


Have a safe and spooky Halloween!


Cre8tivelea Yours - Lea


Friday, September 19, 2014

A Sparkly Home Sweet Home Halloween


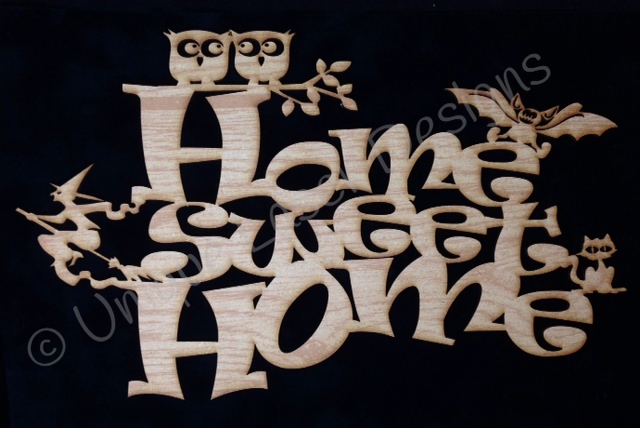
Don't let all of these colorful details scare you away from making this Halloween wreath.  You can make this wreath in about an hour with some yarn, paper rosettes, glue, micro-glitter, and this Halloween wood design from Unique Laser Designs.  First, I wrapped a straw wreath with yarn and then I moved onto the sparkly part of the project.

I covered the whole wood design, "home sweet home", with a piece of scrap paper, but revealed one section at a time.  To that section, I spread on a thin layer of glue and then sprinkled on micro-glitter. Then I moved onto a different section and a different color of glitter.  The flying witch and the bat are purple, the cat and owls are teal, and the "home sweet home" is covered in black micro-glitter (and now so am I).

http://www.uniquelaserdesigns.com/#!product/prd1/2697741781/home-sweet-home-(halloween)


 I added some paper rosettes and stars and this wreath is ready for the front door!

Halloween decorations don't have to be scary or creepy...
sometimes they can be cute and SPARKLY!

What's on your front door for Halloween?  
Nothing yet?
Why not start with something from Unique Laser Designs...shop HERE!


Sunday, August 31, 2014

Halloween Craft-A-Thon!

Ok, I will admit it....I absolutely LOVE Halloween, and this year I wanted to get a head start so I'd have some great display pieces for decor.  And thank you Unique Laser Designs....of course they had some perfect pieces to help me create!  In an inky, painting, creative frenzy.....I've created 3 projects to share with you today:

A printer's tray:


So many fun pieces in here!  I used:

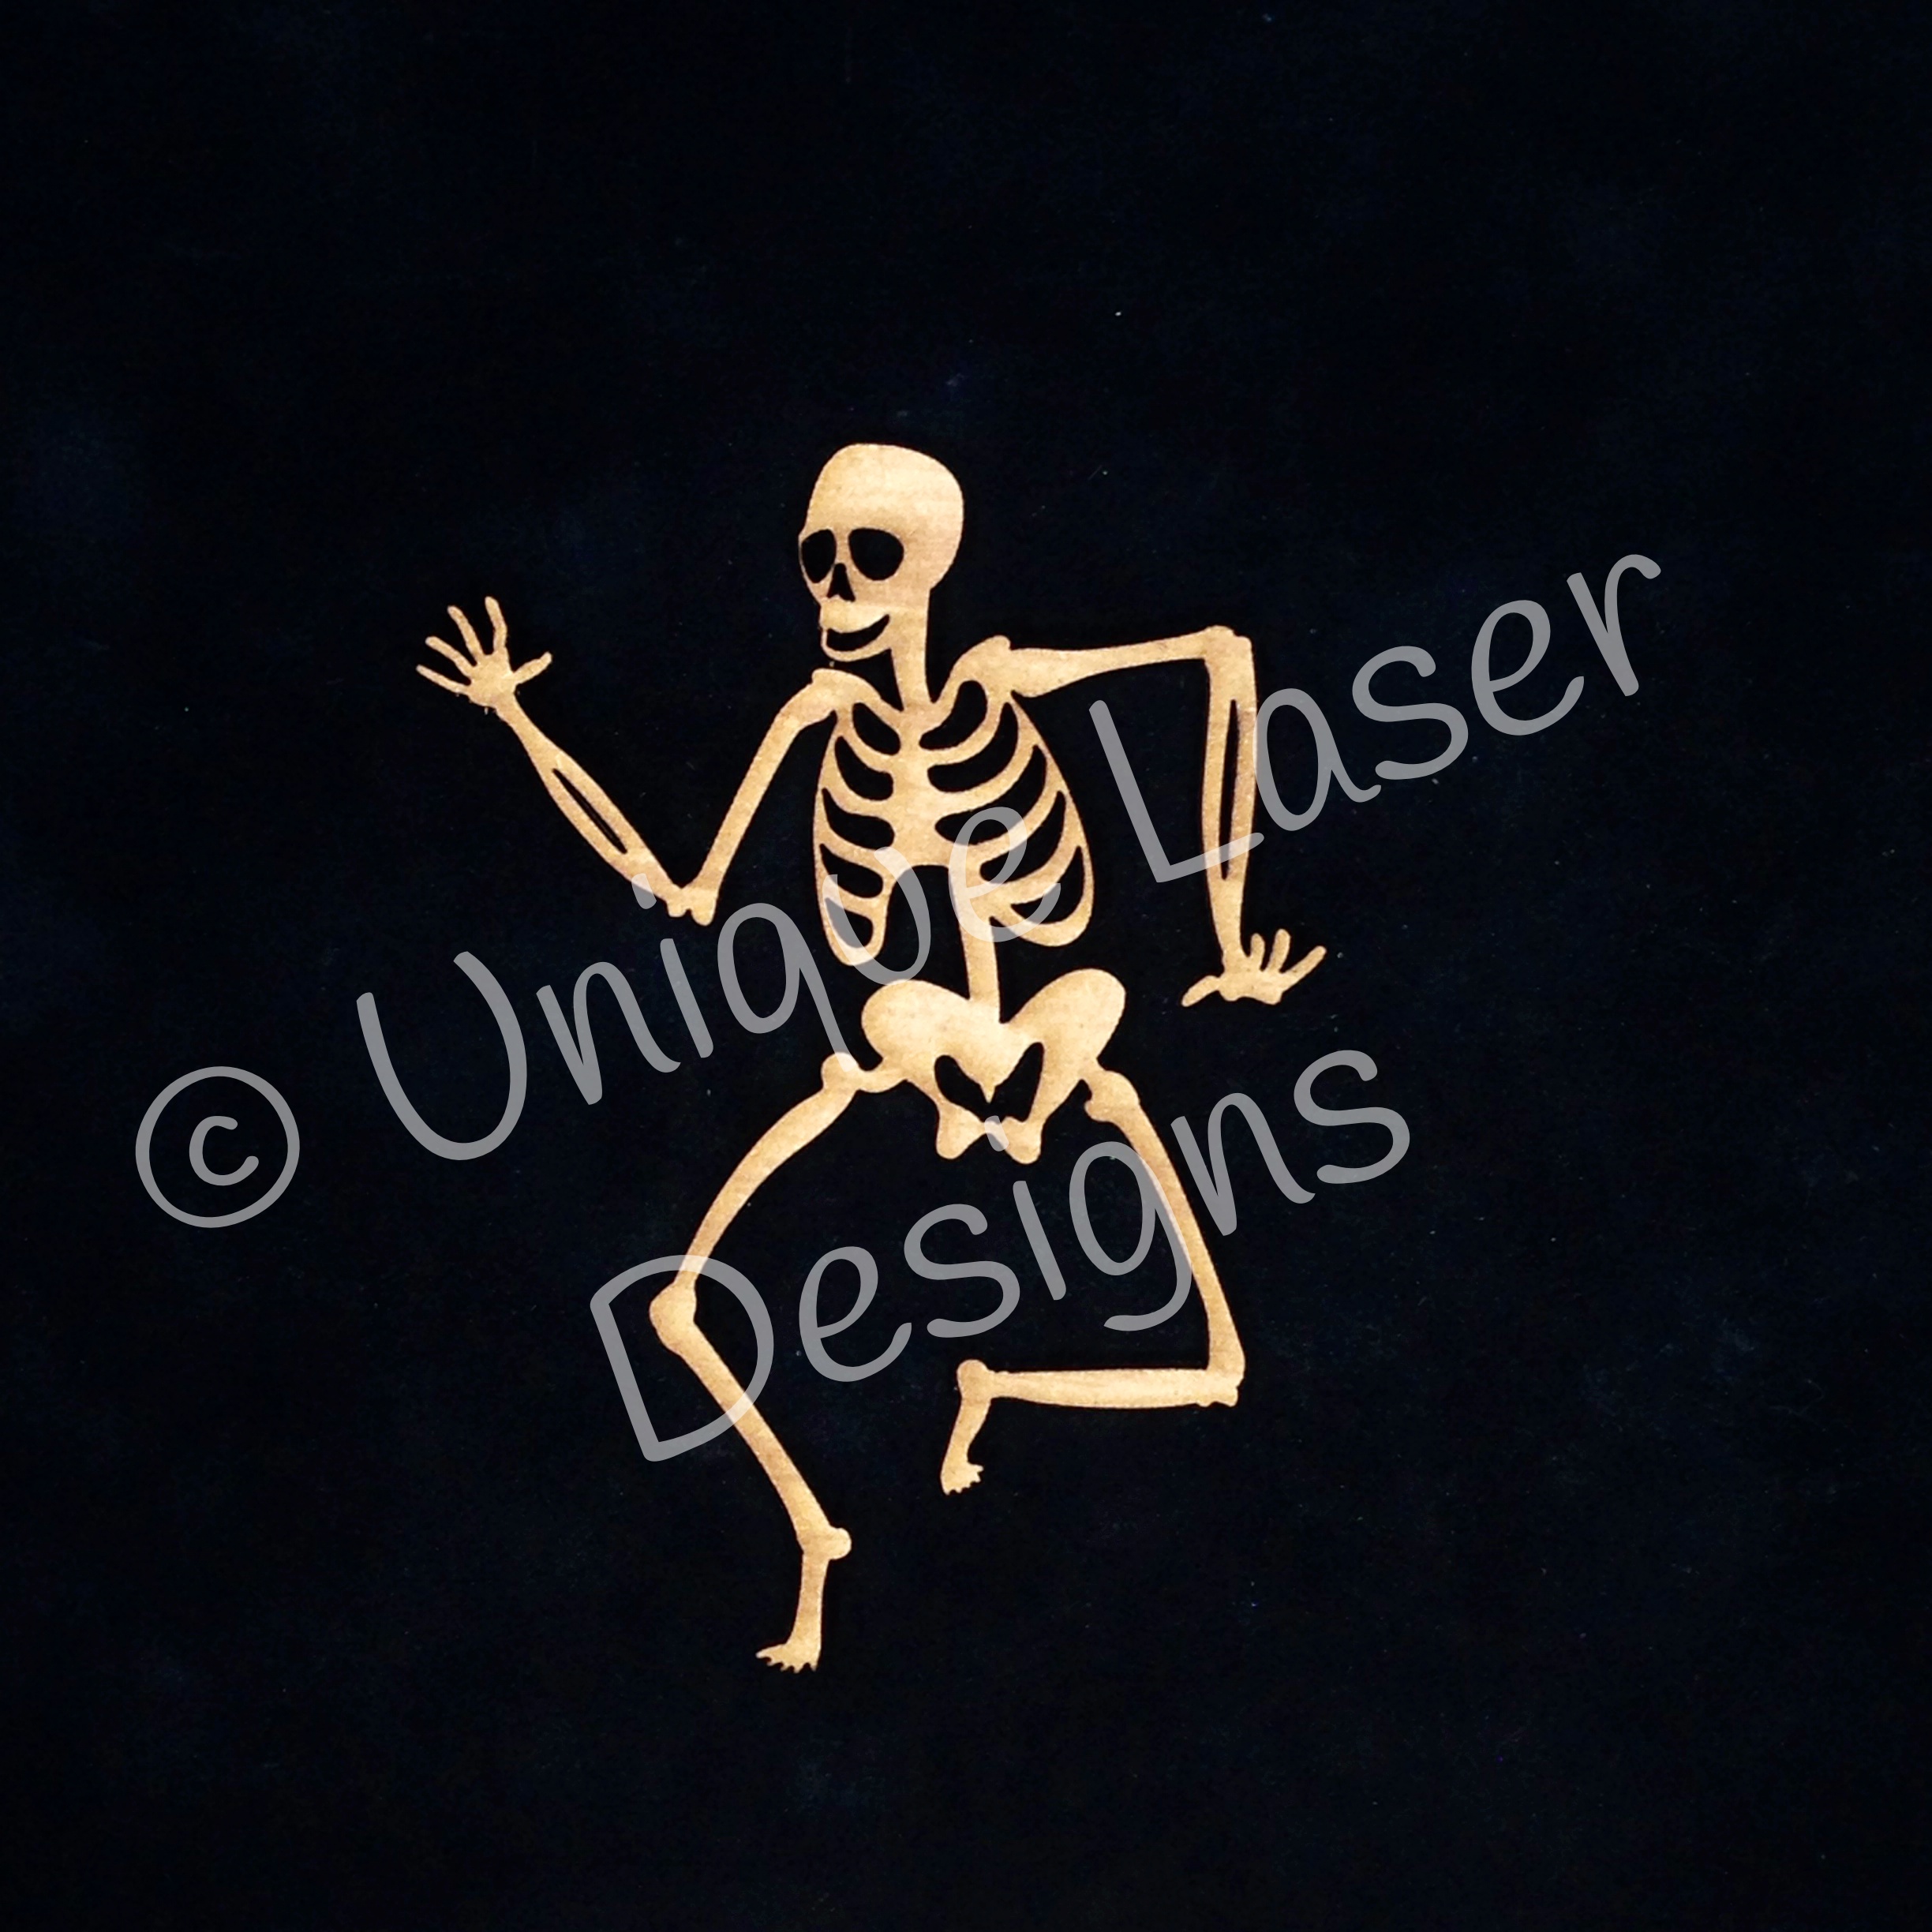
W-1174 Skeleton (he was painted white and inked with black distress ink:


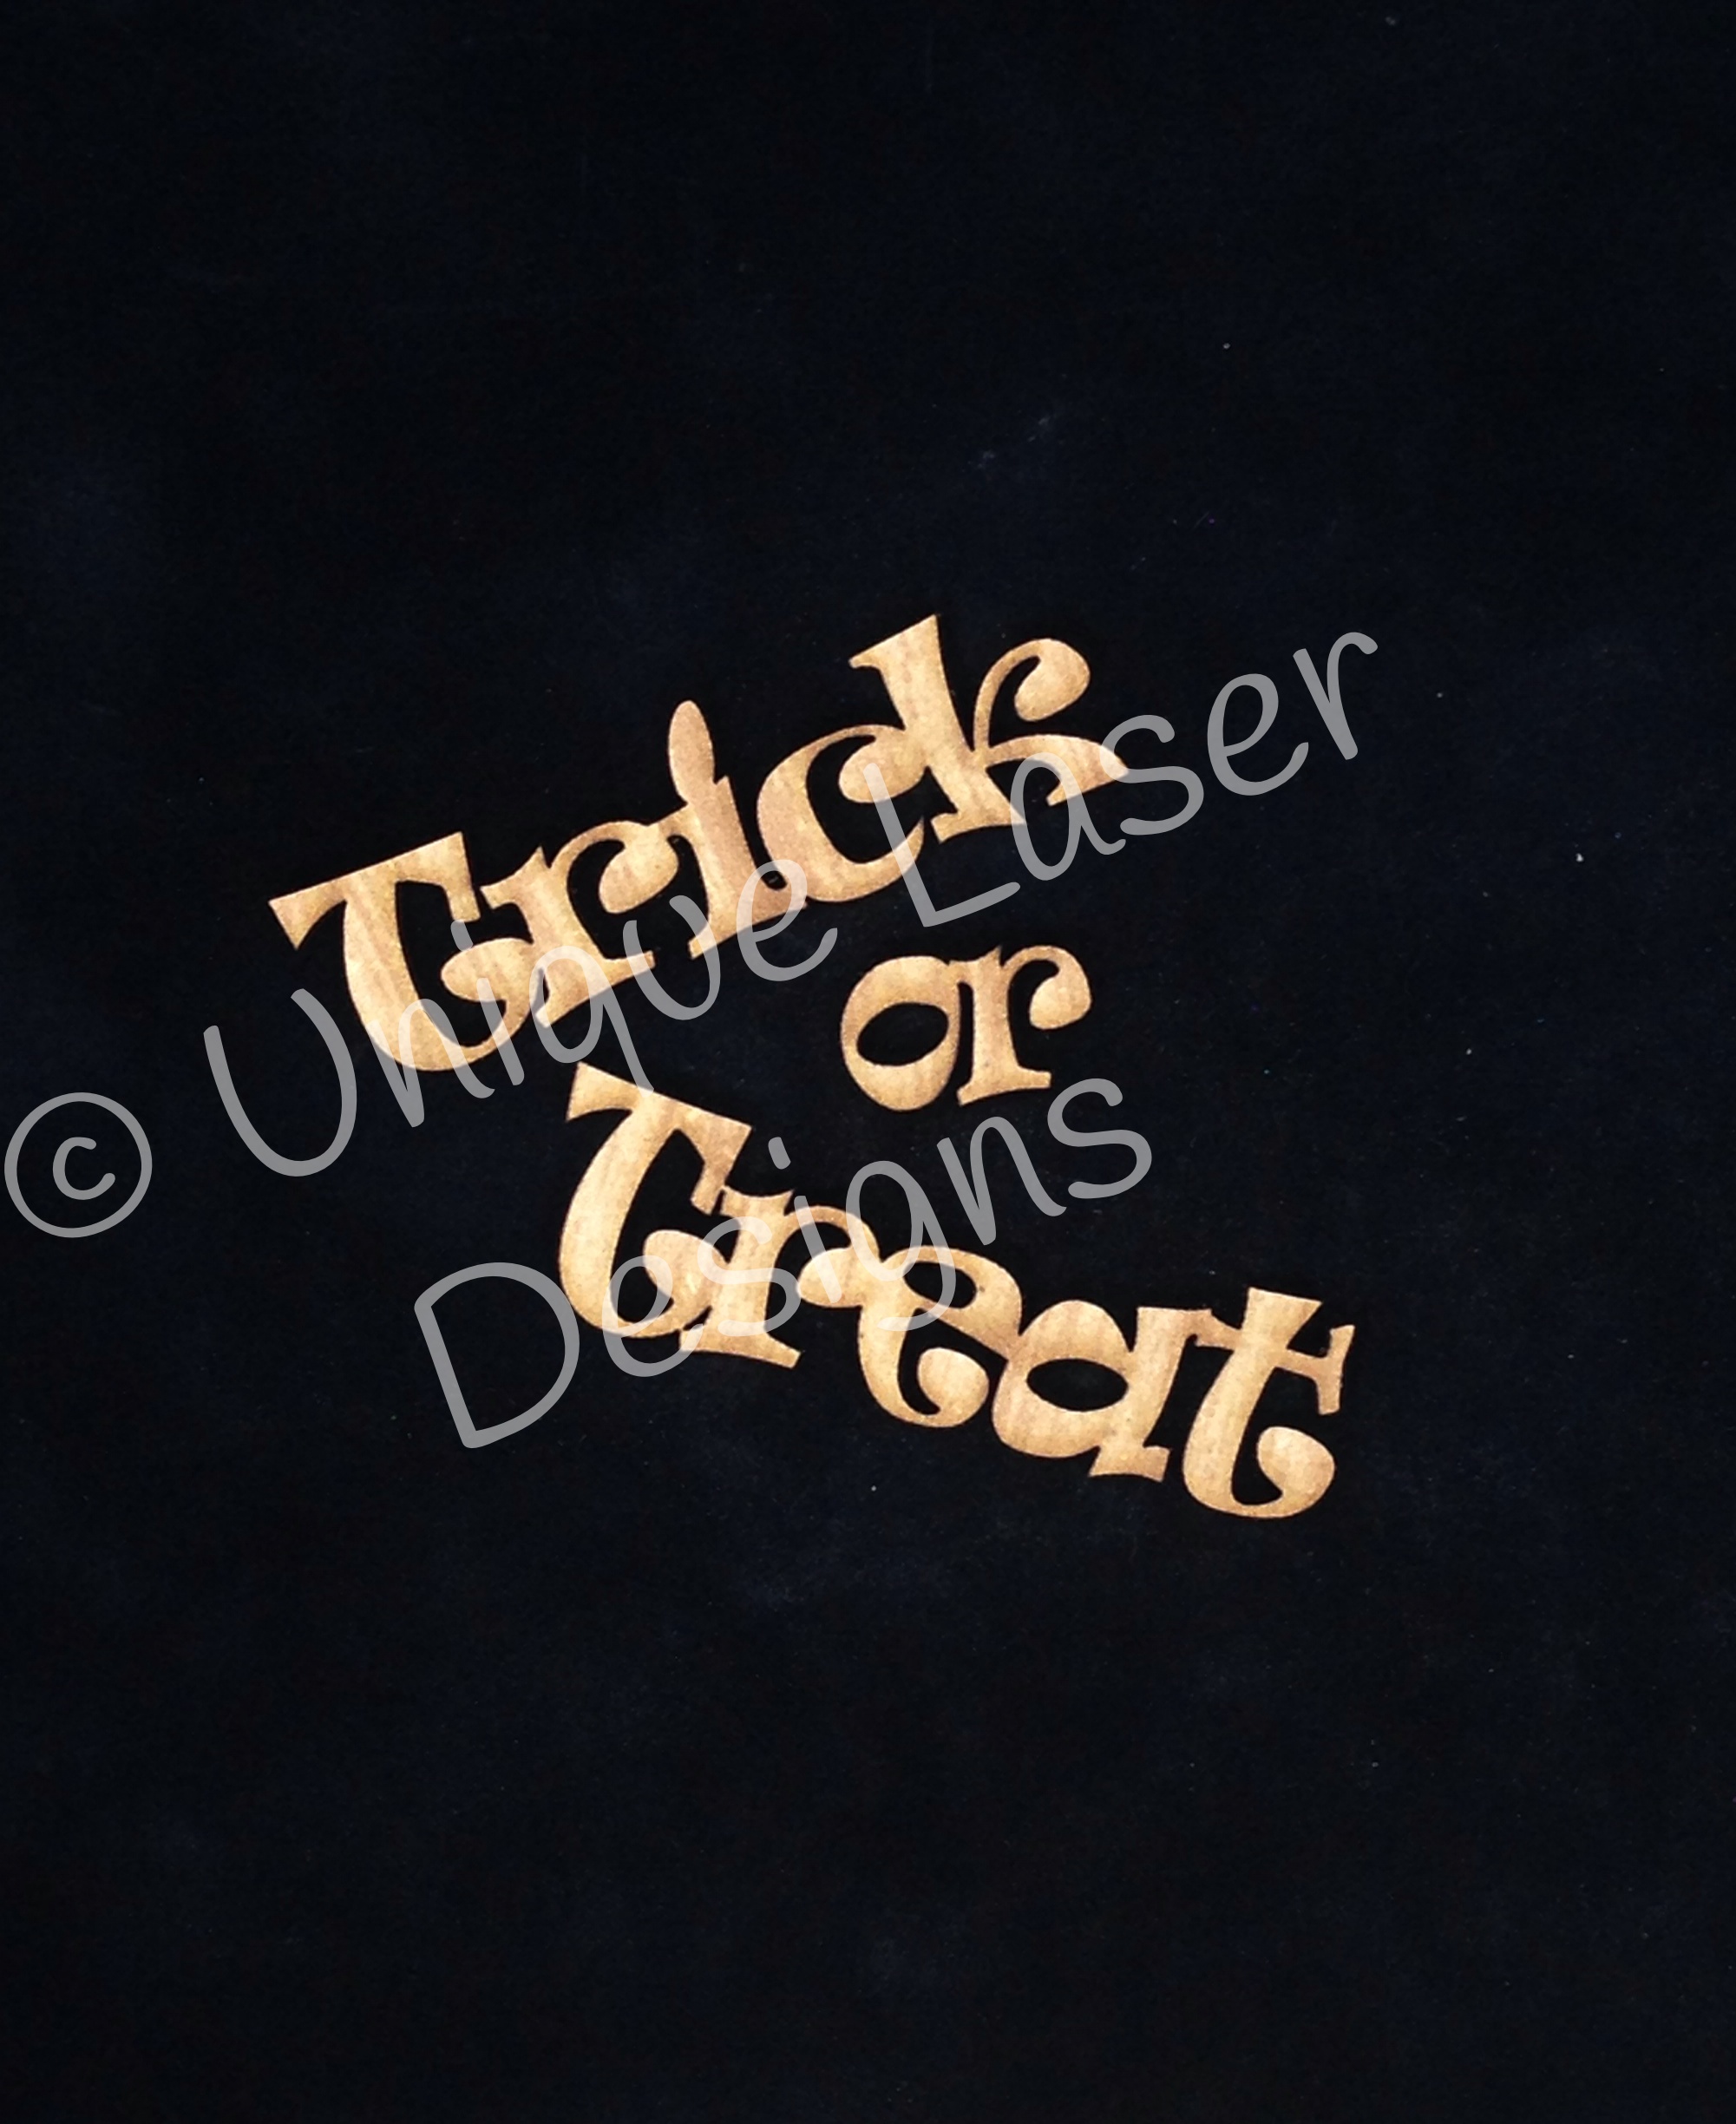
W-3032 Trick or Treat (painted orange and distressed with black ink):
 
 
 Here is a close up of those pieces:
 
 
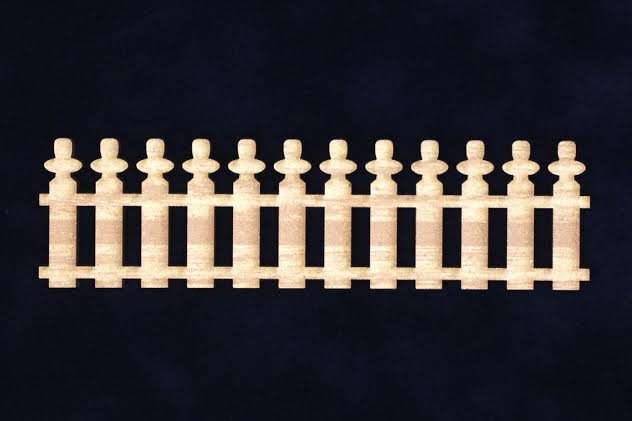
W-1127 Scallop Fence (painted with black chalkboard paint and brushed pewter distress stain):
 

You can see the details here:


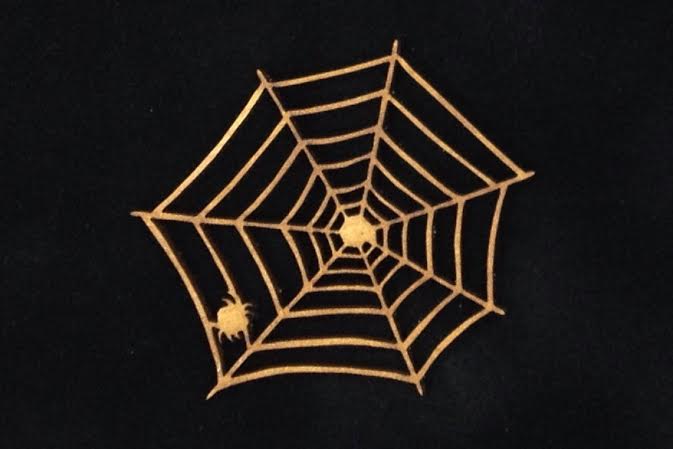
W-1010 Spider Web (painted with black chalkboard paint):
 

W-6019 Corner H (painted with black chalkboard paint and orange paint):
 

Here's another closer pic (and of the pumpkin face too):
 
 
W-1074 Signs (painted with black chalkboard paint and orange paint):


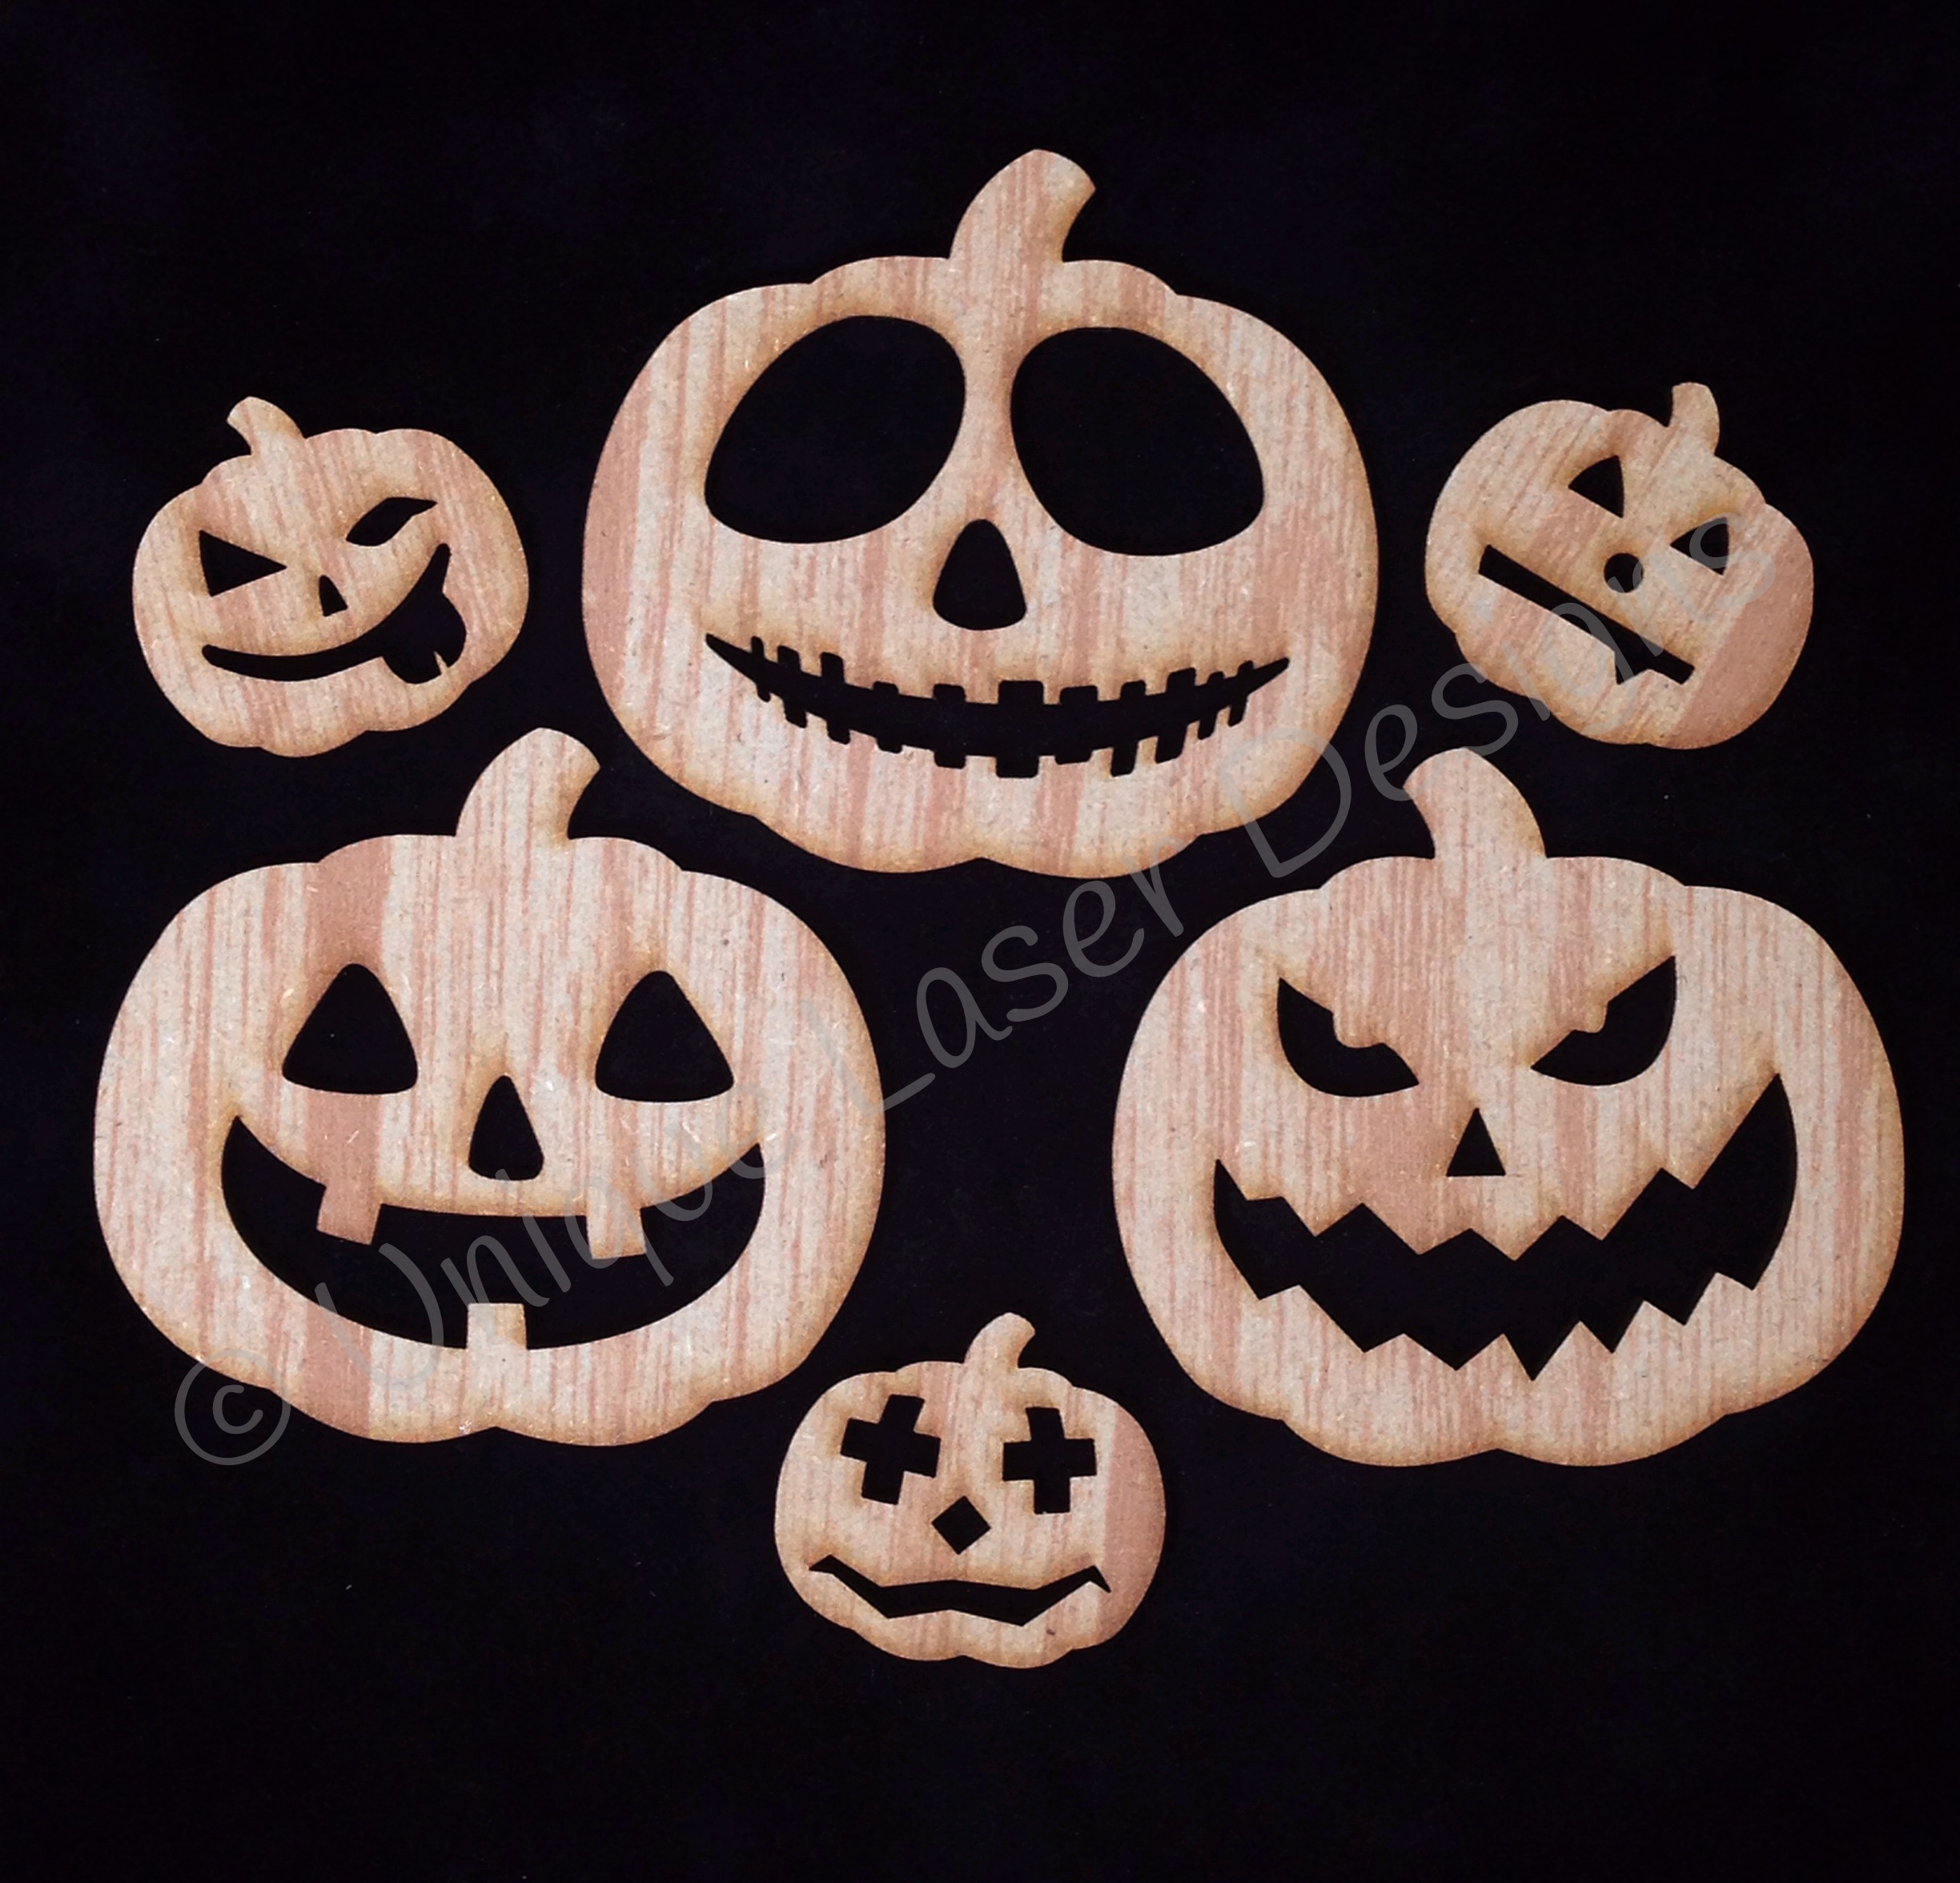
W-1195 Jack O Lanterns-B (I used the negative space pieces to create a face, painted with
black chalkboard and orange paint):


And these cute pumpkin guys are also part of this next project:


The pumpkins are painted with orange paint:


Then I go back with the foam brush and pounce on paint to give it a bubbly texture:


Then I stamp over that with a great mixed media ink like Memento Luxe ink.  It takes time to dry (I use a heat gun to speed it along) but it gives a great crisp image, even over the textured paint:


Here is the rest of the cube...pieces were painted and inked with black distress ink:


And making use of those negative space pieces again:


And some of the ULD gears (W-1052S) painted with black chalkboard paint, and brushed with pewter distress stain, that I quickly wiped off to give it a subtle metallic look:


And the final side....a lot like the first, but the pumpkin has a different face (used his smile with the eyes and nose from the other pumpkin for the negative space pumpkin face):


And just for fun, thought I'd share this tag I made with many of the same techniques and items:


Are you inspired to get an early start on that Halloween crafting?  So many ideas for these cute wooden pieces from Unique Laser Designs!

Thanks for stopping by today!