Showing posts with label Corner A. Show all posts

Tuesday, March 31, 2015

Easter Greeting

Easter would not be complete if I didn't create a seasonal card for my mom. I really love creating greeting cards for this particular holiday, it's such an unexpected surprise for the receiver.
 
Today I will share with you my steps in completing this mildly shabby Easter greeting card.


For my card I used Unique Laser Designs Bunnies. 


I begin with adding layers of pattern paper, inks and light molding paste to my base.


Next, let's add a little color to the Bunnies. I originally used Heidi Swapp's color shine mist in white but the color isn't saturated enough.  I decided to use white acrylic paint and mix a little water in to dilute.
 
 
After covering the Bunnies with the paint mixture, use a baby wipe to remove some of the color.  This will leave you with a more soft and shabby look.


Now layer on more embellishments


Art Ingredients:

Unique Laser Designs -  Bunnies
Papertrey Ink Cardstock
Pattern Paper
Light Molding Paste
Gesso
Crochet Doily
Raffia
Seam Binding
Color Mist
Florals
Buttons
Michaels Sentiment Stamp
Stazon Ink
Acrylic Paint

Wednesday, December 24, 2014

Keepsake Box, By Elizabeth Pipkin

KEEPSAKE BOX
 

Hi again everyone! I’m here to share my last project as Guest Designer for Unique Laser Designs and I would like to say that it has been an honor and privilege to have the opportunity to use these great products and work with such a great team! For this project, I decided to make an ordinary wooden box into a keepsake box as a gift for my sister who is retiring from her job at the end of this year. I wanted it to be something special and I hope this fits the bill! I chose Unique Laser Design’s pretty Corner A, Flourish A and the word Love, from their Live, Laugh, Love and Hope set. The corners and flourish are wood and Love is chipboard.
 

I decided to keep the finish simple on these by just dabbing on Ranger Adirondack Pearl acrylic paint dabber. Then I used a Q-tip rubbed in Tim Holtz Aged Mahogany Distress Ink Pad and rubbed around all the edges.
 

Now, to begin on the box... I purchased it from our local craft store awhile back and after seeing a pretty keepsake box decorated by Gabrielle Pollacco, I decided to give it a try!
 

I painted it inside and out with Gesso.
Then, I randomly rubbed acrylic paint on all sides including the bottom with my finger.
 

I wasn’t too thrilled with how the paints didn’t blend in smoothly so I got my foam paint brush out, got it wet with water and ran it over the entire box. Then when it dried, to tone down the paint a bit, I used my Pearl dabber again, dragging it across all the colors.
 
 
Before moving on to the outside, I wanted the inside to be pretty also. I used papers from Graphic 45’s Botanical Tea collection cutting them to size, inking the edges with TH Victorian Velvet and gluing top and bottom in and then adding smaller images from the same collection. I also added some Diamond Stickles to the flowers and hummingbirds to shimmer it up a bit. The pretty butterfly is from Reneabouquets.com.
 

Now, back to the outside of the box… The next step is to randomly stamp images you want to use on your box. I used Tim Holtz Black Soot Distress Ink. Now I have to say, this was way out of my comfort zone because I hardly ever use black ink for stamping, but after seeing it used so frequently among other artists and Gabrielle’s pretty box I decided to give it a try. I was pleased with the final result. Also, I’ve always been a stickler for precise stamping but am getting to where I really like the look of fading (or not a completed stamp).


I inked around all edges, inside and out with Tim Holtz Vintage Photo distress ink pad to give it an aged look and then I used my homemade texture paste with a Prima stencil.
 
I wanted to use an image from Graphic 45’s Botanical Tea paper on my box, so I cut it out with my Fiskars circle template and cutter, distressed the edge and inked with TH Vintage Photo and glued it to the top of the box. I then framed it with Artisan Elements circle and inked that in with Tim Holtz Black Soot.


I also decided to use Tim Holtz’s pretty metal corners to add elegance to the box.
Now for the embellishments! My beautiful ULD pieces, a Reneabouquets butterfly, a Prima flower, some cheesecloth, white berries, leaf ribbon, pearl flourishes and metal key. The blue butterfly I fussy cut from the G45 papers to match. I also used Diamond Stickles in the image.
 
 
On one side is ULD’s pretty “Love” chipboard.


The little cherub I won in a drawing and metal key on the side are both from Reneabouquets!


And the finished product!
 

Thank you for taking time to stop by and view my Keepsake Box!


Products Used:
Unique Laser Designs Corner A and FlourishA (wood)
Folk Art acrylic paint in Rose Pink, Aqua Moiré and Forest Moss
Ranger Adirondack Pearl dabber
Gabrielle Pollacco’s Daisy Stamps (lattice)
Prima Clear Stamps #545055
Hero Arts Clear Stamps Special Time #2
Tim Holtz Distress Ink Pads in Black Soot, Vintage Photo, Victorian Velvet and Aged Mahogany
Prima 6x6 stencil, Ameruse Duchess Mix (H) flower
Diamond Stickles
Bo Bunny Frosting Jewels (pearl flourishes)
Graphic 45 Botanical Tea 12x12 paper collection
Artisan Elements circles
Tim Holtz metal corners
Reneabouquets cherub, butterflies and intricate metal key

Queen & Company baby blue rhinestones

Monday, October 13, 2014

An Eerie Steampunk Tag

Hi everyone!  Sharing a tag made with Unique Laser Designs goodies with a Halloween Steampunk mixed media vibe:


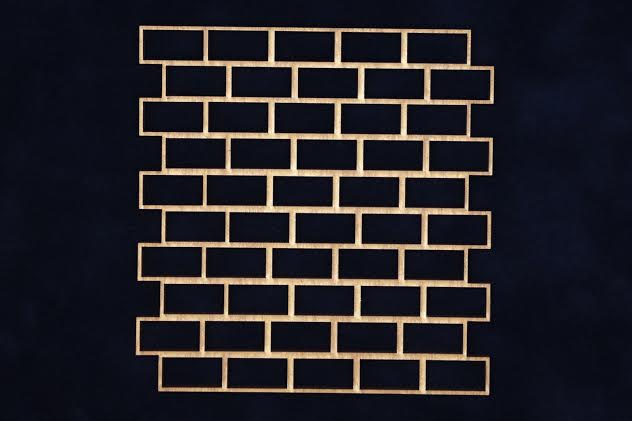
This tag started with a blank base tag that I sprayed with orange spray ink, then black spray ink through the brick stencil from ULD:

                                          W-1124 Brick Wall 4¾" x 4¾"

Here is the look after I added some black soot distress ink to the edges and to soften the tag, and then used water dripped on to give this distressed look:


And here is the finished look with the stencil in the background:


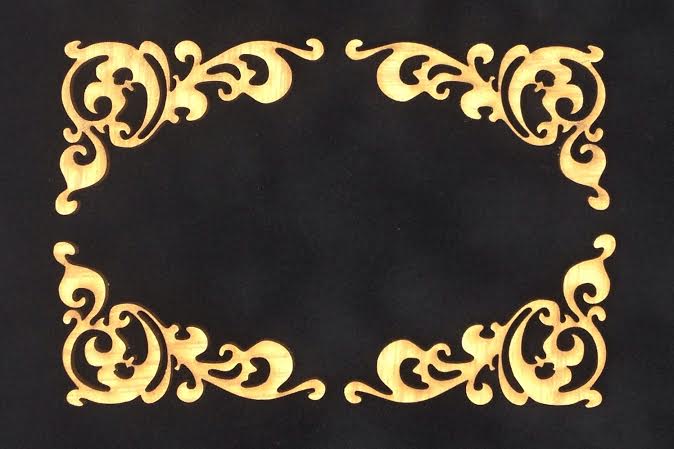
Next I took 2 corner scroll pieces:

                                          W-6000 Corner A (Set of 4) 2½" x 1¾"

I dabbed these with embossing ink, and then used embossing powder to cover them:


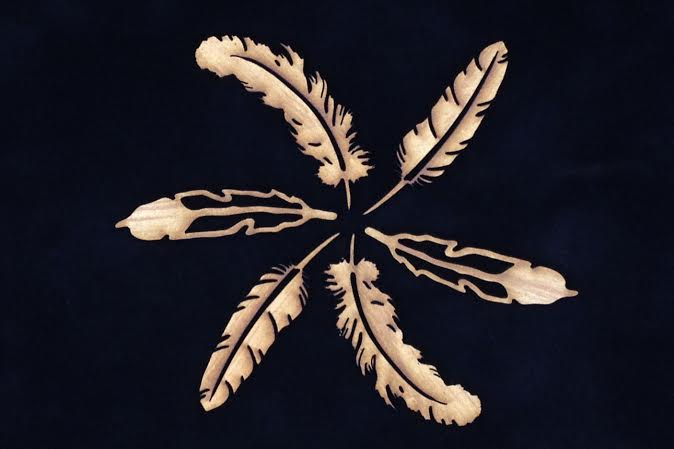
I also used this on one of the feathers from this set:

                                          W-1072L Feathers (6pc Set) 4"

Then I added some stamping to both pieces using black archival ink.  I also added some black glitter to the edges of the feather.

To add to the steampunk look, I added a gear from this set:

                                          W-1052L Gears Set B (12pc Set) 6" (Lg), 3" (Md), 2¼ (Sm)

The gear is painted with black paint, and sprinkled with a bit of the copper orange embossing powder. 

Here is a closer look at the embossed, stamped and glittered pieces:


Thanks for joining me on the blog today!  Have a little creative mixed media fun....grab some ULD pieces, ink, paint and embossing powder, and have some creative play time!


Saturday, October 11, 2014

Vintage Greeting Cards

Fall is in the air and the rustic colors of the season seem to always inspire me. 
Today, I will share with you three vintage greeting cards.

 
Each of these cards were created to have a strong natural look to each of them. Hence the neutral tone of each of the cards. Each card was cut to an A2 size, and embellished with basic kraft, white and grey floral embellishments. All of which ties into the wooden and cork embellishments used.


On this card I used the Corner A flourish and left it in it's natural state due to the colors used on the card.
 

I just adore this gratitude card, and it's also perfect for the gentlemen in your life. On this card I used the Border Swirl G, which ties into the design from my gratitude stamp. I also used cork Leaf Branches, which are totally awesome to use year round.


See how perfect the Border Swirl is right underneath the sentiment? The embossed stamping behind the wood adds so much depth to this card and totally brings out the cork and chipboard pieces.
 
 
And for my last card, I added a bit of texture to the focal point...wooden Flourish C.  The texture is glass bead gell with mist of color added after it dried.
 

Although there are floral pieces on this card, it will also fair well as a masculine card.
On this card I used every "bit" of wood from the wooden embellishment.


Here's a close up of how I scatted the bits from the flourish to fill the card.  I love the partial swirls found on this card. 

Unique Laser Designs Products Used: