Showing posts with label masculine. Show all posts

Tuesday, April 21, 2015

FOOTBALL PLAYER CARD

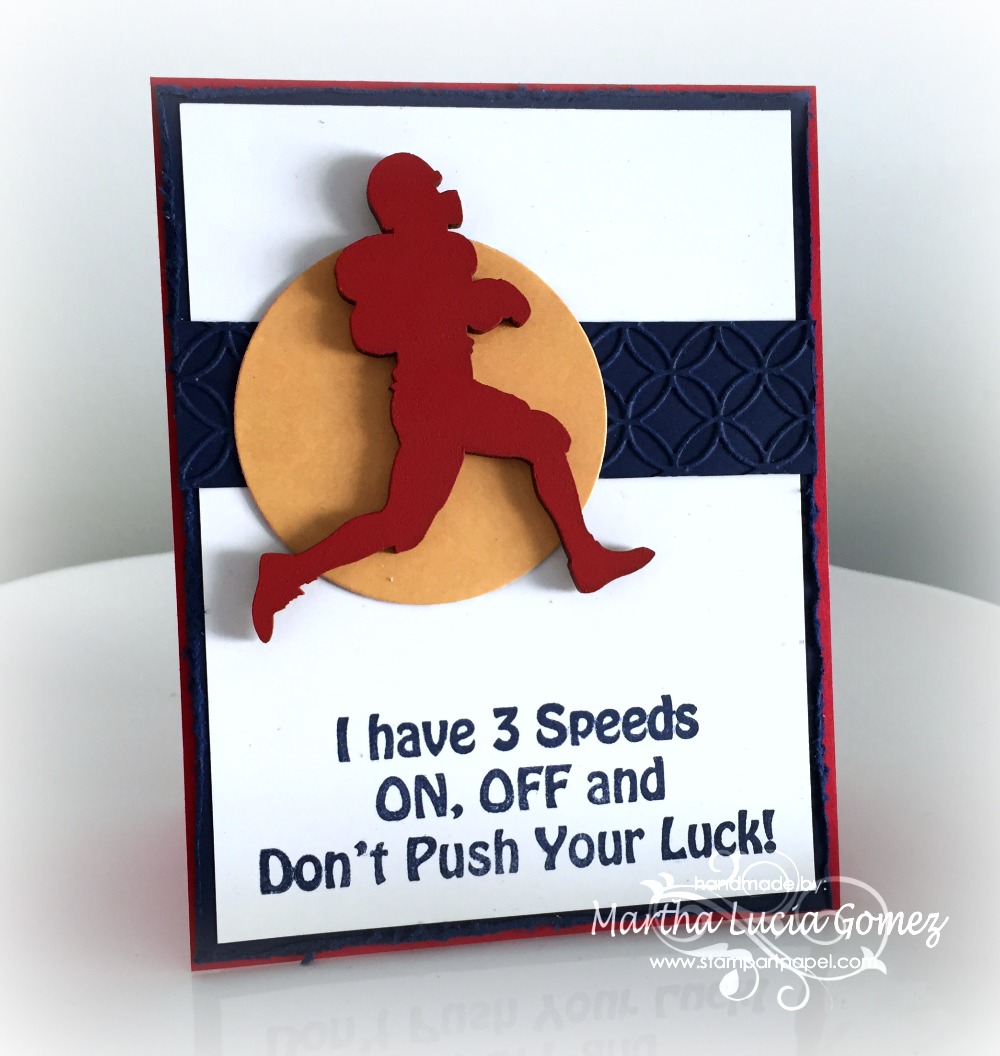
Hi everyone, Martha Lucia here with a "Football Player Card" to share with you. It's not common for me make masculine  cards but, I received this wonderful laser cut and I decided to use it immediately.

DON'T PUSH YOUR LUCK


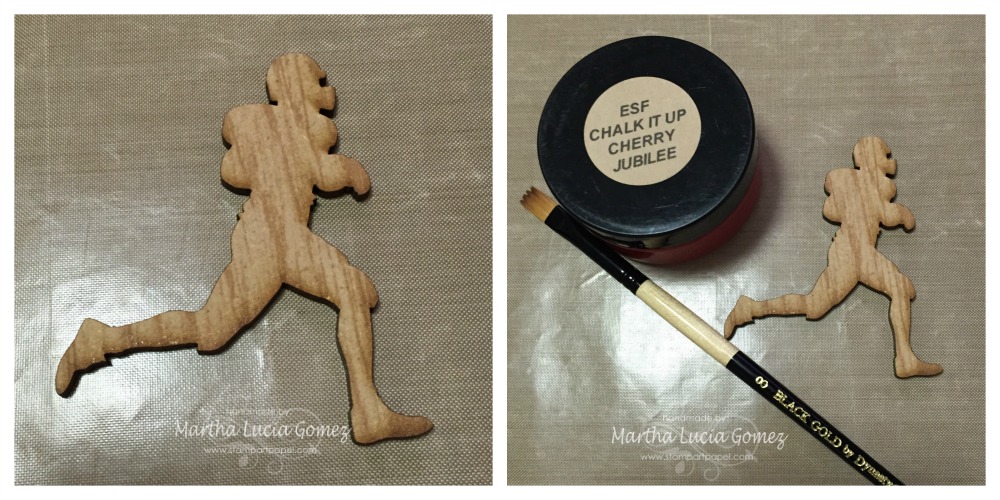
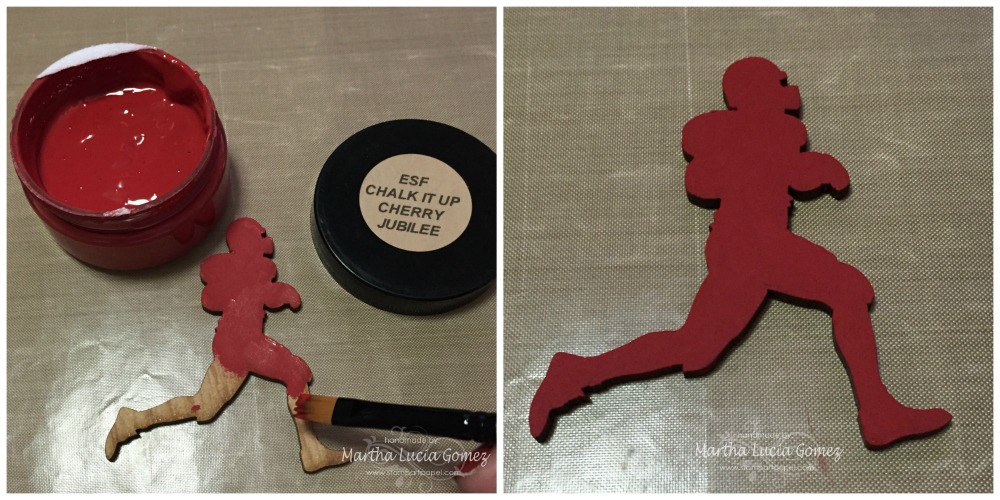
To create this project I am using a Football Player Laser Cut available in our store. It comes in natural wood, chipboard and cork.  I used the wood version and I decided to give it color using ESF Chalk It Up Cherry Jubilee.

DON'T PUSH YOUR LUCK  

I applied the ESF Chalk It Up with a Black Gold by Dynasty paint brush and let it dry for a few minutes.
DON'T PUSH YOUR LUCK

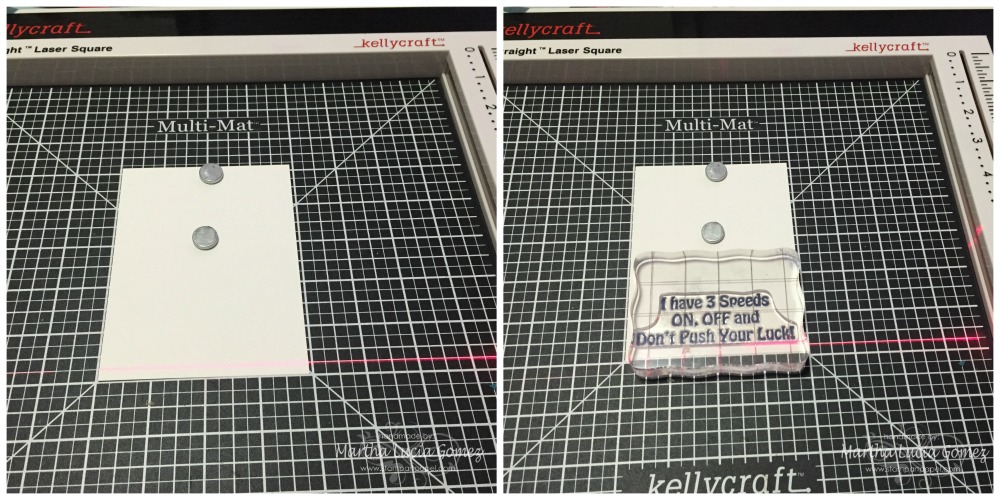
After this, I cut the base of my card using Real Red card stock. The size of the card is a regular size 5-1/2"x4-1/4". I also cut the second and third layers. The second layer is Night of Navy and the size is 5-3/8"x4-1/8" because I created a distress border over this. The third layer is 5-1/8"x3-7/8". 4. I decided to stamp the sentiment first, using my Get-it-Straight™ Laser Square. This helped me to align all my stamps. 
  DON'T PUSH YOUR LUCK

Then, I aligned the three layers and pasted these using snail adhesive and pasted the special details. I embossed a piece of card stock with a Circle Interlock Embossing Folder and pasted this over the white layer. I cut a circle with a framelit and pasted it with snail adhesive too. I finally pasted my principal embellishment: the painted football player.


I always use my Get-it-Straight™ Laser Square to align the layers, the embellishments and all the pieces that I use in my creations.

MATERIALS:
  • Football Player Unique Laser Designs 
  • KellyCraft™  Get-it-Straight™ Laser Square
  • KellyCraft™  Multi-Mat™
  • Jimbo Lojik™ Stamp Set J
  • ESF Chalk It Up Cherry Jubilee
  • Card stock Whisper White, Night of Navy and Real Red (Stampin Up)
  • Big Shot (Sizzix)
  • Circle Interlock Darice Embossing Folder
  • Circle Framelits Collections
  • Distress Tool
  • Nigth of Navy Classic Ink
  • Snail Adhesive
I hope my project inspired you. Remember to visit our store. I am sure you will find great laser cuts that you will love. Come back soon for more ideas!

Martha Lucia

Thursday, February 19, 2015

Cub Scouts

My oldest son Morgan is a cub scout.  This is a picture of him as a wolf cub (second year) holding the spirit flag that his den won that month for having the most kids go to the Report to State.  They got to march down in Austin up to the capital building then then get a tour.  So proud of my scout and my wonderful husband for being the den leader!!


I used the wonderful wood stars from Unique Laser Designs to add to the accents of the page. They were just the perfect touch for this page.

http://www.uniquelaserdesigns.com/#!product/prd1/1770439155/stars-%28lg%29


I first treated the stars by inked the edges with a chalk ink in a brown, just to soften the edges and make them look a bit distressed.  


I then treated the stars with one of two centers before placing them on the layout.  For three stars I took the small scout emblem sticker and placed it in the center.  The other three stars I placed a green pearl in the center.


Supplies Used
Wood Stars - Unique Laser Designs
Cardstock - BoBunny
Papers - Paper House Productions & Kaisercraft

Cork – Paper House
Pearls – Doodlebug
Ink – Prima
Stencils – UmWow
Mists – Tattered Angels
Adhesive - Scotch and Beacon
Trimmer & Scissors - Fiskars
Enjoy!!

Monday, September 15, 2014

Vintage Keepsake Box

Hello! It's my turn to post today and I have a box that I altered to share. You will have to forgive me because I dug into (again!) my favorite paper stashes.

I had already picked out my Unique Laser Design flourishes and corner shapes for this project. As I was putting the box together, I knew I wanted a vintage feel; then I decided to make it vintage and masculine. I imagined what sorts of things a boy might collect in this box. I just moved that collection to the top of the box.

The patterned papers were trimmed to fit the sides and top of the box. I inked the edges and applied the papers to the box. I sealed the papers with matte soft gel, because I used dye ink; I did not want the ink to come off on fingers as this piece is meant to be handled. I trimmed the flourish laser cuts. I cut Flourish A in half so it could work like a latch. Flourish B's flowers were removed. I painted the latch and corners. The corners were painted black with my eyes shut (on purpose), and I was able to ink the bare spots brown.

Can you spot the last two ULD products? The heart inside of the pocket watch and the small brick with the message "Today" are small ULD pieces that I snuck onto the top of the box.

Box Top
                 
                                           Flourish A                                             Corner H                                                                     

I hope that you have enjoyed this project. Thanks for stopping by and have a great day!


Here are the links to the products that I used.  

Flourish A                                     Flourish B

      Corner H                                   Brick Wall Stencil
   

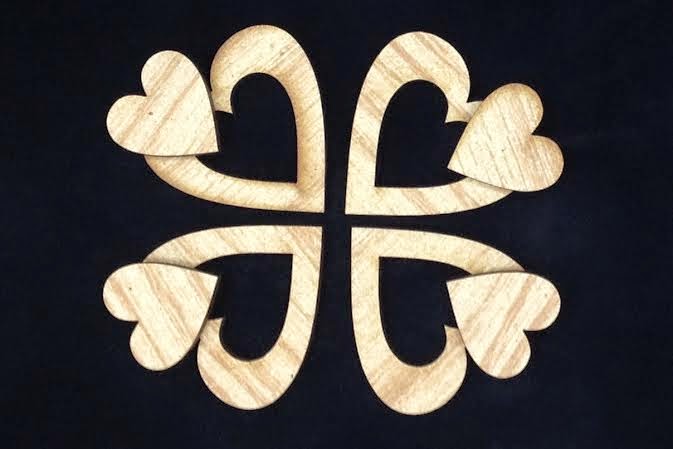
 Hearts in Hearts