Thursday, August 7, 2014

Altered Clipboard Art

Hi there crafters!
Rachelle here sharing my latest project using products from

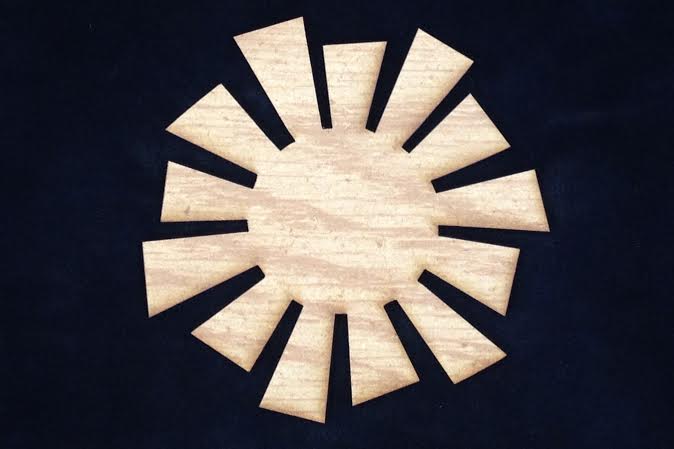
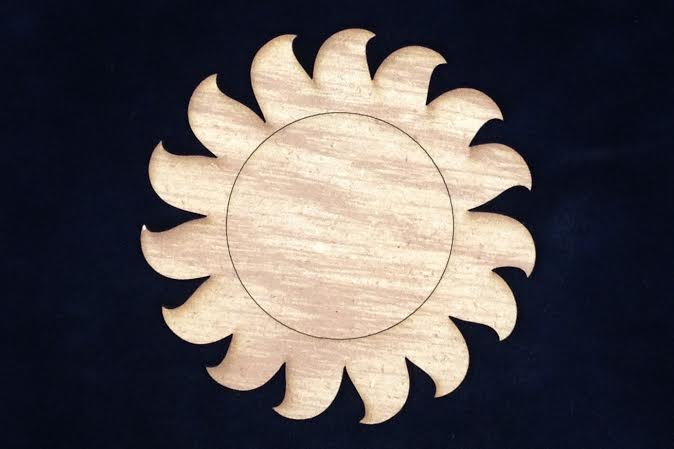
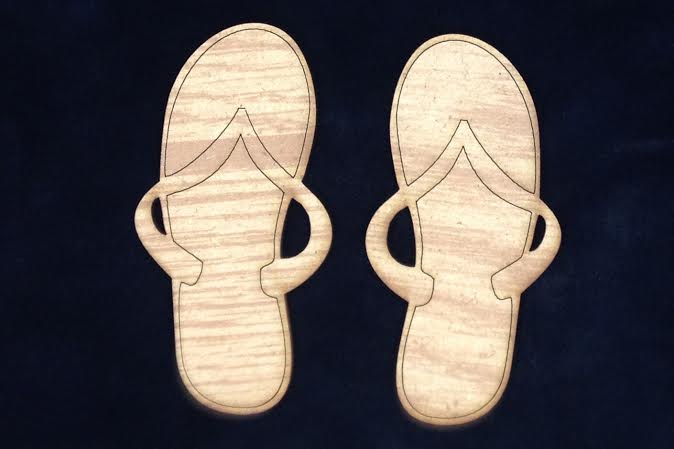
These are the products I used. They are beautiful laser wood cut outs.


Each piece should be painted first!
 To start off I used this simple wood clipboard.


Now here is the finished project:

"Just Create!"


I began by applying layers of selected cardstock and paper punch edges.
Next, applied texture paste to a Prima stencil and let dry. Then I inked the pattern and used spritz and allowed to dry.
Next, I applied the lace to the bottom and top of the clipboard followed by applying the string of pearls.


 Now it's time for the embellishments. I applied Prima resin pieces, flowers, tags, clocks, pearls, and a few metal elements. Notice I applied pearls to the birdcage and bling to the board.


 Here you can see the title.
I place the scrolls together and the lettering in the center.


Here you can see the 3D butterfly. I love how the 2 pieces are simply put together. The ribbon and bows are the finally elements place on the board.


 So here we have it! The finished project.


I hope that you like this project and have been inspired to create a project and don't forget to use these products and more from
They continually add new products to their inventory for all your crafty needs.

That's it for now!
See ya soon!


Wednesday, August 6, 2014

New Product Announcement


"I love your designs....but wood is too thick..."      
 "Your embellishments are amazing, but I've never tried using wood..."    
"I'm just not sure I'd know how to use MDF..."
"I couldn't use wood on a card !"


These are some of the comments we frequently hear from people who see our products. 

In an attempt to help solve this conundrum, we chose to work with a group of talented designers, and nearly daily, projects are posted to help inspire you with all sorts of different ways that ULD products can be used...on just about every type of surface and in just about any way you could imagine...projects to show you that MDF isn't something to shy away from, but rather something so embrace !

Change can be scary, the thought of trying new things can seem daunting, stepping out of your comfort zone is overwhelming...  
So...in an attempt to give everyone the opportunity to have access to our amazing designs, and possibly "test the waters" and maybe try their hand at wood...we've decided to produce our designs in a more well known material that you'll be familiar with
...CHIPBOARD !
A tiny selection of whats available in chipboard
Due to the nature of some of our designs, not everything will be able to be cut from chipboard, but there is an enormous selection still to choose from.  
As a way to try and slowly show you that you can do the same things (often times with more successful results) by using MDF in your projects...I'll add a little special something to each chipboard order. ;)   I ask that you keep an open mind and use it.  I'm sure you'll soon realize that it is much better than you anticipated it would be !  :) 

Here are a few projects using our MDF products in places some wouldn't consider doing so.
Home Decor Items. Designed by Katy

Banner - Designed by Kisha.
Burlap Canvas.  Designed by Katy
Kids love ULD !  Designed by Samantha
ATC - Designed by Rachelle
Cards !  Designed by Kelly
Mini Album.  Designed by Kimberly
Scrapbook Layout.  Designed by Heidi
Gift Bag.  Designed by Kisha

Tuesday, August 5, 2014

Keep Calm and Daydream Canvas Layout

Hello Unique Laser Designs fans. I have a fun yet relaxing project to share with you today. The moment you see the picture you will see exactly what I mean about relaxing.


On this canvas LO, I used ULD's Reverse Circle Stencil.


The color you see here is a mix of Heidi Swapp color shine spray in mustard and Silk's in Bolivion Blue.  The stencil was cut in half and slightly tucked on both sides of the LO.


Unique Laser Designs Products Used:

Other Products Used:
12X12 Canvas
Pattern Paper - Farm House, Brenda Walton, Random scrap
Tim Holtz Dot Fade Stencil
Heidi Swapp Color Shine in mustard
luminarte Silks in Bolivion Blue & Expresso Gold
Studio 112 Gems
Clear stone (Dollar Tree)
HS mi stables butterfly
Prima bulb
Gauze & Twine

Sunday, August 3, 2014

Walking on Sunshine wreath

Trying to hang onto the warmth and the sunshine as we move into August.  Just had to do one more summer project before I give into oak leaves and ghosts.  

Today, I'm using these fun suns and cute flip flops from Unique Laser Designs on a straw wreath that I wrapped with bulky blue variegated yarn.


www.uniquelaserdesigns.com


Last month, Kimberly gave us some great ideas for ways to add color to our wood shapes from Unique Laser Designs (if you missed that post, you can see it HERE).  That got me thinking...how about nail polish?  Shining up these flip flops was my chance since I wanted to color them a bright green and I didn't have the right color in my box of acrylic paints.  Two coats did it--added color and shine all at once.

Then, I used a Copic marker to add the pink around the edge. Lastly I put a heaping ribbon of Tacky Glue on the straps and poured on pink super fine glitter (that took a while to dry).

Onto the suns...

The top sun, I painted with Ranger Distress Crackle in white and then after it dried I rubbed Wild Honey Distress Stain over it---I love, love, love how it turned out.

The swirly sun, I covered in Tacky Glue and then poured super fine yellow gold glitter over.

For the bottom sun, I painted it with a mustard yellow acrylic, then stamped it with Versamark ink using a chevron pattern stamp. Lastly I covered the wet ink with clear embossing powder and heated it up with a heat gun to get that powder to "rise and shine" (sometimes I crack myself up)!


So, I am definitely not ready to say goodbye to summer...we have a whole month of sunny goodness before the "s" word (school) is back in the vocabulary.  What's your August summer project?

Saturday, August 2, 2014

Three Tags Three Ways

Hello everyone! I hope you all love creating tags as much as I do, because today I have three tags to share with you. Ok, well...three tags turned...let me just show you what I've created.

Before I begin I want to show you what I began with.


Aren't  these wooden tags adorable just the way they are?


Here's a group picture showing what I created using each of the tags. For those that love mixed media projects as much as I do, using ULD's wooden tags are the best base to create on. Now allow me to show you individually what I created.
 

I used my first tag to create a mini art journal. Being that I save all the packaging from various craft supplies, I decided this is just another way for me to use them up. Each layer inside this tag journal will become an extra mini journal page.

 
Just look at of all this delicious layering, and mediums the wooden tag holds.

 
Because I plan on creating in this mini journal each Sunday until it's filled up, I simply titled it Sunday Journal.

 
For my next tag base, I decided to actually create a tag filled with fluttering butterflies.

 
Heavily embellished base full of pattern paper scraps, mediums and I even used a stencil I created using my cricut to add a doily design.

 
Up close view of the vellum butterflies layered on the tag.

 
And here's my final tag.  I created a mini clipboard for my work station cubicle wall.  Just add a square of Velcro then add it directly to your cubicle and you have an automatic mini reminder board.

 
Just an up close view of all the texture going on here.

 
Although this little chipboard saying fits perfectly with this mini clipboard; I will actually add a mini notepad I keep at my desk. 
 
I hope these tag projects have inspired you to create on the wild side using your wooden tags.
 
Have a creatively wonderful weekend!


Friday, August 1, 2014

The Arrows Point Here!

Hello Everybody!

I have a fun scrapbook layout to share with you all today!


For this layout I used small & large arrows, a brick, and a small border swirl I.


(For this layout I just used happy, but look at a few of the cool bricks that come with the brick stencil!)


So here are the closeups of the pieces on the layout.

First I painted gesso on all of the arrow pieces.  Then I painted Tim Holtz's Distress Paint on all of the arrows.  I used the following paint colors: spiced marmalade, peeled paint, picked raspberry, chipped sapphire, and mustard seed.


Then I glued a Happy Brick under the photo.  I love the natural color of this brick against all of the color and felt heart.


Here is my journaling square, and I have more arrows pointing to it.


I used the swirl under my titled.  I painted it mustard seed first (sans gesso) and then spiced marmalade.  The yellow blended into the background (which I thought it might--but I had to try!)


These pieces were super fun to use.  I know we will enjoy looking back on this page and enjoy not only the picture and the memory, but the ULD pieces that help keep our memories alive. :)

Supplies: ULD pieces, Bella Blvd Feathers and paper and sticker letters, Tim Hotlz Paints, Gesso, Fancy Pants felt heart, Stampin' Up and Recollections cardstock.