Thursday, November 20, 2014

O Christmas Tree!

Hello Everybody!

Today is my last post for Unique Laser Designs.  I have had such a wonderful time creating with their wonderful wood embellishments.  I have made projects that would never have been made without these great versatile pieces.  Also, I have learned and been inspired by the ULD Design Team.  They are fantastic and I will continue to keep up with their projects.

So what to make for my last project?  That was tough but I am in the Christmas mood (not worries I haven't forgotten about Thanksgiving.) ;)

So I have these little trees from Tim Holtz.


After a little water and distress ink (mowed grass) the tree is now green.


While it dried, I picked out my "ornaments!"  

                                               Stars (Small and Large)
                                               Butterflies (Small and Large) 
                                               (the heart lg I didn't use)


These little pieces are the insides to other things that I found floating my one of my ULD containers.  I painted them a metallic blue.


Without further ado, here is my Christmas tree!  I used a gold fiber as the garland around the tree.  The instruments are painted gold with Inka Gold.  Both stars were painted yellow but the large one had yellow Stickles put over the paint.  The butterfly I left as but glued it on its side.  The gingerbread man and reindeer have details added to them by a felt tip pen.  I glued one blue ornament on.


Since this is a display tree I didn't go all the way around with ornaments.  I did hot glue the ornaments on.  

This tree measures 6 inches and that's with the star. 


Here's a closeup of the gingerbreadman, star, and instrument. 


Here at the other instruments and Rudolf.


Thank you so much for stopping by!  For more inspiration you can check us out on Facebook and Pinterest! :)


Wednesday, November 19, 2014

On Dasher, On Donner....The Night Sky Card


My last post had mica powder painting, but this technique is a little different.  It is great for backgrounds!  I did this on black cardstock although, white will show beautiful results as well.

This is the night sky, and Dasher, Donner are flying up to meet Santa and his sleigh to deliver presents!


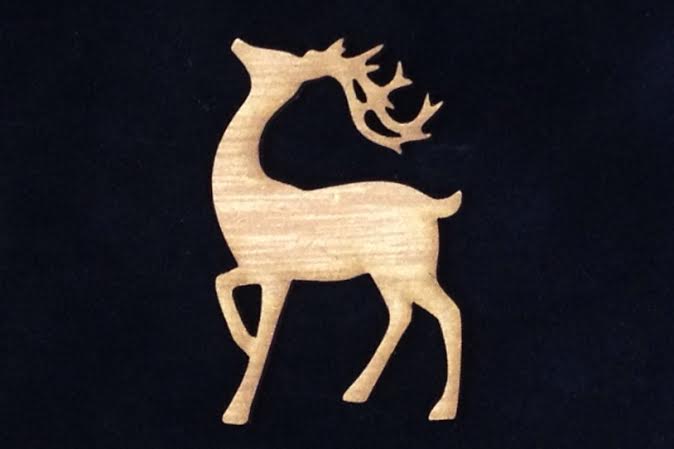
This is the Christmas Mini set.  I love this set and the many creative ways to use it.  I used the reindeer.  Stock up with 2 or 3 sets!


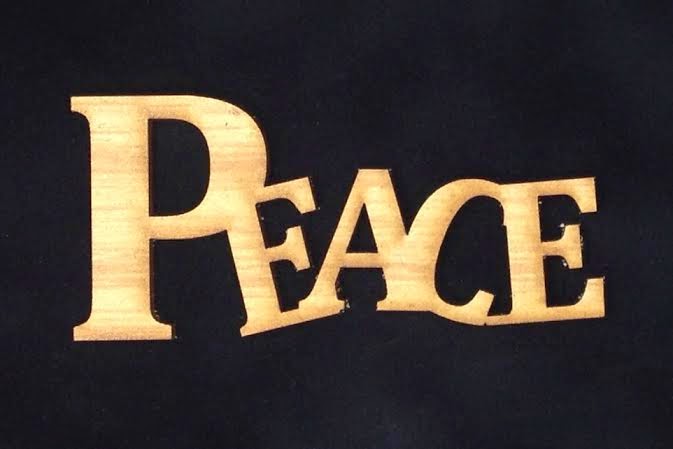
Large "Peace" from Wacky Font.

The star is actually a scrap I have saved and thought it fit perfect for this card!


This is a lot easier and more random than painting with mica powders!  Use your pigment inks (see other post), then dip a mop brush into the mica powder and tap off onto cardstock.  It will look messy now, but once you complete the whole surface you will "burnish" the cardstock, by wiping off excess powder with the mop brush.

Have a little container handy to hold excess mixed powder or just burnish over the garbage.  As you wipe off, you work the colors into the pigment ink.  The juiciness of the ink will hold the powder.


The camera cannot pick up the shimmer and sparkle that is glorious!  All the little flecks in the photos are the shimmer reflecting.  It is so beautiful.


Next use an embossing folder and your die cutting machine (Cuttlebug here) and emboss the cardstock.  If there is a tiny bit of mica powder residue, just use a baby wipe to clean.


Beautiful shimmer and various coloring and shading with the black popping up here and there.


The deer are first painted, then Brilliance Copper ink tapped on for metallic look to match the mica powder.


The word "Peace" is done with paint and Metallic Gelly Roll pen.

Depending on the color cardstock, the colors of mica powder, and embossing folder - the results are endless!

I chose a night sky to illustrate how it would look as Santa came, and the stars twinkling above.

Step outside the box and try something different.


Cre8tivelea yours, Lea

Tuesday, November 18, 2014

Christmas Tags With Cork Accents

 Hello everyone!  I have finally gotten into the Christmas spirit and have crafted something Christmassy.  Not bad for me since there are still 36 days until Christmas.  Usually I would make something like this at 11 pm on Christmas Eve!  Just call me "Last Minute Lee."

There are plenty of Christmas wrapping products that you can go out and purchase to make your life easier.  One of those products are the sticker to/from labels that you're supposed to slap onto your gift.  You know the kind I'm talking about?  The package of 300 labels that you can only use 10 of because all the others are too small to actually write a person's name on?  The ones that get stored for years in your Christmas things and wind up losing their stickiness?


This year I decided to make my own to/from tags. I used last year's left over Christmas scrapbook patterned paper, red card stock, and kraft paper.  I'm always looking for ways to use my scraps.  I'm positive that someone else out there has a dedicated container (box, drawer, storage shed, etc) full of Christmas crafting supplies.  Right?  Anyone?

I have used my Silhouette machine to cut these tags.  If you want, leave me a comment and I will share my file.  These tags can be made without fancy machines though.  You would only need a circle punch large enough to display the cork accent.

The mini Christmas shapes are cut out of cork.  I decided to give them a wash of ink so that the cork texture would remain visible.  To do this I scribbled marker onto to a craft mat and added water.  Then I slid the cork shape through the inky puddle.

Thanks for stopping by!
-Lee

You can request your choice of material!
Mini Christmas Shapes

Monday, November 17, 2014

Winter Getting You Down? Shake It Off!

Brrrrr!  Hello everyone, it's Renee from Scrap Owl back with today's creation inspiration!

The snow is starting to stick on the ground and I'm none too happy about it. See, even living in northern Illinois I can admit that winter is not something I look forward to.  Yes, we have snowmobiling, and sled mountains, and ice skating, but we also have cold.  Bone chilling cold. Why can't we have all the fun and none of the cold?  Well, my project today, I did just that!


Snow Globe Shaker Card

I created my snow globe shaker card using the the Snow Globe - Bell die cut.  This particular die cut was made from chipboard, but it is also available in the medium density fiberboard (MDF).  I used a tip that I gleaned from Kisha Walton during our Scrap Owl Podcast interview where she told me that you can stretch your Unique Laser Design pieces by cutting them up.  It got me thinking.... "do you wan to build a snow globe?"


By cutting out the bell inside the globe, I now have two pieces that I can use for my cards or layouts.  Additionally, it opened up space to make a shaker card!  If you haven't seen these yet, they are extremely popular right now.  I actually had the chance to talk with Paulina Nakamura from Pretty Pink Posh who, some say, is the mother of the shaker card movement.

I primed the snow globe with some white paint for the globe part and some black paint for the base.  I then went back and added a coat of Imagine Crafts Clear Creative Medium for shine.  On the bottom, I only applied the medium, but on the top I mixed in some subtle sparkle.


To make this shaker card, I stamped a sentiment on top of a piece of vellum and attached that to the underside of the chipboard snow globe.  Then I applied foam tape to the back of the chipboard to make the snow globe pop off the page a bit.  This step is crucial for a shaker card.  You need to give the sequins enough space to wiggle and jiggle.

For this card I used Paulina's Marshmallow sequins.  They have just the right amount of shine to mimic snow.  I flattened them into a small group and then attached the snow globe right on top of them.


For the base of the card, I used the a-side of Merry Christmas from Moxxie's Happy Pawlidays collection. I also stamped some small snowflakes around the snow globe and embossed them with a pearl shine.

I simply love the way this card came out and hope you do, too!  Also, I'm looking forward to sharing with you what I do with the bell that originally came with the snow globe!!  Stay tuned!!

Stay Scrappy My Friends,
Renee

Sunday, November 16, 2014

Christmas Cheer

Hello everyone, it's Heidi back again to share some Christmas Inspiration.  Oh I just love Christmas and cannot wait.

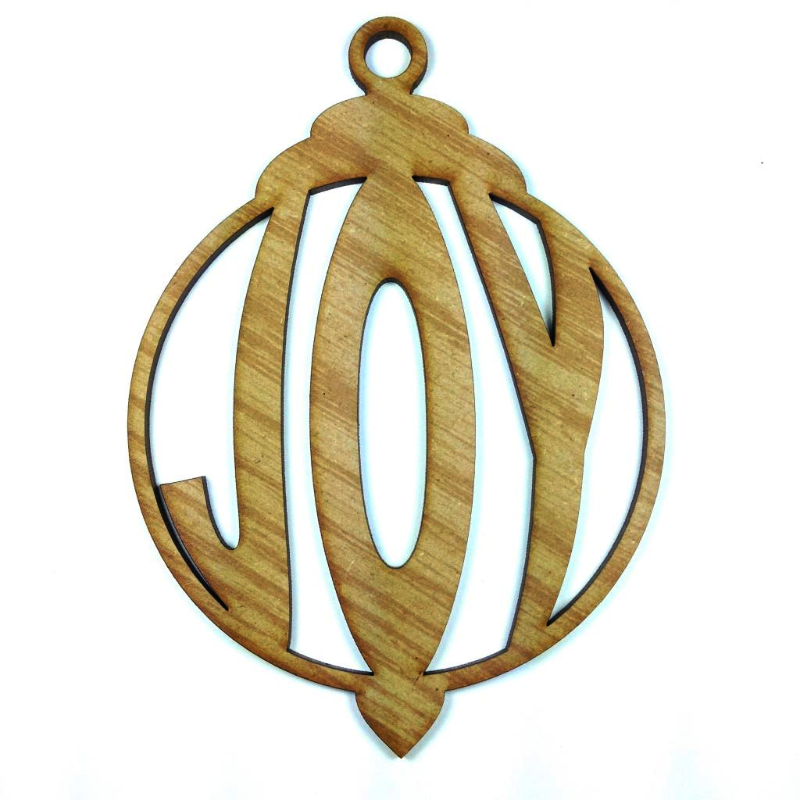
Today I am going to share a little project I did using a recycled picture frame. These are the two Unique Laser Design Christmas items I have used for my project.  I chose the items in chipboard as opposed to MDF.


I have used an old picture frame, and painted the backing with chalkboard paint, and then painted the frame with some Gesso as I wanted it to look rather rustic.


For the Joy Ornament, I have just used some Silver Embossing powder on it, I love the sparkle it gives the ornament.  


So to put the frame together, all I did was String some hemp across the backboard and staple it in place.  Then added the frame to it, and there you go - you have your  blackboard picture frame all ready.


Next I added my little reindeer which I have left raw to give it that rustic feel, and then added my ornament onto the bottom right hand corner of the frame.  Hey presto - you are all done.  Just need to add your photo's and a Christmas message.


Perfect little frame for an entrance way wishing everyone a Merry Christmas as they come in.

TFL & Happy Scrapping


Saturday, November 15, 2014

Mixed Media Tag Tutorial Using Unique Laser Design's "LOVE" MDF Wood Embellishment!

Hello Everybody! I am back today with a step-by-step mixed media tag tutorial using Unique Laser Design's "LOVE" MDF wood embellishment. I had so much fun creating all of the yummy layers. This tag is grungy with a touch of glam just like I like it!
Alright, let's get this party started! :D
Started with a Heidi Swapp
Color Magic Jumbo Tag
Selected these Tim Holtz Mini Distress Inks
Swiped the Tim Holtz Distress Inks
on a "non-stick" craft mat
Placed the Heidi Swapp tag on top
of the ink covered craft mat. 

Used my fingers to FIRMLY press 
the tag down to pick up the ink.
Used a damp cloth to remove excess distress ink
Pulled my favorite Dina Wakley 
"Clearly Collaged Hearts"
mixed media stamp set from my stash

(note: all the stamped images used 
in this project are from this set)
Randomly stamped hearts all over the tag
with black Ranger archival ink
Pulled these four 
Americana acrylic paint
colors from my stash
Added acrylic paint to the background
Added a light coat of gesso 
to the background
Added another layer of random
heart stamps
Outlined the stamped hearts with
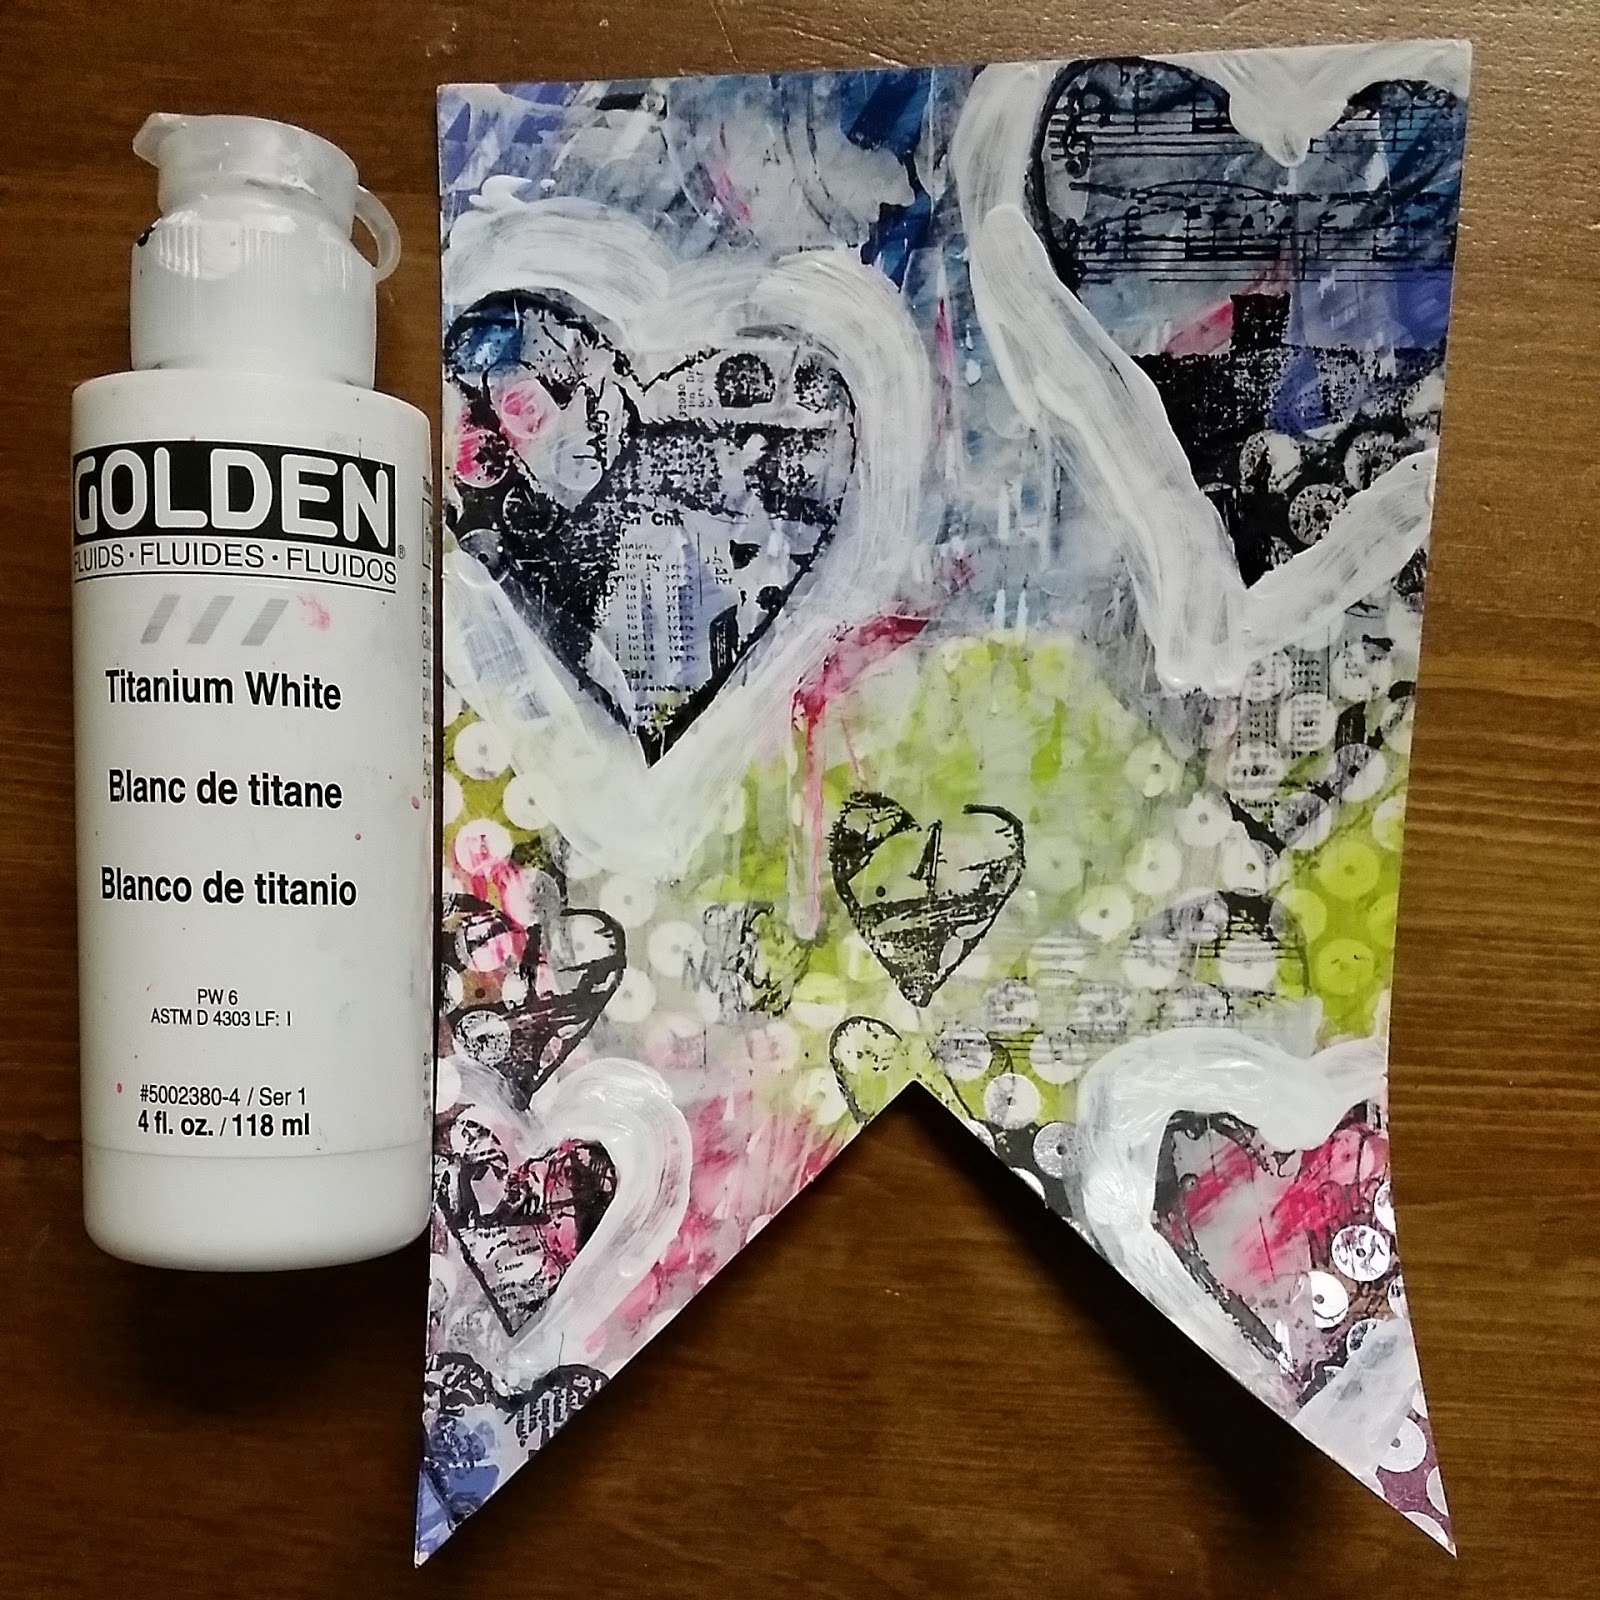
Golden white acrylic paint
Stamped Dina Wakley's "Love rocks"
around the hearts
Outlined all the hearts with a
'Indanthrene Blue' Faber Castell Pitt pen

and blended with my finger
Outlined all the hearts with a
white Uni-ball Signo pen
Added details to the hearts with Golden
Fluorescent Magenta paint
Outlined the hearts with a black
Uni-ball Signo (Broad) pen
Added dot details with a gold
Painters pen
Stamped a heart on a piece
of patterned scrapbooking paper 
and mounted it with dimensional tape. 
Splattered the entire tag with
Heidi Swapp 'Black Velvet' Color Shine. 
Added Dina Wakely's "Where there is love,
there is not darkness" sentiment to the
bottom of an old sales receipt
Selected Unique Laser Design's "Love" 
MDF Wood to embellish my tag
Adhered the sentiment and ULD
embellishment with matte medium
Distressed the edges of the tag
with Ranger Archival Ink
Doodle stitched around the edges of the tag
Added blue and wine sari ribbon &
bling charm as final embellishments
Close-up of ULD's MDF wood
embellishment
And there you have it!
My completed mixed media "Love" tag
Check out all of the delicious mixed media embellishments at Unique Laser Designs today!

Have a BLESSED day!

XOXO,
Shelley