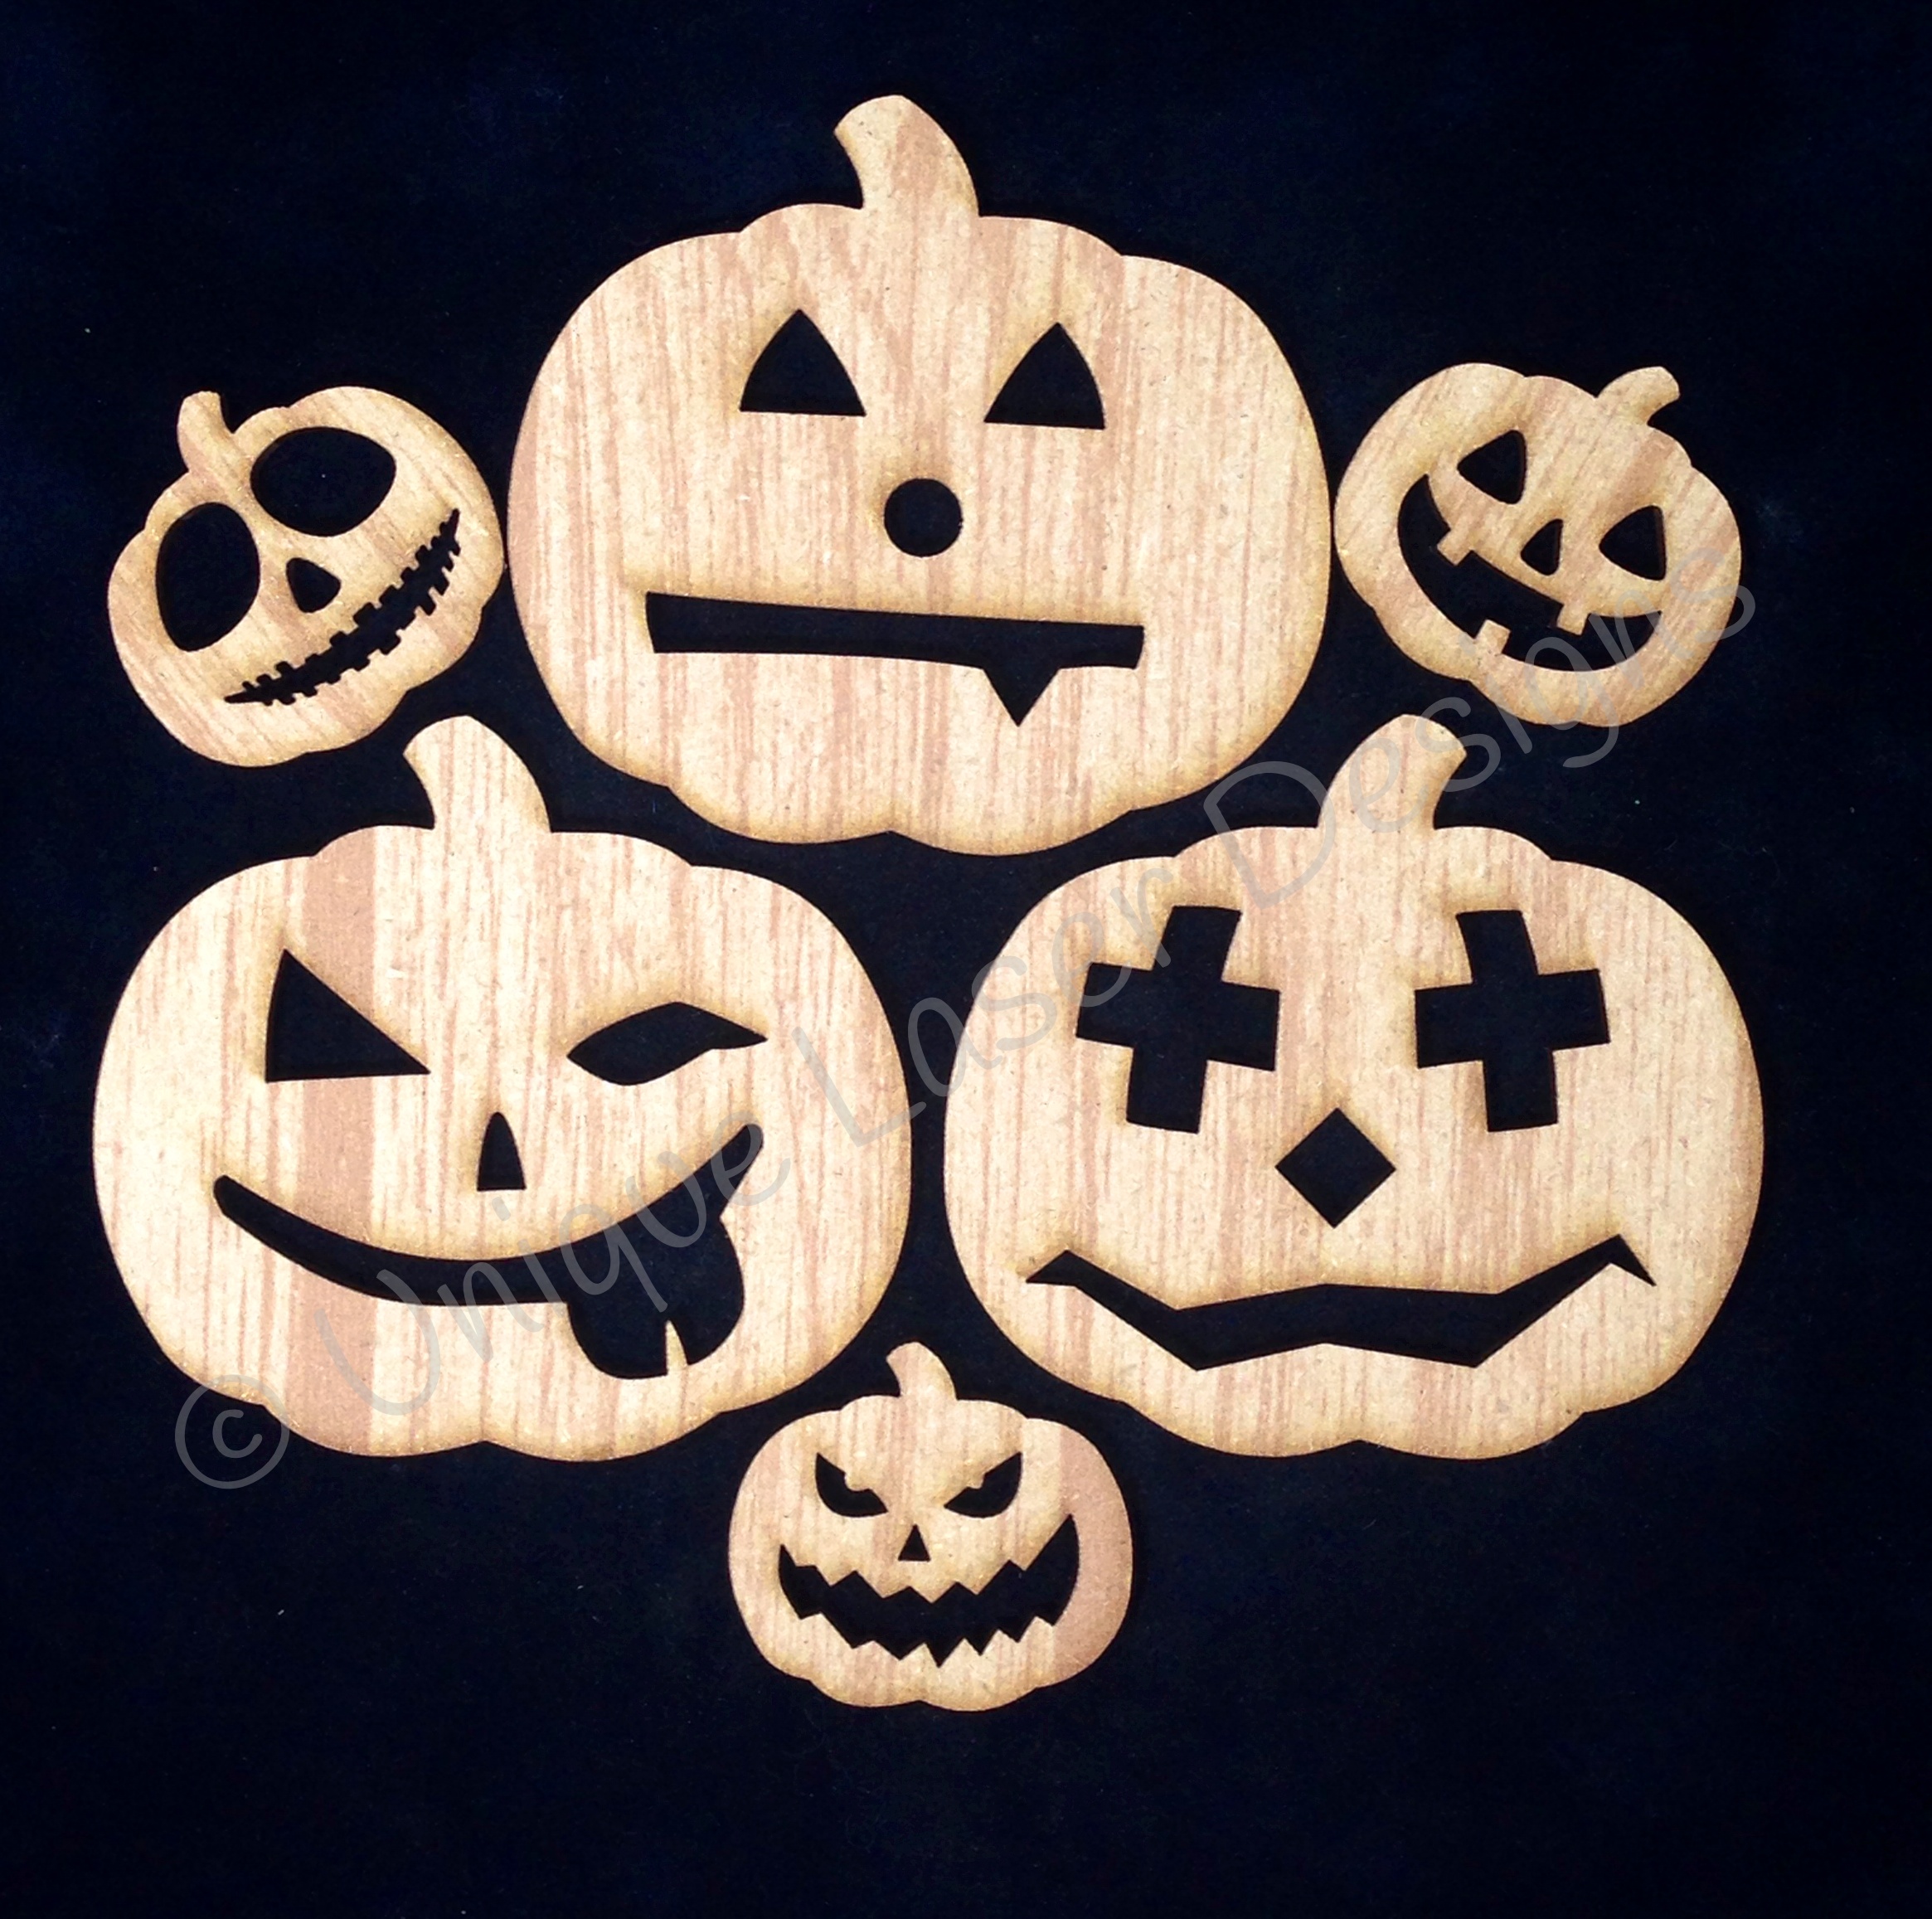
It's all about the face...about the face...
I painted one side of each face with acrylic paint (different shades of orange). I stamped a pattern on each with clear Versamark embossing ink, and then poured on UTEE (ultra-thick embossing enamel), shook off what didn't stick, and used the heat gun to watch it rise.
On the other side of each face, I glued on a sheet of patterned paper (I used the wood pumpkin as a stencil to get the perfect shape). I LOVE how the patterns show through the detailed cut-outs of the eyes, nose, and mouth. Next, I laid down twine to connect the three pumpkins and then glued another patterned paper pumpkin shape over that .
Included with the ULD pumpkin pack, are the "negative shapes" from the laser cutting process. PERFECT for adding dimension as I used these "leftovers" (just colored black with a Sharpie marker) to create MORE faces.
I tied some ribbon scraps on the twine and this is ready to spin and hang as a greeting to your Halloween visitors. EEK!


hehe...now I have that song in my head. lol I love this project - great project the kids can help with too.
ReplyDeleteThese are sooo cute!! Love love love! :)
ReplyDelete