Sunday, August 31, 2014

Halloween Craft-A-Thon!

Ok, I will admit it....I absolutely LOVE Halloween, and this year I wanted to get a head start so I'd have some great display pieces for decor.  And thank you Unique Laser Designs....of course they had some perfect pieces to help me create!  In an inky, painting, creative frenzy.....I've created 3 projects to share with you today:

A printer's tray:


So many fun pieces in here!  I used:

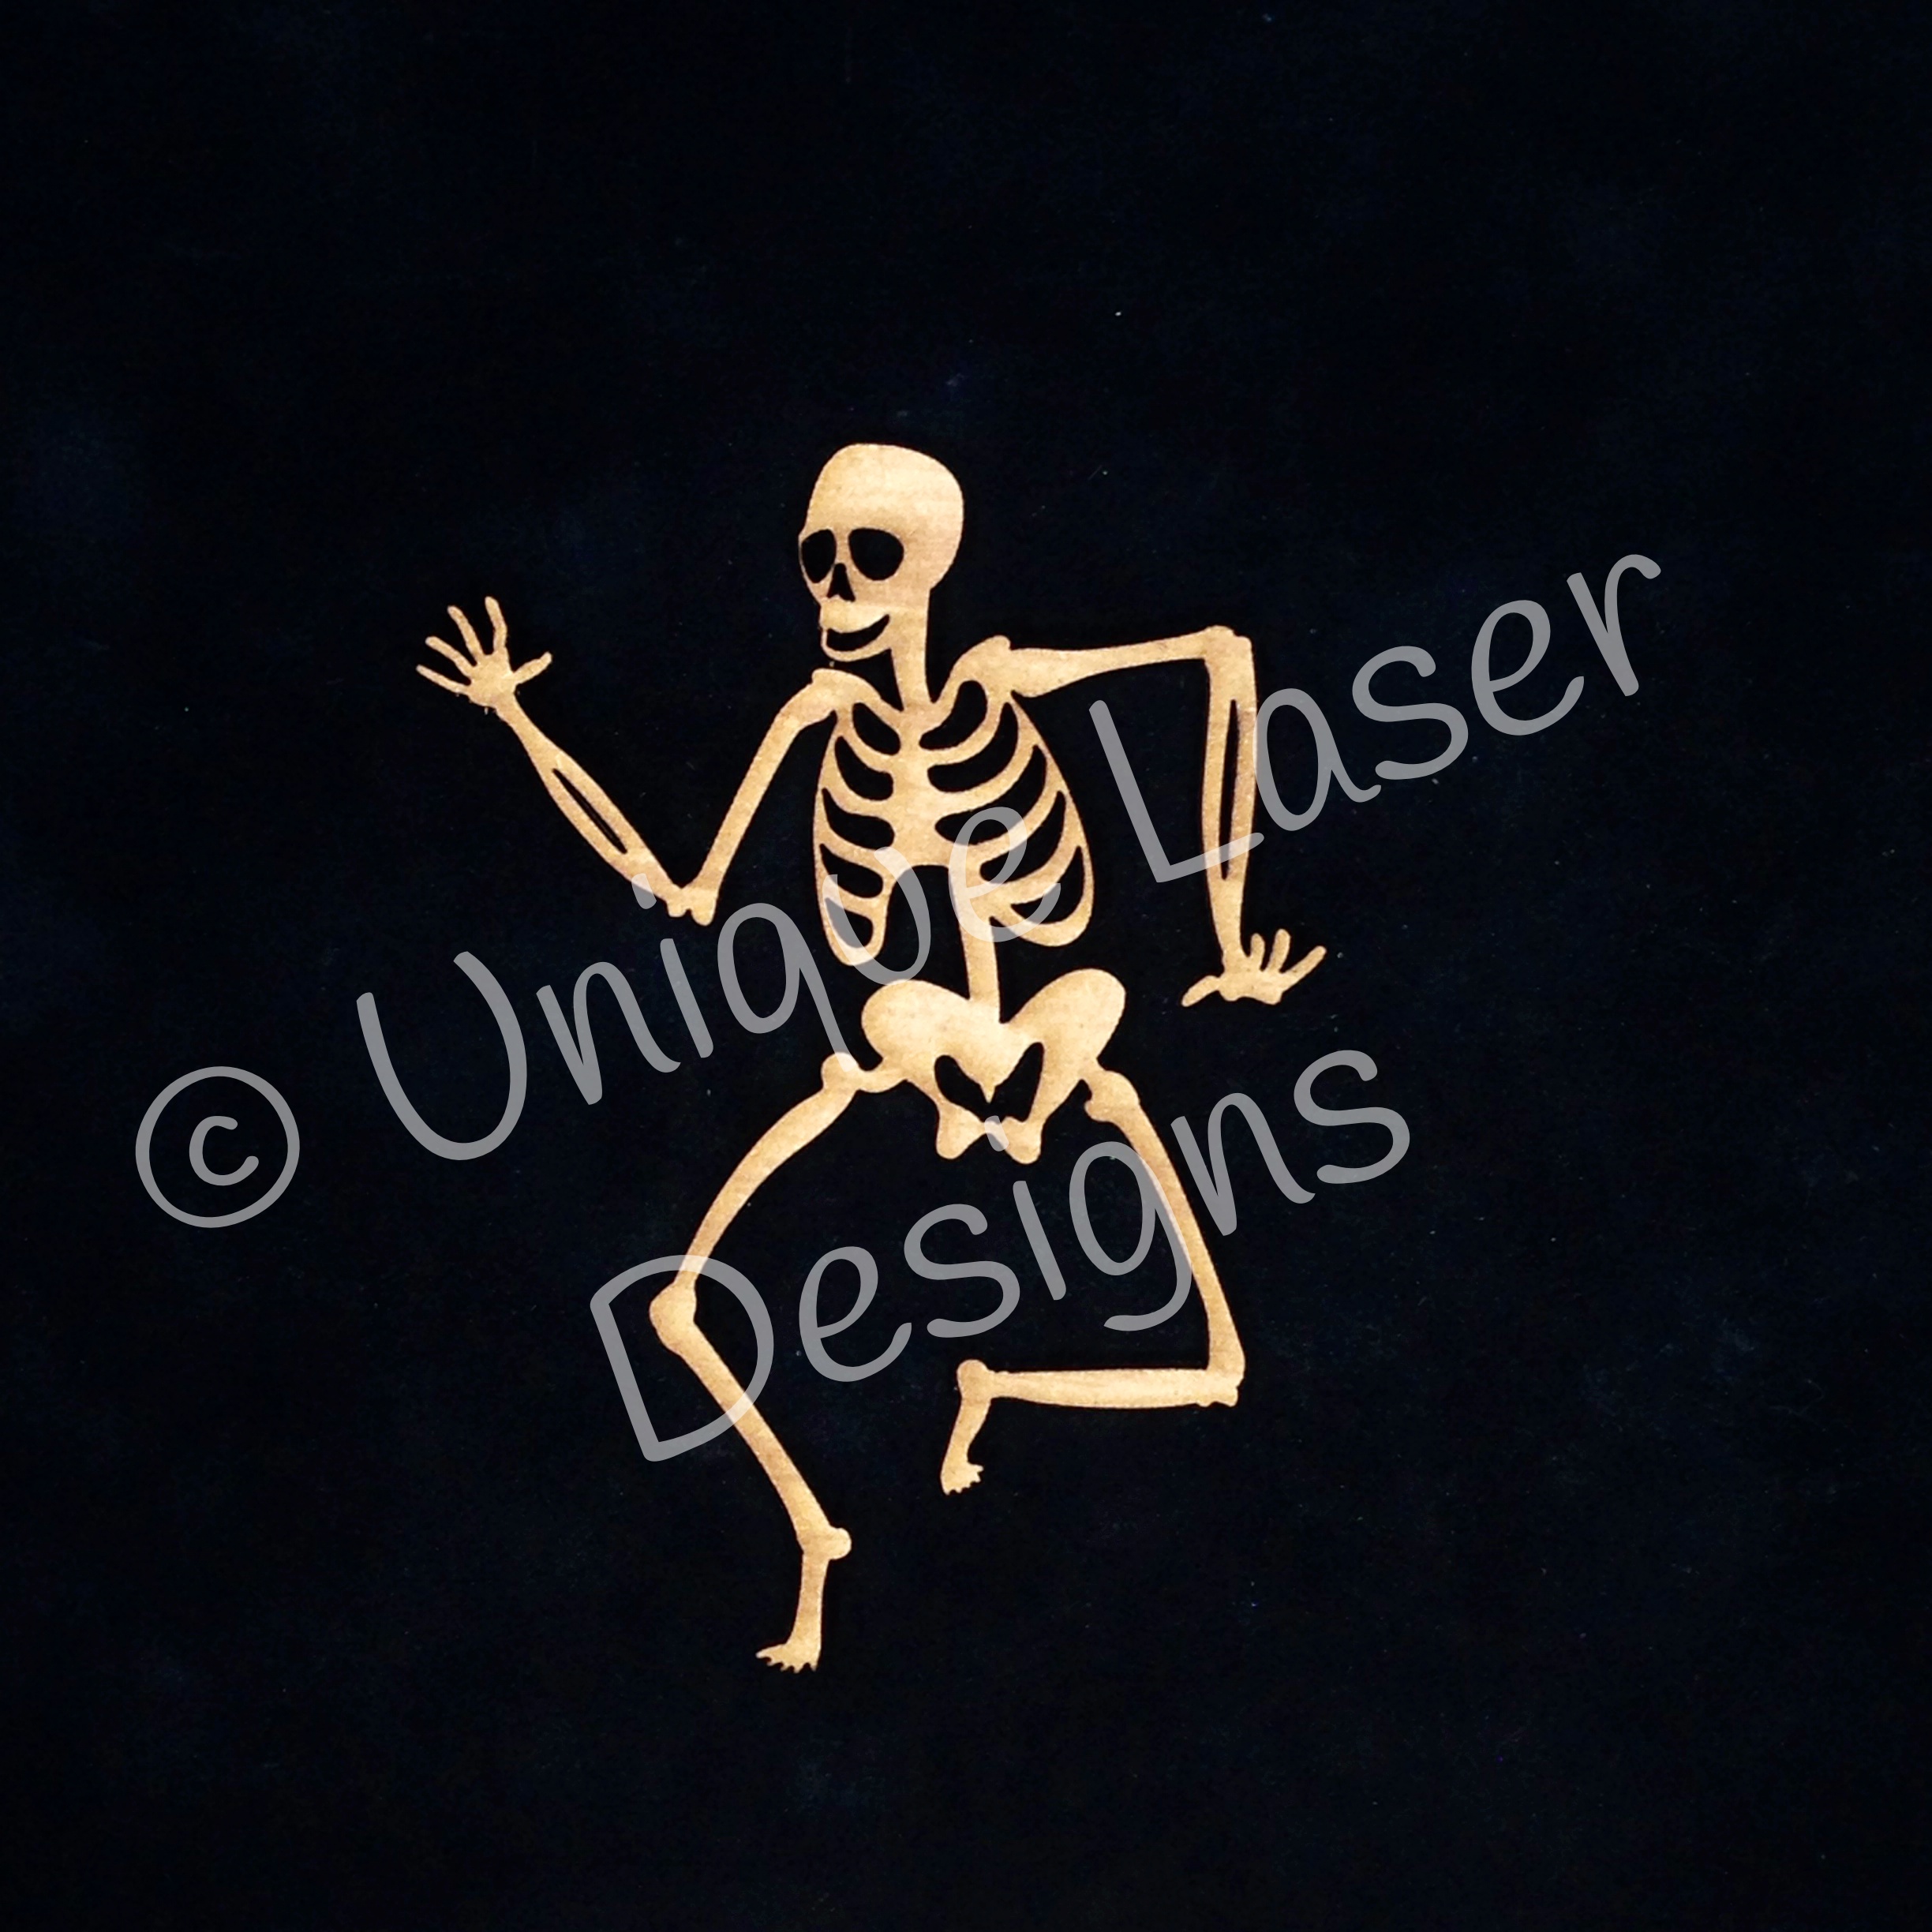
W-1174 Skeleton (he was painted white and inked with black distress ink:


W-3032 Trick or Treat (painted orange and distressed with black ink):
 
 
 Here is a close up of those pieces:
 
 
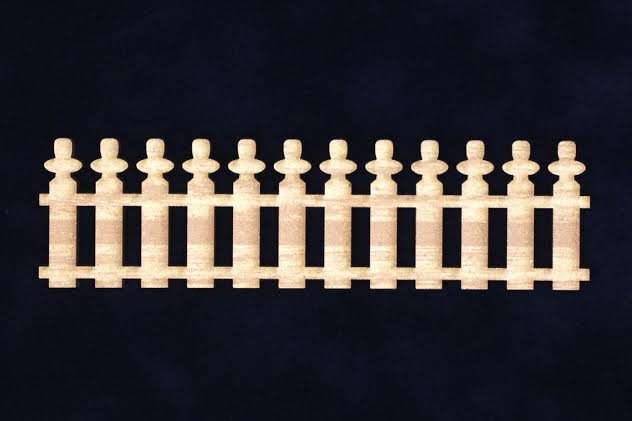
W-1127 Scallop Fence (painted with black chalkboard paint and brushed pewter distress stain):
 

You can see the details here:


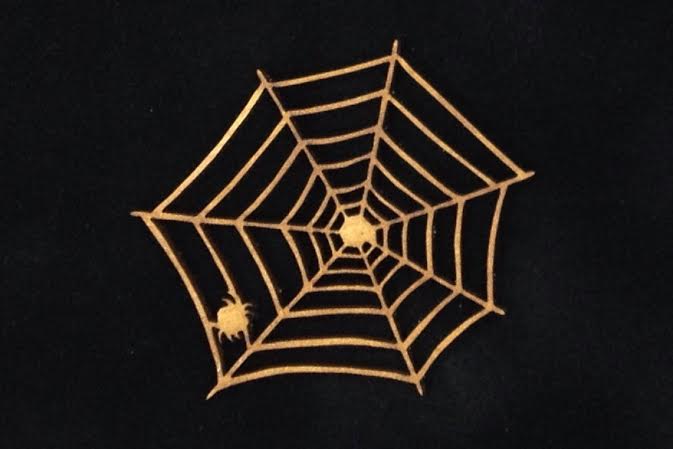
W-1010 Spider Web (painted with black chalkboard paint):
 

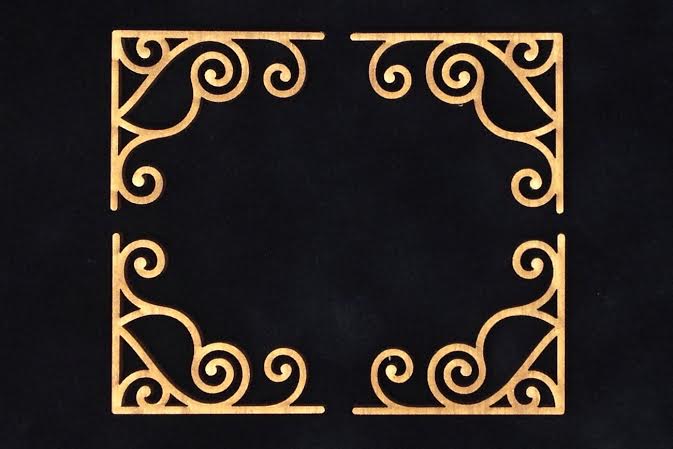
W-6019 Corner H (painted with black chalkboard paint and orange paint):
 

Here's another closer pic (and of the pumpkin face too):
 
 
W-1074 Signs (painted with black chalkboard paint and orange paint):


W-1195 Jack O Lanterns-B (I used the negative space pieces to create a face, painted with
black chalkboard and orange paint):


And these cute pumpkin guys are also part of this next project:


The pumpkins are painted with orange paint:


Then I go back with the foam brush and pounce on paint to give it a bubbly texture:


Then I stamp over that with a great mixed media ink like Memento Luxe ink.  It takes time to dry (I use a heat gun to speed it along) but it gives a great crisp image, even over the textured paint:


Here is the rest of the cube...pieces were painted and inked with black distress ink:


And making use of those negative space pieces again:


And some of the ULD gears (W-1052S) painted with black chalkboard paint, and brushed with pewter distress stain, that I quickly wiped off to give it a subtle metallic look:


And the final side....a lot like the first, but the pumpkin has a different face (used his smile with the eyes and nose from the other pumpkin for the negative space pumpkin face):


And just for fun, thought I'd share this tag I made with many of the same techniques and items:


Are you inspired to get an early start on that Halloween crafting?  So many ideas for these cute wooden pieces from Unique Laser Designs!

Thanks for stopping by today!


Saturday, August 30, 2014

Burst of Color


Hi everyone, it's Heidi here again to show you some more inspiration using the gorgeous ULD goodies.  Today I have created a layout with burst of spring colors since we will be going into Spring next week (here in NZ)


To start off with I applied Gesso to plain white cardstock, then used some yellow water colour paint to the background.  After that I used my Prima dots stencil and applied some whipped spackle to create some texture.

Then the fun began, I used some gelato's to color the circles in different colors, the make them darker once they dried I went around the ends with normal water color pencils.


I used plain gesso on the frame , which gave it a nice soft look, and then layered my papers on top of that with my photo.

DF DOLLY FRAME - W-0408 Deco Frame - Dolly (Opening 2¼" x 2¼") 5" x 5"


To give it some extra dimension I have added some hearts and circles which again I painted with gesso and then went over it with White Prima Chalk Ink.  For the heart same I added some texture paste with a stencil.


Shapes Circles - W-1156 Shapes - Circles Approx. ¾" - 1¼"Shapes Hearts W-1153 Shapes - Hearts Approx. ¾" - 1¼"
And finally finished with some beautiful flowers to match, and some other bits and pieces - love the plain white chipboard on the cardstock, it just looks fabbo!


TFL and Happy Scrapping


Friday, August 29, 2014

A Tweet Housewarming Gift

Hello Unique Laser Design Friends!

Katy here, and I have a fun project for you today!  This is a fantastic cut-out that comes in 3 sizes.  I used the larger one.  It is God Bless Our House--item number W-3035L.


The hardest part is trying to decorate it.  There are so many colors and paints!  So I decided to use some glitter!  Here is the finished wall hanging.


I painted the whole thing with gesso.  Then I used the Kiwi Fruit (yellow) embossing powder on the bird.  I applied Glossy Accents to the roof and house.  First I did the house and put the Melissa Frances gold glass glitter on the house.  Then I add the glossy accents to the roof and put the black soot distress glitter on that.


I painted the words with chipped sapphire distress paint.  But with just that it looked plain.  So I outlined letters with the white Faber Castell pen.  Then I coated it with Antiquities frosted crystal embossing powder.  In this picture you can see the texture better:


Then I hot glued a coke pop top to the back of the house so that it could be hung up.  Wouldn't this make a great house warming gift?  It's unique and can be personalized.  Plus it fits on the cute little wall in the kitchen! ;)

Thank you for stopping by today!  Make sure you stay up to date with our Facebook Page.  And we are on Pinterest too!:)  And if you are ready to go shopping, you can stop by the Unique Laser Designs Online Store.  :)


Thursday, August 28, 2014

Changing Sea-sons


                                              Do Not Throw Away Any Wood Scraps!

Scraps to treasure, I say.  Okay, so I am a scraps hoarder!  Well, paper and wood.  When I receive my orders from ULD, sometimes I have little extra pieces of wood from the item and I save them in one of the zip bags I've received.

Some of the scraps have water shapes, other like above; is the inside of the starfish!  I painted that little inside and dotted with fine line black liner marker.  It looks like a starfish too.

Here is the wood I used:


The "Brick Wall Stencil," one of the word squares that comes with is used, and the star fish is the insert of the star fish.


The seaweed is scraps from orders put together.


My last post, I showed encaustics (hot wax) on wood.  Here is a scrap of wax works that I mounted a few times.  This will serve as the ocean floor with the light of the sun shinning in.


Not as visible in this photo, but I painted the seahorse, added accents with a Gelly Roll pen (added color and blended with finger before it dries), and added dots with a stamp and ink pad.


The bubbles are achieved by using white pigment ink first.  I could of pained with Gesso, but it was easier to just use the ink and then paint over.


Little dashes of white over the orange bubbles make them look more dimensional.


The starfish and seaweed are laid out where I want to put them.  Both are painted, and as I mentioned above, the starfish when finished will have the little black dots.  The fish is painted with a medium orange and darker permanent dye orange ink tapped on top.


Here is a close up of the details.  I also splattered yellow paint lightly around the area.


To finish the art, I used a scrap of Bo Bunny paper.  The hook is added using a bit of glitter Gelly Roll pen to color and an arrow added.  It is painted in 2 shades of green.

I used the word "Joy" from the Brick Wall Stencil.  It is edged in yellow.

In St. Louis, MO., the weather will be warm and humid for a few months, but for most; the seasons are going to change from summer to fall.  There still is time to get out there and do some fishing!

Look at things in a different way.  For scrappers, a photo could be put in to replace the wax background and do the same treatment.  Create mixing and matching your wood pieces.  The octopus or dolphin could be designed in the art instead of he fish.  Your choices are unlimited!!!

Cre8tivelea Yours - Lea


Tuesday, August 26, 2014

Wall Hanging Decor!

Hi there crafters!
Rachelle here today sharing the
 perfect wall decor made with

Here's the products:


Here's the project

 "Wall Hanging Decor"


Panel 1

To start always paint your wood cutouts first.
Here is the first panel of this decor.  Each panel is corrugated board I cut from a box. Then pulled away some of the paper. I began by layering cardstock and inking the edges. Next, I added a little texture with home-made texture paste and a stencil. After drying I added the painted wood products and embellishments. Then applied a bit more ink to the center and edges.

Panel 2

I did the same thing for all the panels. I applied different cardstock layers on each panel. Then I applied texture using different stencils for each panel.

Panel 3

Here I applied different embellishments; clocks, and resin square frame.

Panel 4

Here I used the brick stencil allowed to dry. Next I added the cherry blossom, heart, lace, and pearls.


Now it's time to put the panels together. I simply punched 4 holes in each panel. Next I threaded basic twine through the holes and tied each panel together.
All finished and ready to hang on my wall!
I loved working with these awesome products. They are so beautiful.

Well that's it for this post.
I trust you have been inspired get started on your project using
Be sure to check out the store and fill your cart with all your wood laser cutouts.
You will be glad you did!

See Ya Soon!
Huggies!