Showing posts with label polaroid. Show all posts

Monday, September 8, 2014

Kicking it "old school"


Yesterday it was 85 degrees, today it is 72.  Fall is in the air, and that means it's time to go back to school.  I'm going "back to school" with my project today too.   Not only did I use an old school photo of me, but the patterned paper I chose has an "old school" feel to it too. The tweed background, stripes, chalkboard alphabet, the phonics blocks, and the penmanship lined paper---all bring back those grade school memories.   

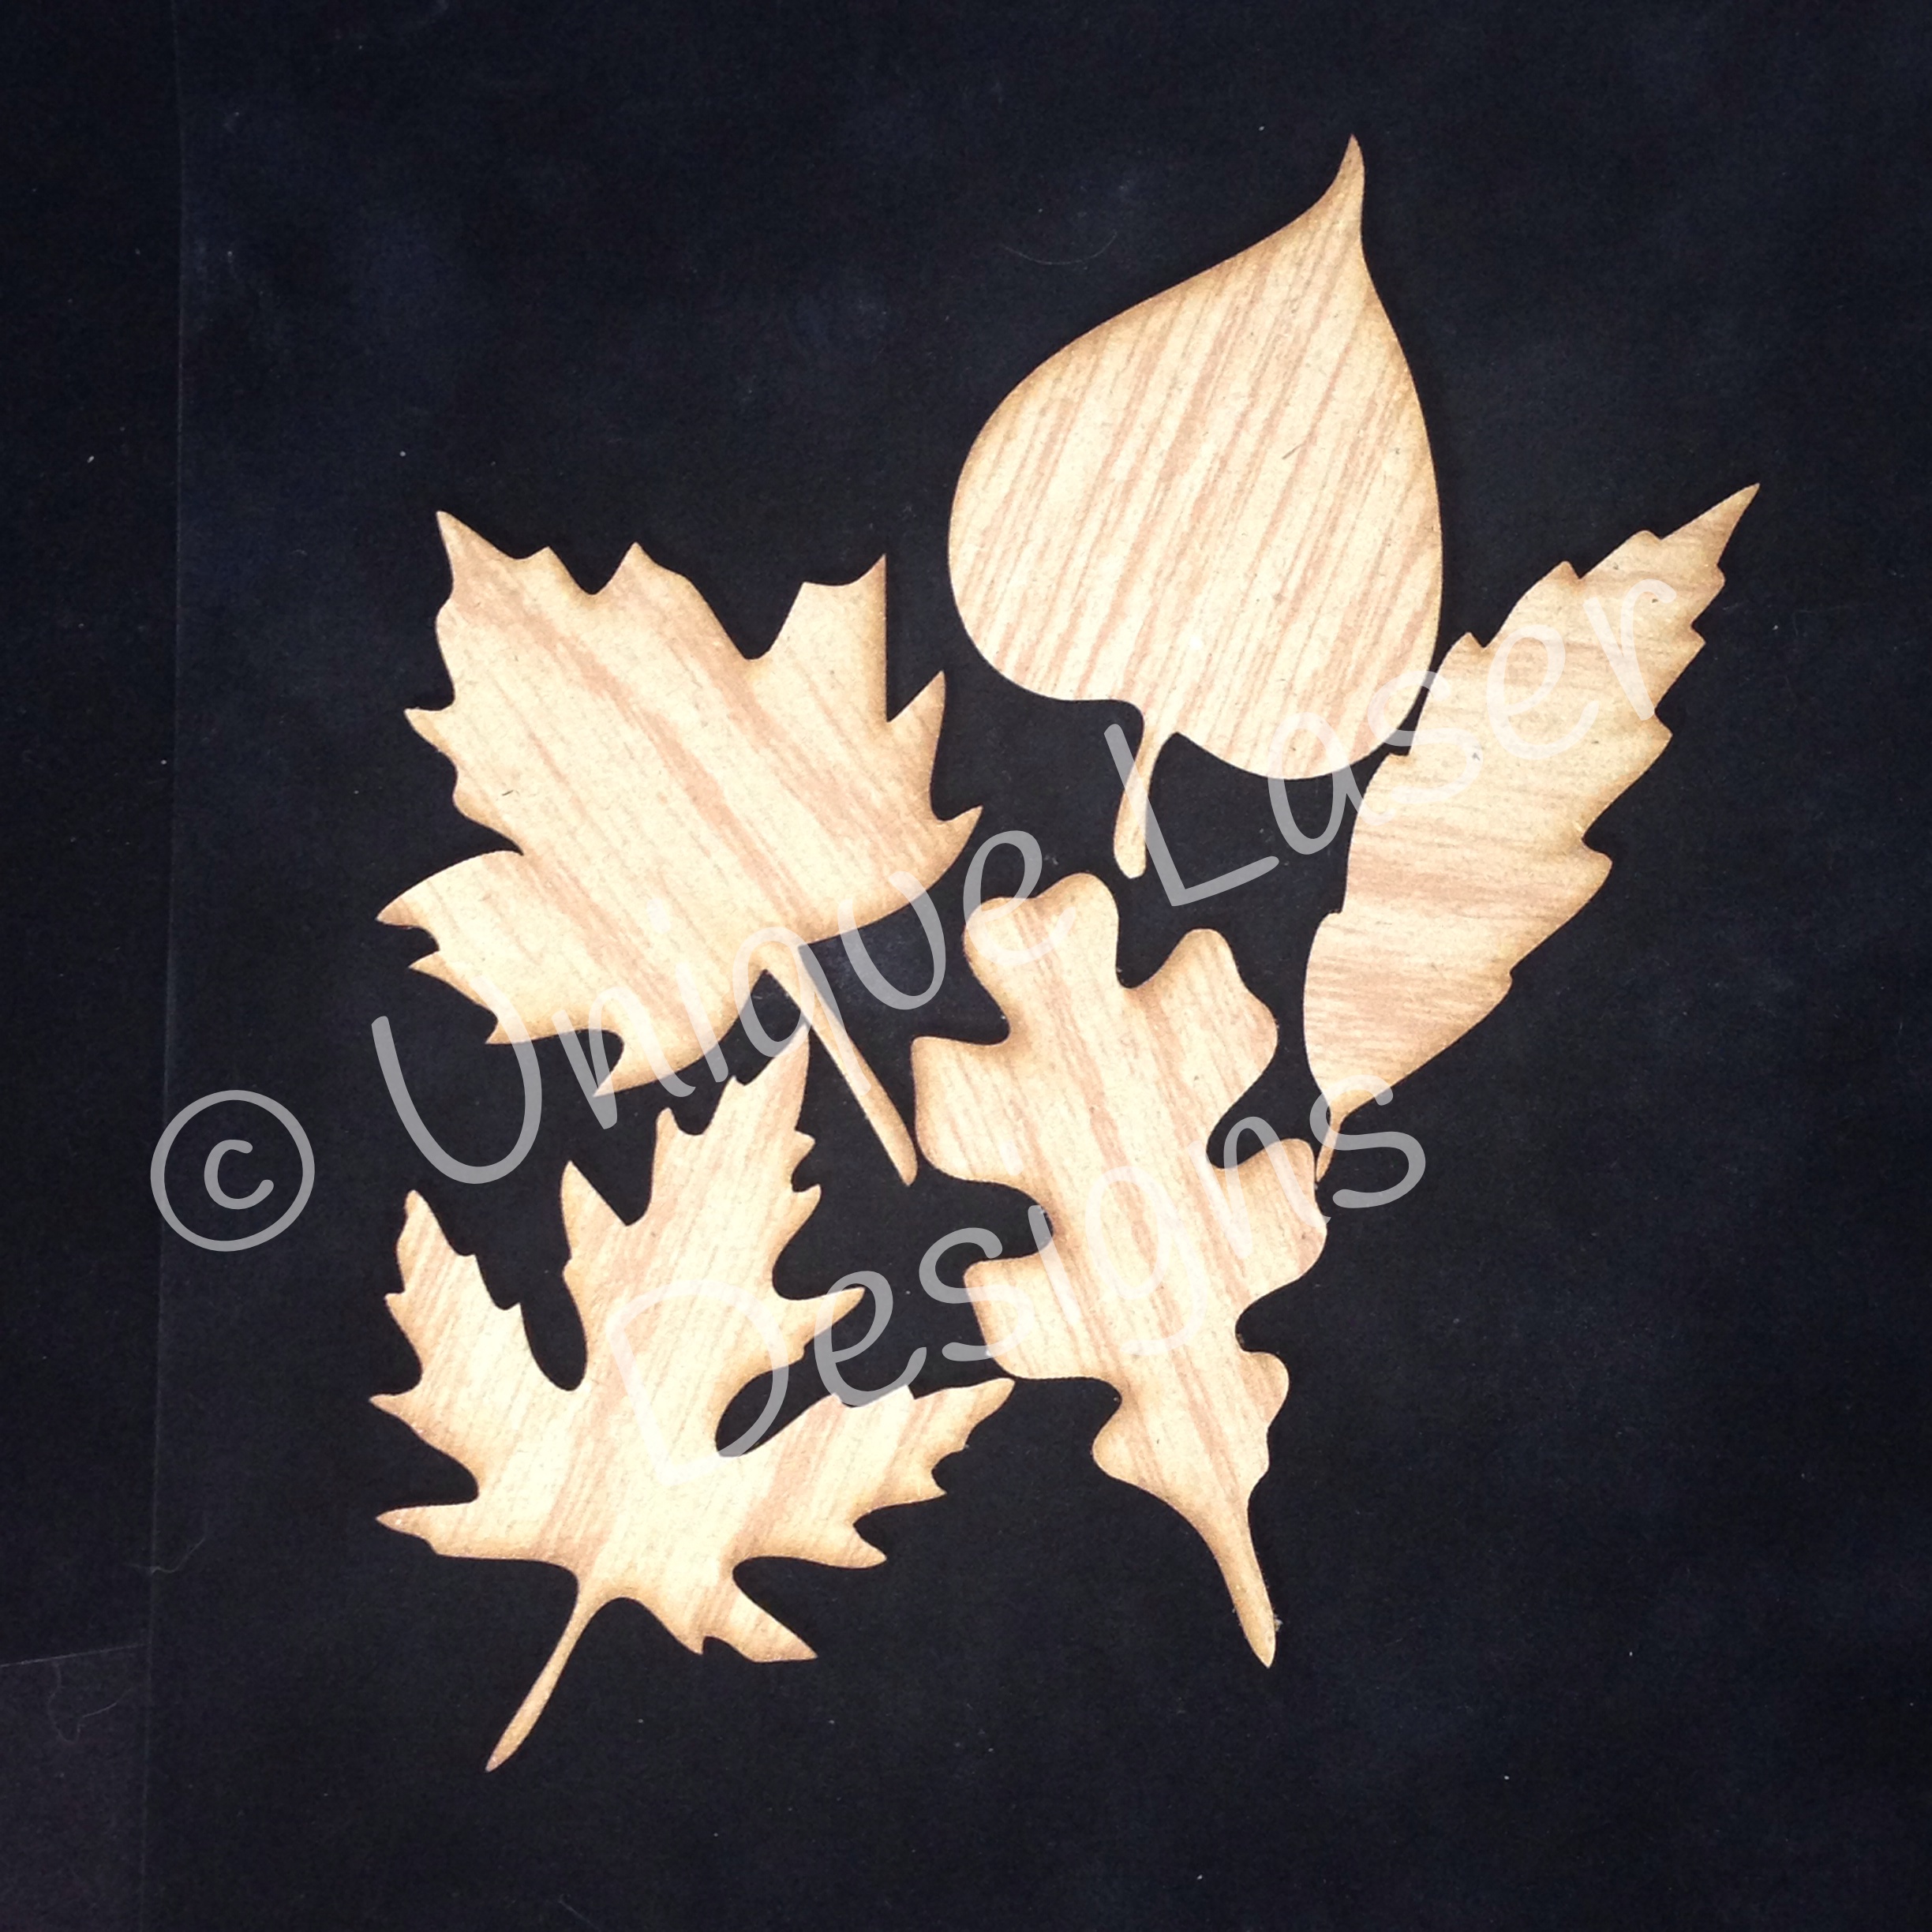
This oak leaf and Polaroid frame (turned into a chalkboard with black paper and a white gel pen) are wood embellishments from Unique Laser Designs.  To color the the leaf, I used Twinkling H2Os from Creative Imaginations.  In this picture, you cannot adequately see the amazing shimmer from this copper paint.  For the frame, I quickly and simply ran some Distress Stain (wild honey) over the wood to give it a hint of golden color.
When you think that your layout needs just a little "something"---it might just be a small wood "something" from Unique Laser Designs. Oh, and have you heard? You can now choose your shapes in chipboard too!


Tuesday, August 19, 2014

A birthday, a birthday, and back to school


August---full of birthdays and then onto eeeek--"school".  The mere mention of it sends shivers down my spine.  But, I will acknowledge its upcoming presence by the end of  this post.  First, I just wanted to share a few quick cards with you that I made using the Polaroid frames from Unique Laser Designs.  Yes, you can use them to frame a photo, but look how cute they are on a card!

On this ice cream card, I colored the frame with a creamy metallic silver gelato.  The little hexagon is colored with a sparkly gel pen. Did you guess that the scoop of the ice cream is really a cloud? I'm so sneaky!  I colored that with a Copic marker and then swirled Stickles (rock candy)on to make it sparkle.


Hexagons are the theme for this next card.  I dry embossed a hexagon pattern on the card and then added a  Unique Laser Design Polaroid frame---this time I used a paint marker to color it black. The small wood hexagons with the sentiments-- I rubbed on different ink pads, just like I did the cute bee (see below)---easy easy easy and quick! 


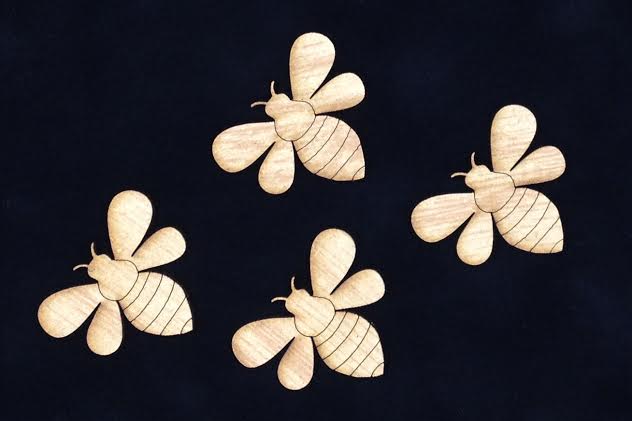
I used a Sharpie to color the black stripes on the bee and then covered it (really thick) with a layer of Stickles (rock candy again). It looks like a suncatcher--so crackly and sparkly at the same time.


Now, onto school.  My daughter is going to be in 5th grade and is SO excited to find out who her homeroom teacher will be.  To celebrate that first day of school, I used a Unique Laser Designs ATC card and made a chalkboard by painting on a few layers of chalkboard paint before adding some die-cut letters and leaving some room to write with chalk.  A few strings of twine hot-glued onto the back and it's ready to hang around a soda bottle.  Now, it's re-usable and her teacher can pass a message on and  be "soda-lighted" for someone else (for a birthday, a great test score, a travelling award around the classroom).


Hope you are "soda-lighted" with these projects that you are feeling inspired to celebrate a birthday, a birthday and school!


Wednesday, August 6, 2014

New Product Announcement


"I love your designs....but wood is too thick..."      
 "Your embellishments are amazing, but I've never tried using wood..."    
"I'm just not sure I'd know how to use MDF..."
"I couldn't use wood on a card !"


These are some of the comments we frequently hear from people who see our products. 

In an attempt to help solve this conundrum, we chose to work with a group of talented designers, and nearly daily, projects are posted to help inspire you with all sorts of different ways that ULD products can be used...on just about every type of surface and in just about any way you could imagine...projects to show you that MDF isn't something to shy away from, but rather something so embrace !

Change can be scary, the thought of trying new things can seem daunting, stepping out of your comfort zone is overwhelming...  
So...in an attempt to give everyone the opportunity to have access to our amazing designs, and possibly "test the waters" and maybe try their hand at wood...we've decided to produce our designs in a more well known material that you'll be familiar with
...CHIPBOARD !
A tiny selection of whats available in chipboard
Due to the nature of some of our designs, not everything will be able to be cut from chipboard, but there is an enormous selection still to choose from.  
As a way to try and slowly show you that you can do the same things (often times with more successful results) by using MDF in your projects...I'll add a little special something to each chipboard order. ;)   I ask that you keep an open mind and use it.  I'm sure you'll soon realize that it is much better than you anticipated it would be !  :) 

Here are a few projects using our MDF products in places some wouldn't consider doing so.
Home Decor Items. Designed by Katy

Banner - Designed by Kisha.
Burlap Canvas.  Designed by Katy
Kids love ULD !  Designed by Samantha
ATC - Designed by Rachelle
Cards !  Designed by Kelly
Mini Album.  Designed by Kimberly
Scrapbook Layout.  Designed by Heidi
Gift Bag.  Designed by Kisha

Tuesday, July 22, 2014

A trip back in time

Let me take you on a little field trip back in time.  Isn't it just natural to want to use these wood pieces in a layout about George Washington's home of  Mount Vernon?


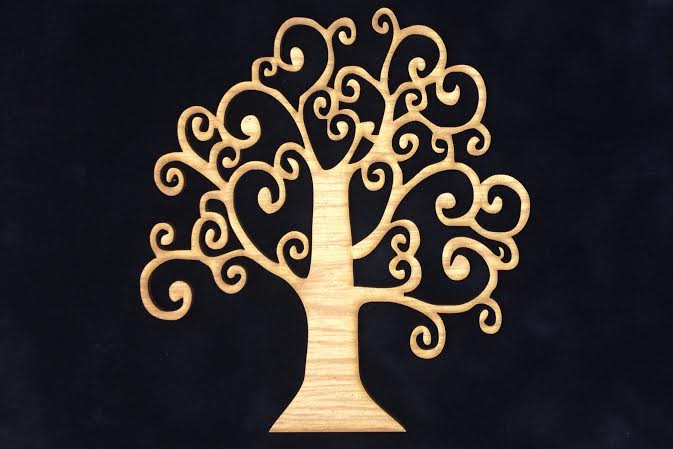
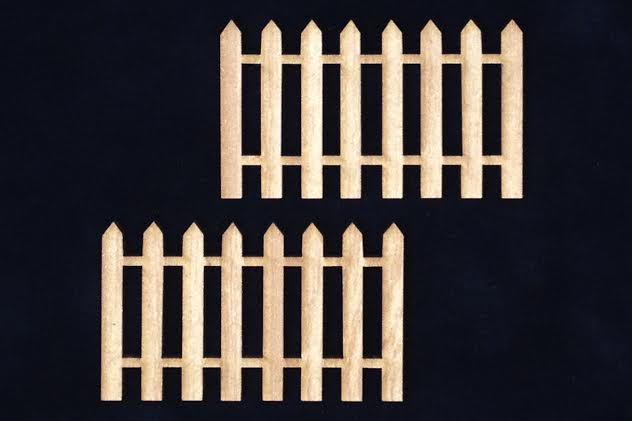
 the curly tree, the large Polaroid frame, and the picket fence 


I used Tim Holtz Distress Stains (walnut for the tree, wild honey for the fence, and picket fence for the Polaroid frame) to color these wood shapes from Unique Laser Designs.  This method of coloring maintains the natural beauty of the wood without covering it up.  I added some red bling to complete my cherry tree, but then I really didn't feel like I needed to add anything else.  This was such a simple time in history, I didn't want to add too much.

This layout design is very loosely based on one I saw in the most recent Close to My Heart catalog.  I added my own style with the wood embellishments and surprise---my version has a lot more photos! My versions ALWAYS have a lot more photos.  

One of my favorite things about using Unique Laser Designs products on scrapbook pages is their thin-ness.  I really don't like bulky scrapbook pages, and even layered on top of each other as in this layout, I'm still easily able to slide the page into a clear protective sleeve.

So, I took my ULD shapes way back in time...where are you going to take yours?


Thursday, July 10, 2014

Feathers & Frames

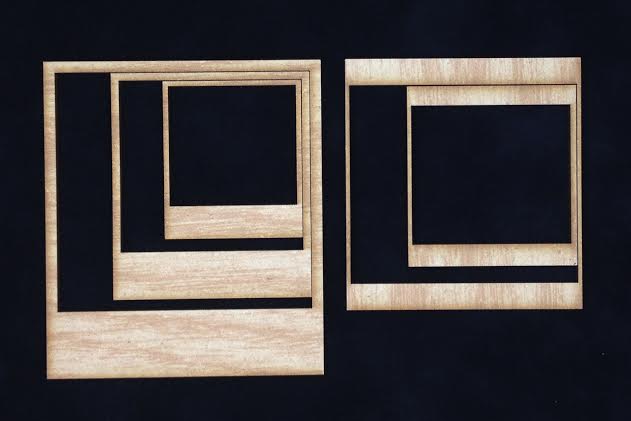
Hi everyone, today I am going to share a layout I have done using some embossing powder on these cute little feathers and Polaroid Frames.  This is what the frames look like in their raw state.

I just love the polaroid frames, as you can tell because most of my projects have them in.  In this layout I have used the tiny one but not as a Frame, I have used it as an embellishment and have added some feathers on it to spruce it up a little, together with a Prima Flower. 


I inked the frame and feathers with some Versamark and then two different color embossing powders (green & yellow)


On the one feather instead of embossing the whole feather, I applied the Versamark partially on the feather to show some of the feather in it's raw state.  While the embossing was still hot, I added some glitter onto it, and because the embossing powder was still hot and sticky the glitter stuck to it no problem and gave the feathers a nice sparkle effect.


To finish off the layout, I added one of the items which I got from one of Kenny's Scrap packs.  They are filled with lots of goodies.


Products used :-


TFL and Happy Scrapping


Thursday, June 19, 2014

Happy LOVE!

Debbie here...in The Bee Hive Studio..
@ StudioBeeCreations
with another posty for Unique Laser Designs!

.....FEATURING...my sweet sweet GRANGALS ...Faith & Niah
**********
I was able to combine several ULD elements in this one framed mixed media piece.
I took a piece of chipboard and layered LOTS & LOTS of GELLI Deli paper that I created using techniques I learned last month with Stephanie Ackerman ( lovelovelove her!)
I played around with placement....which cut-outs to use (SOOOOOO many choices!!!)
Coloring ULD products is easy peasy!!!...use whatever you have in your stash!!
I am "BeeBee" to  Faith & Niah...so, I HAD to color up and include the fun bee ..


And my newest favorite GO TO white pen is this Sharpie Paint Marker.....

That fun Polaroid frame comes in 2 sizes!!!!...as do many of the products in the
Beeeeeeeeeeeeeeeeeeeeeeeeeeeeeee sure to check out the shop....and the rest of the posts from the other awesome Design Team members!!...Oh...and speaking of that...ULD is looking for some new design team members for the next term....check it out!...You will LOVEEEEEEEE
ULD!
****************
Thanks for stopping by!!
Creative Blessings


Friday, June 13, 2014

Father's Day Burlap Canvas

Hello Unique Laser Design Friends!

Katy here and I am excited to share with you a burlap canvas that I made for my dad using Unique Laser Designs!

Here is what I used:  2 polaroid frames, heart, 2 musical notes, smile, and 3 bricks from the brick wall stencil.


The base is a 6X6 inches burlap canvas that I bought at a big box retailer.  I painted gesso in the middle of the canvas so the paint would show up better.  Here is a picture of my planning out process.  I like the idea of doing a then and now photo.  Originally I was going to use the memories word but I liked smile better for this project.


I took off my wood pieces and started adding Tim Holtz paint to the gesso and canvas.  This is my first burlap canvas and to me it's different than a paper surface.  I tried to stamp on it but it didn't come out well.  It's probably because of the texture of the burlap.  I had also put some transparent embossing paste using a buralp stencil and that didn't come out as well either.  But it's ok!  There are some shiny spots here and there but I think it blends well overall.  It contributes to the artsy organic feel of the canvas.  :)

I wanted to show you guys the bricks that I used.  When you get the stencil you get a pack of wooden bricks.  Some of the bricks are blank and some have words.  Besides the ones in the picture, some bricks have  happy, today, and hope on them.   In this close up you can also see that I used light modeling paste and gelatos in the background.


Here is one another picture of the finished canvas.  I layered the polaroids and heart.  For the heart I painted it barn door red (Tim H) and covered it in glossy accents.  I used 1 layer of pop dots under the small frame and 2 pop dots on top of each other for the heart.  I used fabri-tac adhesive to glue the different embellishments.  Lastly, I painted the musical notes with Tim Holtz paint.


Thank you for stopping by!

Would you like to show off your projects using wood embellishments?  You are in luck!  We are holding a Design Team Call!  Find out all the deets here!