Hey everyone! Today is my last post for ULD....I only signed on for the fall term, but I've loved every minute of it! I'm a little sad, but I'm a fan of wooden embellishments, and will definitely be sharing more projects using ULD on my blog and the ULD facebook page!
I've got a great little gift idea, or just something to pretty up your own holiday using this holly ornament:
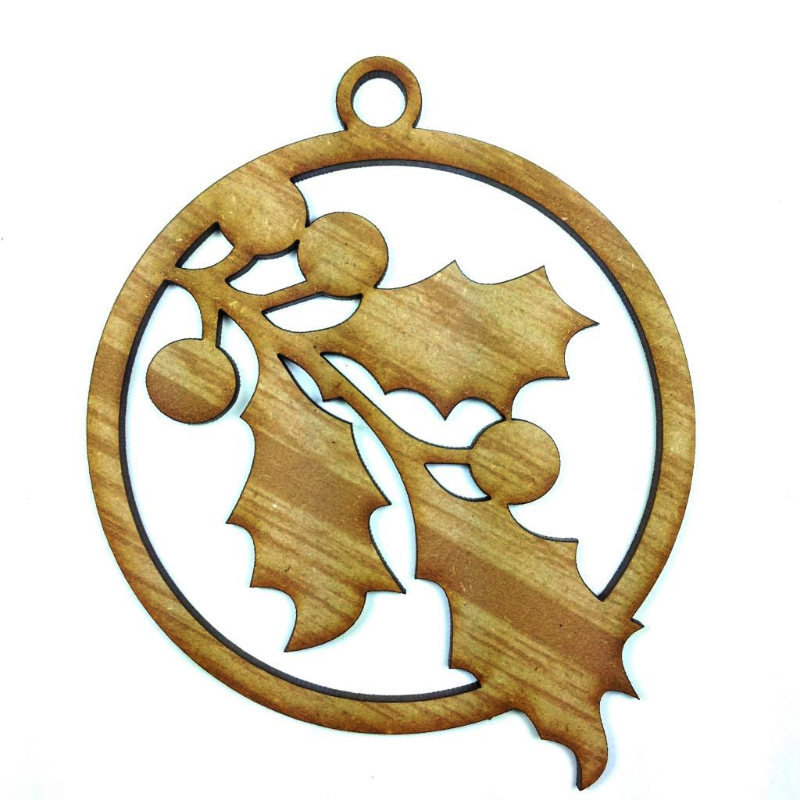
X-0058 Holly Ornament 3½”x4”
Here is my Holly Shaker Ornament:
I've used a tacky type glue that dries clear, but stays sticky, brushed over the top:
Then I added glitter to the holly leaves and berries.
Next I traced the ornament on a piece of acetate (I used packaging from craft supplies that I've saved) then cut it out. I did this twice. Then I applied a thin line of glue around the edges and adhered the acetate to one side (you can see a slight outline on the left....that is one of the acetate circles):
then, before I glued the other side, I added some glass beads and then glass glitter around the edges.
The final ornament just needs a cord (they come with these!!), and it's ready to give!
Thanks for stoppin' by today!! Get inspired to get those gifts made!
Showing posts with label Laura Cox. Show all posts
Wednesday, November 26, 2014
Thursday, November 13, 2014
Joyful Home Decor
Hi everyone! Joining you today with a little holiday spirit in this home decor banner:
This project starts with the banner set:
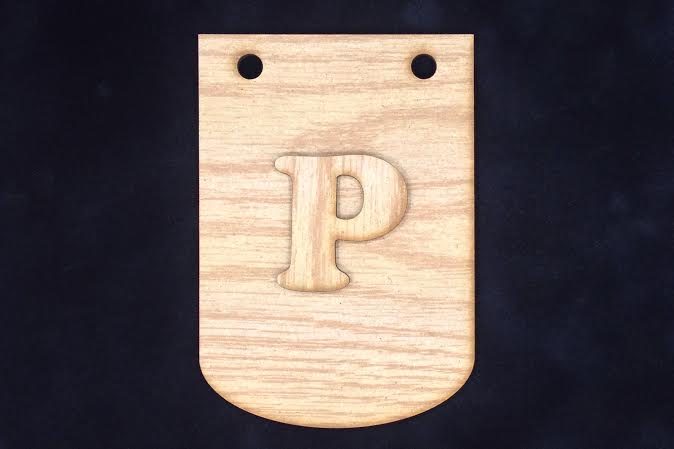
W-0004 Banner – Round Bottom (Includes 1 Letter) 3½” x 5”
I chose to use the word "JOY" but so many options here....love that you can CHOOSE your own letters to spell your own holiday banner!!
Instead of painting, staining, etc.....for something different, I covered my letters with washi tape:
Then trimmed around them with my fine tip scissors. You could also use a craft knife.
It's a fun different option for covering your wooden pieces:
Thanks for stoppin' by the blog today! Hope you enjoyed this little holiday project....so much inspiration here on the blog lately....are you inspired to start your holiday crafting? Stop back soon to see more great decor and gift ideas!!
W-0004 Banner – Round Bottom (Includes 1 Letter) 3½” x 5”
I chose to use the word "JOY" but so many options here....love that you can CHOOSE your own letters to spell your own holiday banner!!
Instead of painting, staining, etc.....for something different, I covered my letters with washi tape:
Then trimmed around them with my fine tip scissors. You could also use a craft knife.
It's a fun different option for covering your wooden pieces:
Thanks for stoppin' by the blog today! Hope you enjoyed this little holiday project....so much inspiration here on the blog lately....are you inspired to start your holiday crafting? Stop back soon to see more great decor and gift ideas!!
Wednesday, October 29, 2014
Just a Note
Hi everyone! Once we are closing in on November, I start thinking of fun little ideas for gifts or even favors for holiday gatherings and parties. I love something I can make quick, easy, yet cute! Even better if I can slip a gift card inside! This project is a perfect example:
These note pads are very easy to make, which means you can make a lot of them quickly for a great little gift that anyone can use. You can personalize them to any occasion by using different patterned papers. I used a fall theme for this one.
The Unique Laser Designs Music Notes are a perfect touch to give them a little extra pizzazz! These are the ULD pieces I used:
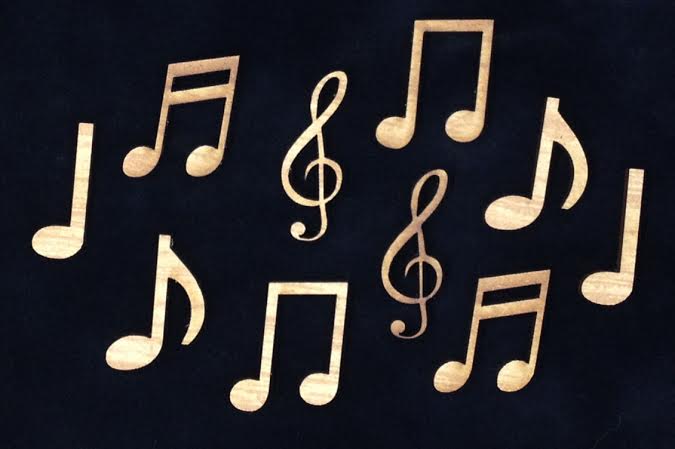
W-1071L Music Notes 1"
Even better....since it's a set of 10, you can make at least three note pads with one set. Again, great for making a large amount....you could even use a personal name instead of the word "notes" and they could be used as place cards at a party.
The base is simply a 8" by 3&1/4" piece of cardstock, scored at 3", 3&1/2", 6&1/2" and 7". Here's a peek at the inside....it holds a standard size post-it note pad:
The closure is a piece of ultra thin velcro....but regular velcro works just as well.
On the music notes, I used Walnut Stain Distress Paint and then when dry, brushed Black Soot Distress ink on the edges to give the notes some depth and shading....again, I was thinking quick and easy so I can make a lot of these:
These note pads are very easy to make, which means you can make a lot of them quickly for a great little gift that anyone can use. You can personalize them to any occasion by using different patterned papers. I used a fall theme for this one.
The Unique Laser Designs Music Notes are a perfect touch to give them a little extra pizzazz! These are the ULD pieces I used:
W-1071L Music Notes 1"
Even better....since it's a set of 10, you can make at least three note pads with one set. Again, great for making a large amount....you could even use a personal name instead of the word "notes" and they could be used as place cards at a party.
The base is simply a 8" by 3&1/4" piece of cardstock, scored at 3", 3&1/2", 6&1/2" and 7". Here's a peek at the inside....it holds a standard size post-it note pad:
The closure is a piece of ultra thin velcro....but regular velcro works just as well.
On the music notes, I used Walnut Stain Distress Paint and then when dry, brushed Black Soot Distress ink on the edges to give the notes some depth and shading....again, I was thinking quick and easy so I can make a lot of these:
Thanks for stopping by the blog today....hope you are inspired to get that holiday crafting started....a lot of great ideas in the Unique Laser Designs store....check back soon for more ideas!
Tuesday, October 21, 2014
Leafy Trio
Hey there everyone! Have you seen that Unique Laser Designs (ULD) offers many of their designs in cork? The texture and color of cork is wonderful on it's own, but there are a lot of options for adding to these types of embellishments too!
For today's post I used the ULD leaves:
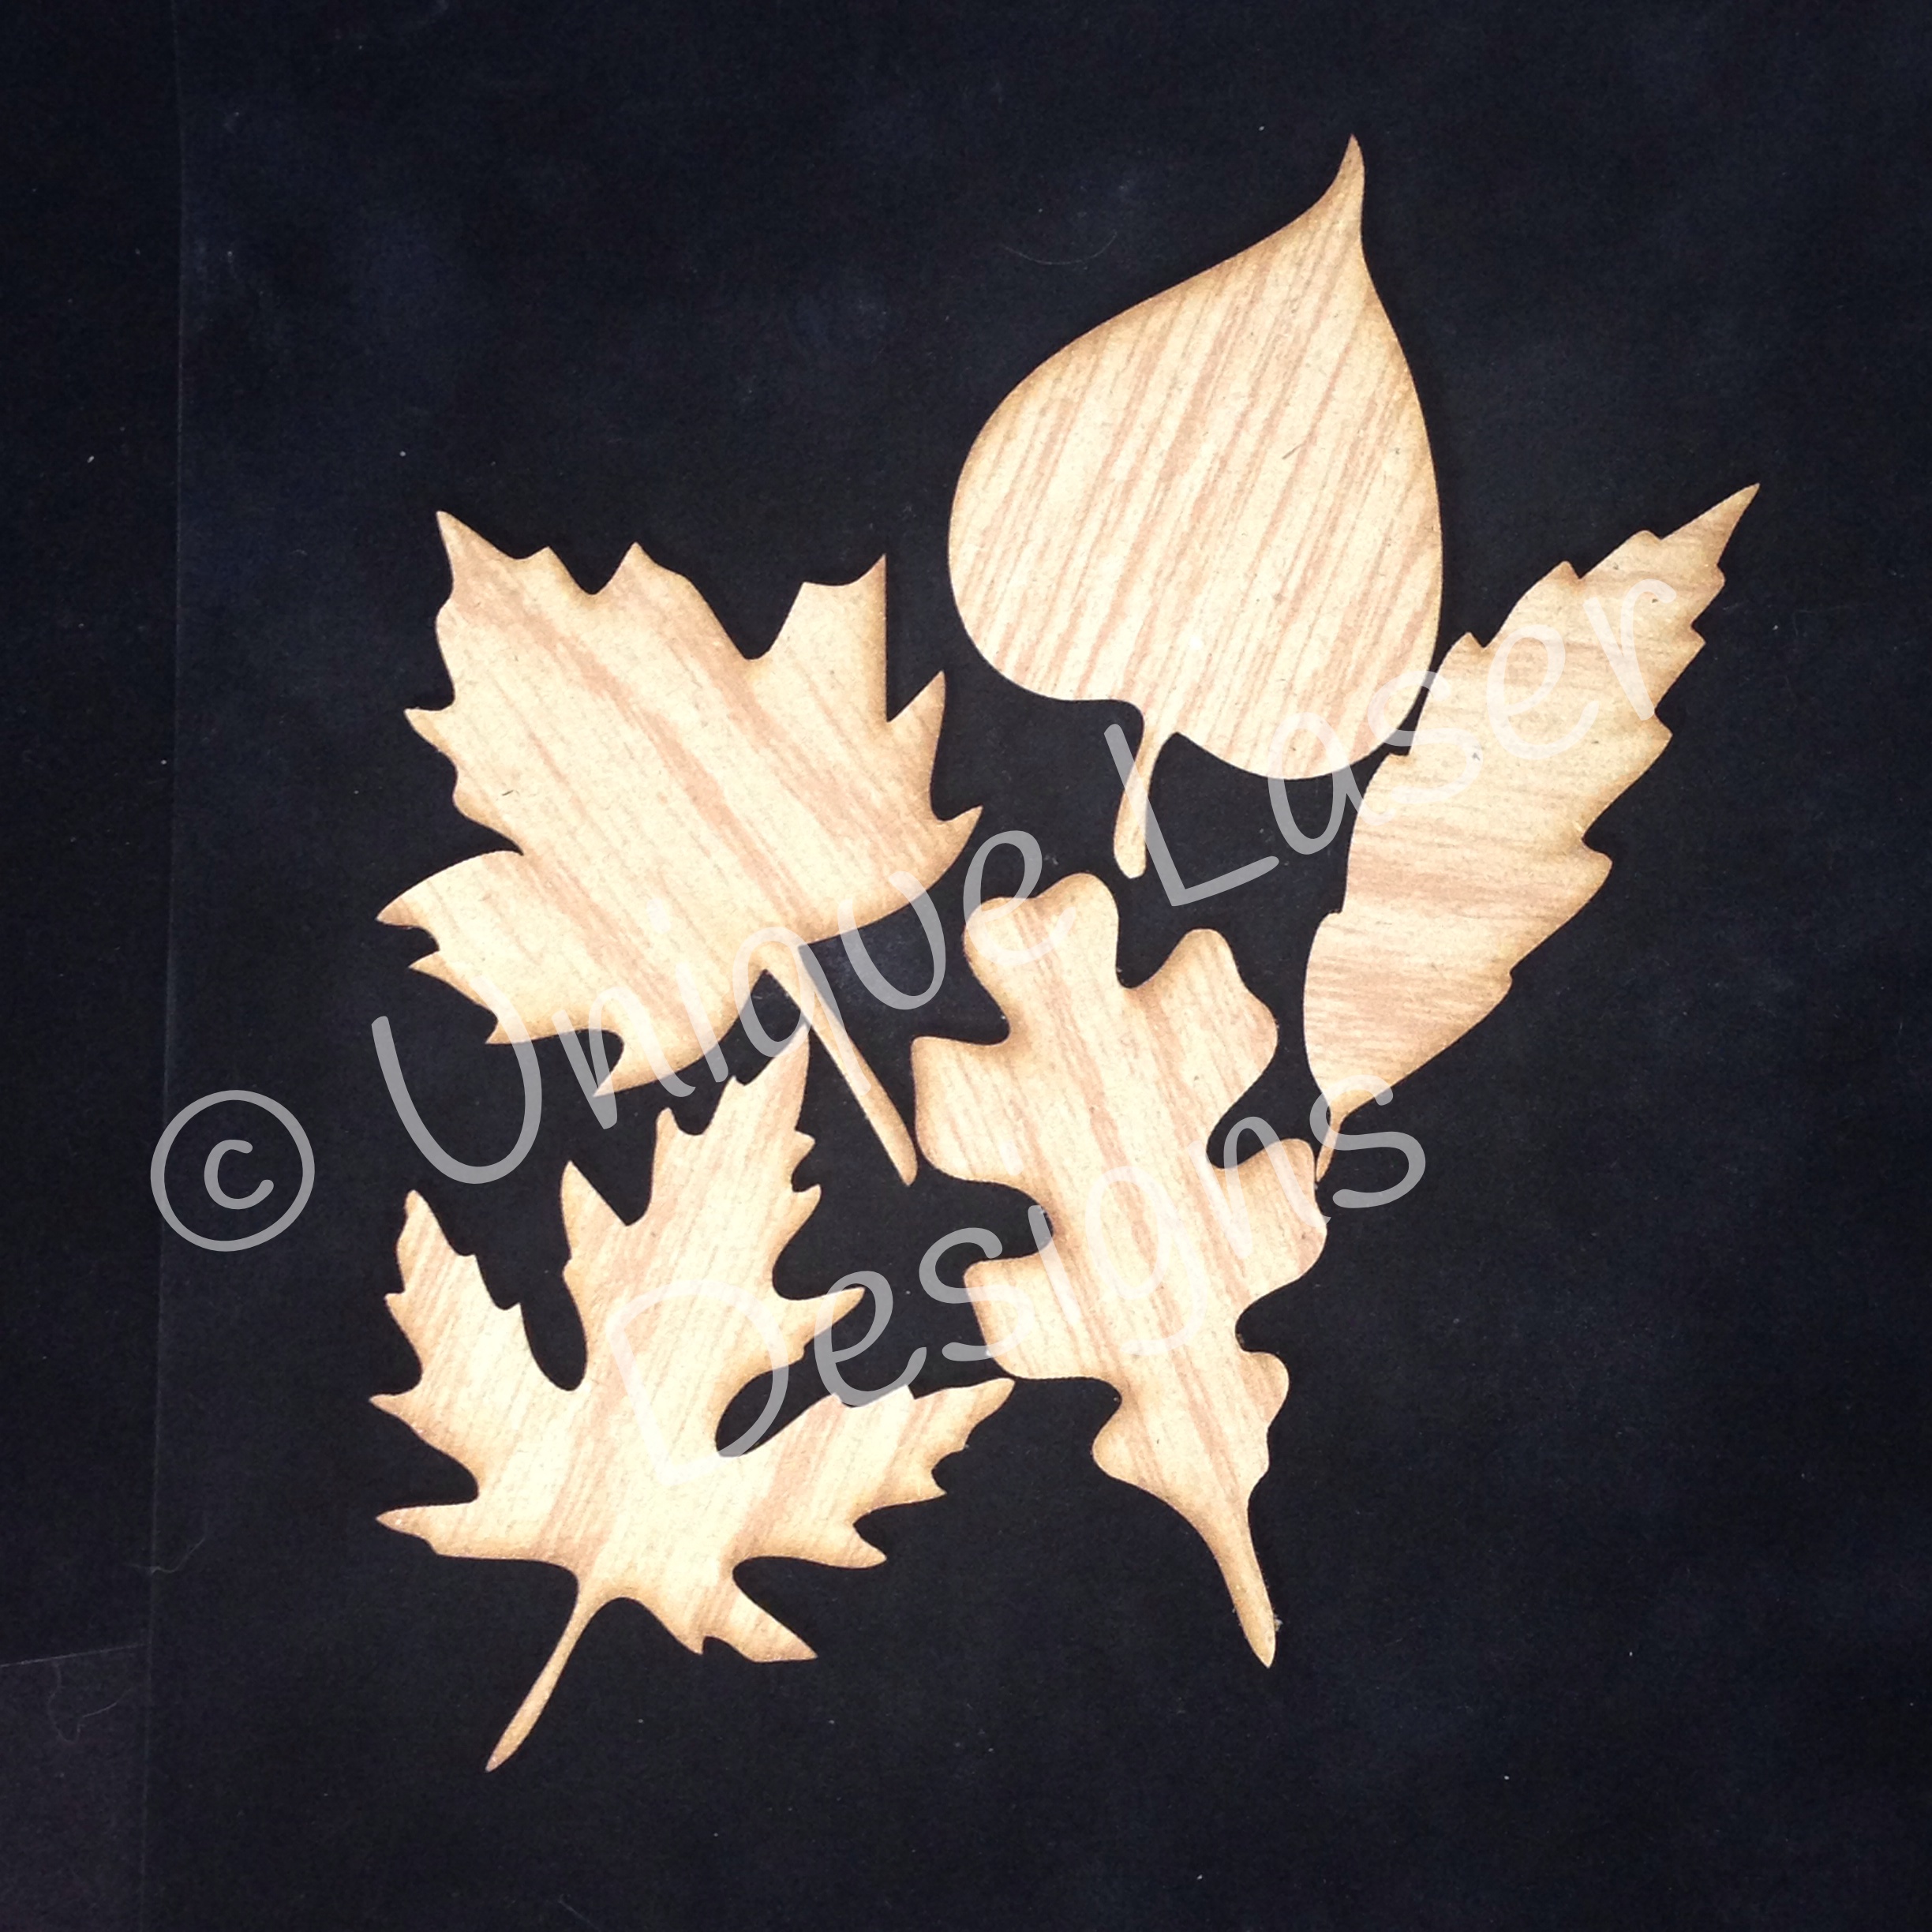
W-1186L Leaves - Large (5pc Set) Approx. 1½" to 3¼"-cork
Here is a card I made using the cork leaf as is:
This look has a natural beauty and texture to it.
Next up, I made a card using Distress Paint, and embossing powder with a word stamp:
Here is a closer look at the leaf with paint brushed on the edges:
And then with the embossing:
This last example, I brushed the edges and just a bit over the top, with some Inka Gold:
The texture in the cork picks up just a bit of the gold....just enough to hi-light it......here's a closer look:
So when you browse the ULD store for your favorite wood embellishments, check out the cork option too....so many ways to use these pieces!
Thanks for stopping by the blog today!! Check back soon for more inspiration!
For today's post I used the ULD leaves:
W-1186L Leaves - Large (5pc Set) Approx. 1½" to 3¼"-cork
Here is a card I made using the cork leaf as is:
This look has a natural beauty and texture to it.
Next up, I made a card using Distress Paint, and embossing powder with a word stamp:
Here is a closer look at the leaf with paint brushed on the edges:
And then with the embossing:
This last example, I brushed the edges and just a bit over the top, with some Inka Gold:
The texture in the cork picks up just a bit of the gold....just enough to hi-light it......here's a closer look:
So when you browse the ULD store for your favorite wood embellishments, check out the cork option too....so many ways to use these pieces!
Thanks for stopping by the blog today!! Check back soon for more inspiration!
Monday, October 13, 2014
An Eerie Steampunk Tag
Hi everyone! Sharing a tag made with Unique Laser Designs goodies with a Halloween Steampunk mixed media vibe:
This tag started with a blank base tag that I sprayed with orange spray ink, then black spray ink through the brick stencil from ULD:
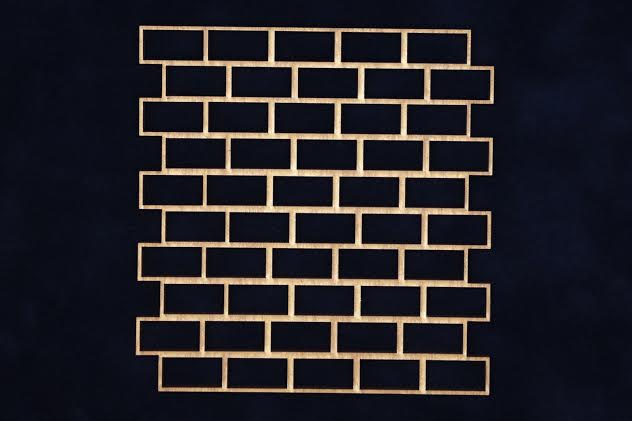
W-1124 Brick Wall 4¾" x 4¾"
Here is the look after I added some black soot distress ink to the edges and to soften the tag, and then used water dripped on to give this distressed look:
And here is the finished look with the stencil in the background:
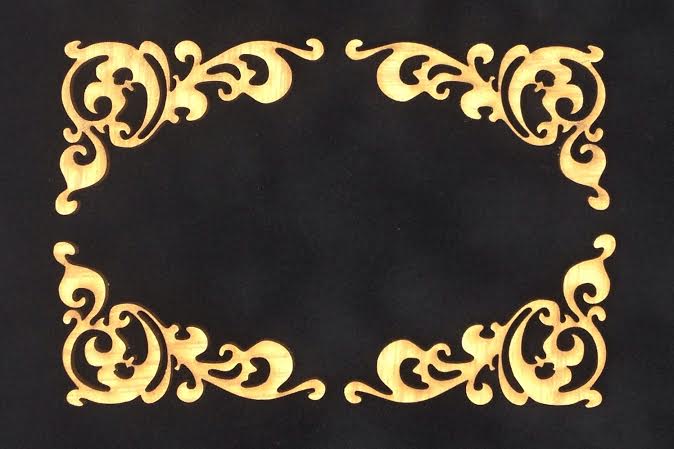
Next I took 2 corner scroll pieces:
W-6000 Corner A (Set of 4) 2½" x 1¾"
I dabbed these with embossing ink, and then used embossing powder to cover them:
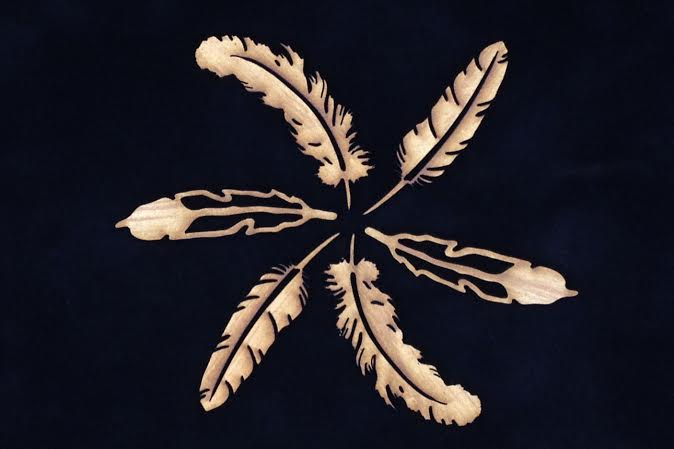
I also used this on one of the feathers from this set:
W-1072L Feathers (6pc Set) 4"
Then I added some stamping to both pieces using black archival ink. I also added some black glitter to the edges of the feather.
To add to the steampunk look, I added a gear from this set:
W-1052L Gears Set B (12pc Set) 6" (Lg), 3" (Md), 2¼ (Sm)
The gear is painted with black paint, and sprinkled with a bit of the copper orange embossing powder.
Here is a closer look at the embossed, stamped and glittered pieces:
Thanks for joining me on the blog today! Have a little creative mixed media fun....grab some ULD pieces, ink, paint and embossing powder, and have some creative play time!
This tag started with a blank base tag that I sprayed with orange spray ink, then black spray ink through the brick stencil from ULD:
W-1124 Brick Wall 4¾" x 4¾"
Here is the look after I added some black soot distress ink to the edges and to soften the tag, and then used water dripped on to give this distressed look:
And here is the finished look with the stencil in the background:
Next I took 2 corner scroll pieces:
W-6000 Corner A (Set of 4) 2½" x 1¾"
I dabbed these with embossing ink, and then used embossing powder to cover them:
I also used this on one of the feathers from this set:
W-1072L Feathers (6pc Set) 4"
Then I added some stamping to both pieces using black archival ink. I also added some black glitter to the edges of the feather.
To add to the steampunk look, I added a gear from this set:
W-1052L Gears Set B (12pc Set) 6" (Lg), 3" (Md), 2¼ (Sm)
The gear is painted with black paint, and sprinkled with a bit of the copper orange embossing powder.
Here is a closer look at the embossed, stamped and glittered pieces:
Thanks for joining me on the blog today! Have a little creative mixed media fun....grab some ULD pieces, ink, paint and embossing powder, and have some creative play time!
Monday, September 29, 2014
Football MVP
It's fall....my favorite season for so many reasons.....one of which is football!!! I scrap a lot of football LO's and Unique Laser Designs (ULD) has some great embellishments to add to one of my LO's:
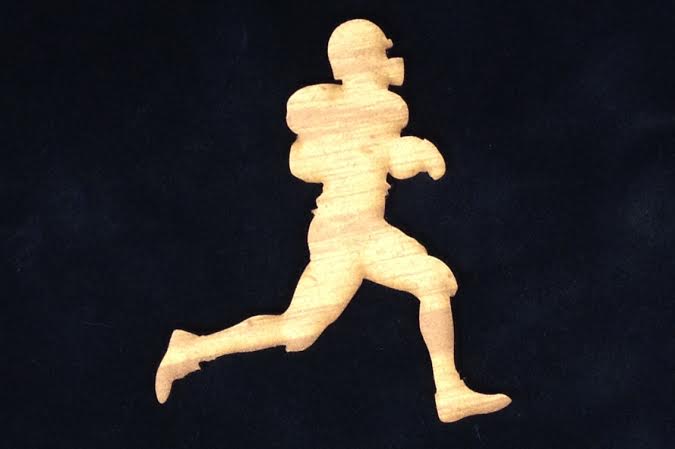
To the left of the picture you can see the football player wooden piece....so easy to spray black with a Dylusions spray, and add to the LO. You could use black paint, embossing powder, any medium you want.....I like the shadow look it gives. Here is the piece I used:
On the kraft cardstock under the football player I used the brick wall stencil:
I used the same spray mist as for the football player, here is a closer look:
Don't be afraid to use ULD pieces on your scrapbook LO's! They have a lot of options for some fun easy embellishments!
Thanks for stoppin' by today!!
To the left of the picture you can see the football player wooden piece....so easy to spray black with a Dylusions spray, and add to the LO. You could use black paint, embossing powder, any medium you want.....I like the shadow look it gives. Here is the piece I used:
On the kraft cardstock under the football player I used the brick wall stencil:
I used the same spray mist as for the football player, here is a closer look:
Don't be afraid to use ULD pieces on your scrapbook LO's! They have a lot of options for some fun easy embellishments!
Thanks for stoppin' by today!!
Wednesday, September 10, 2014
Fun, Crazy, and More!
I thought I'd take a break from Halloween this post to bring you something completely different! This LO uses the Unique Laser Designs Wacky Font Words:
In this LO I used:
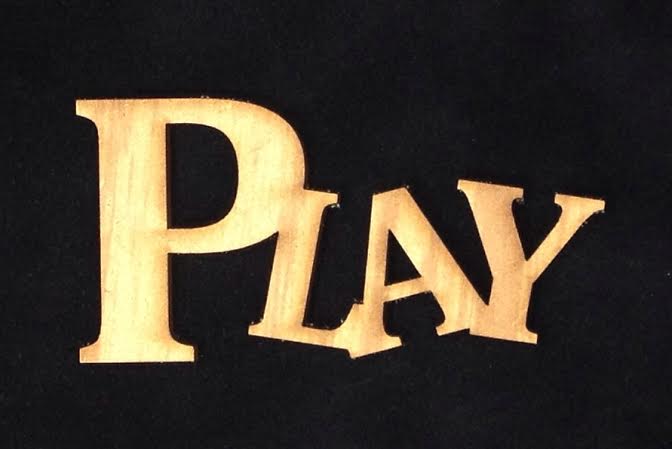
W-5021L Play - Wacky (Lg) 1½" x 3"
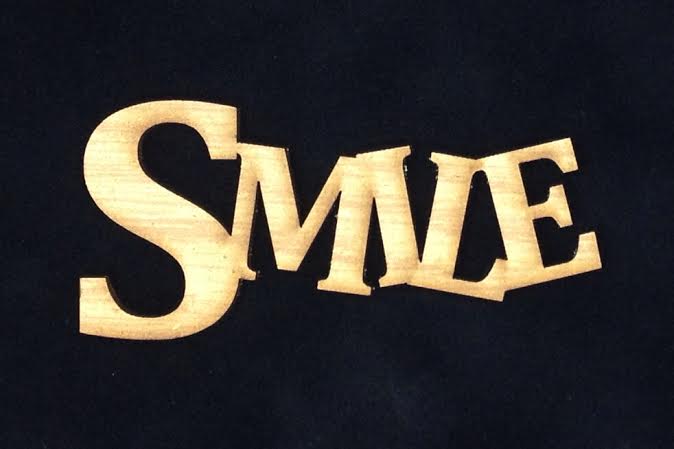
W-5014L Smile - Wacky (Lg) 3¼" x 1½"
Here is a closer look....both pieces were simply painted with chalkboard paint:
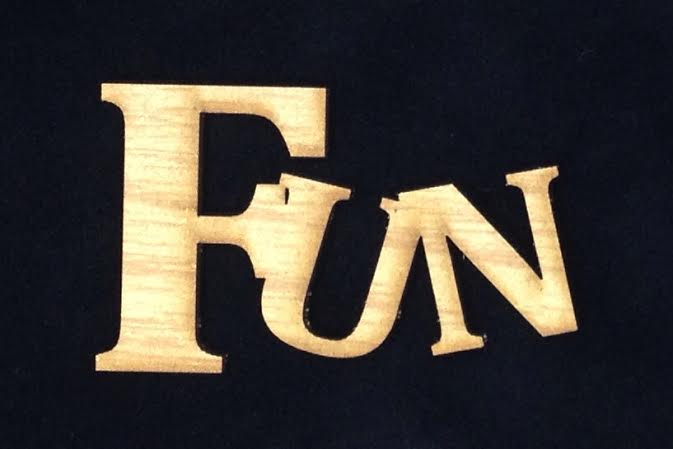
W-5016L Fun - Wacky (Lg) 2½" x 1½"
The word "Fun" was also painted with chalkboard paint:
Unique Laser Designs pieces are great scrapbooking embellishments! Either as the gorgeous raw wood, or with a little paint, glitter, stamping, whatever you'd like to do! There are a bunch of these cute wooden words in the shop....you can find them all HERE.
Thanks for stopping by today!
In this LO I used:
W-5021L Play - Wacky (Lg) 1½" x 3"
W-5014L Smile - Wacky (Lg) 3¼" x 1½"
Here is a closer look....both pieces were simply painted with chalkboard paint:
W-5016L Fun - Wacky (Lg) 2½" x 1½"
The word "Fun" was also painted with chalkboard paint:
Unique Laser Designs pieces are great scrapbooking embellishments! Either as the gorgeous raw wood, or with a little paint, glitter, stamping, whatever you'd like to do! There are a bunch of these cute wooden words in the shop....you can find them all HERE.
Thanks for stopping by today!
Sunday, September 7, 2014
Monster Tag Time
Hi everyone! Time for some silly monster fun here at Unique Laser Designs!! This tag is simply cute, and is a great embellishment for goodie bags at a Halloween party, or on a Halloween LO, or even make several for a spooky, festive banner:
To make the eyes on this tag I used W-1052S Gears Set B:
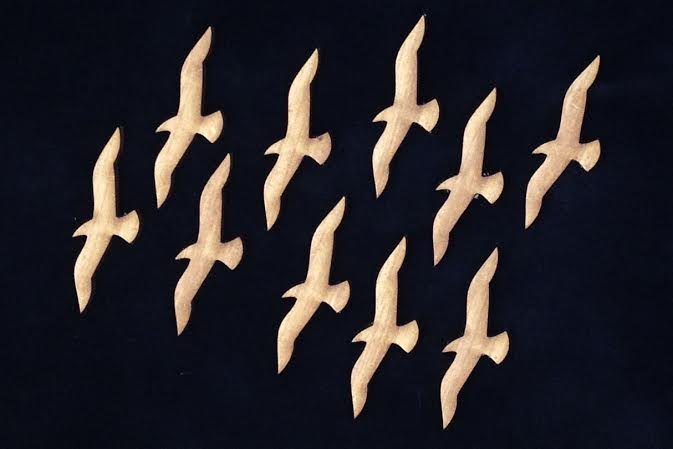
The mouth is made using the W-1081 Gulls:
For the eyes, the gears were painted with black chalkboard paint and I dabbed on brushed pewter distress stain with a paper towel:
I also painted smaller gears orange for the eyes. The mouth was done with black chalkboard paint and lightly brushed with peeled paint distress paint. Here's a closer view:
Thanks for stopping by today.....more inspiration coming soon....
To make the eyes on this tag I used W-1052S Gears Set B:
The mouth is made using the W-1081 Gulls:
For the eyes, the gears were painted with black chalkboard paint and I dabbed on brushed pewter distress stain with a paper towel:
I also painted smaller gears orange for the eyes. The mouth was done with black chalkboard paint and lightly brushed with peeled paint distress paint. Here's a closer view:
Thanks for stopping by today.....more inspiration coming soon....
Subscribe to:
Posts (Atom)