Showing posts with label Heidi Swapp. Show all posts

Saturday, November 15, 2014

Mixed Media Tag Tutorial Using Unique Laser Design's "LOVE" MDF Wood Embellishment!

Hello Everybody! I am back today with a step-by-step mixed media tag tutorial using Unique Laser Design's "LOVE" MDF wood embellishment. I had so much fun creating all of the yummy layers. This tag is grungy with a touch of glam just like I like it!
Alright, let's get this party started! :D
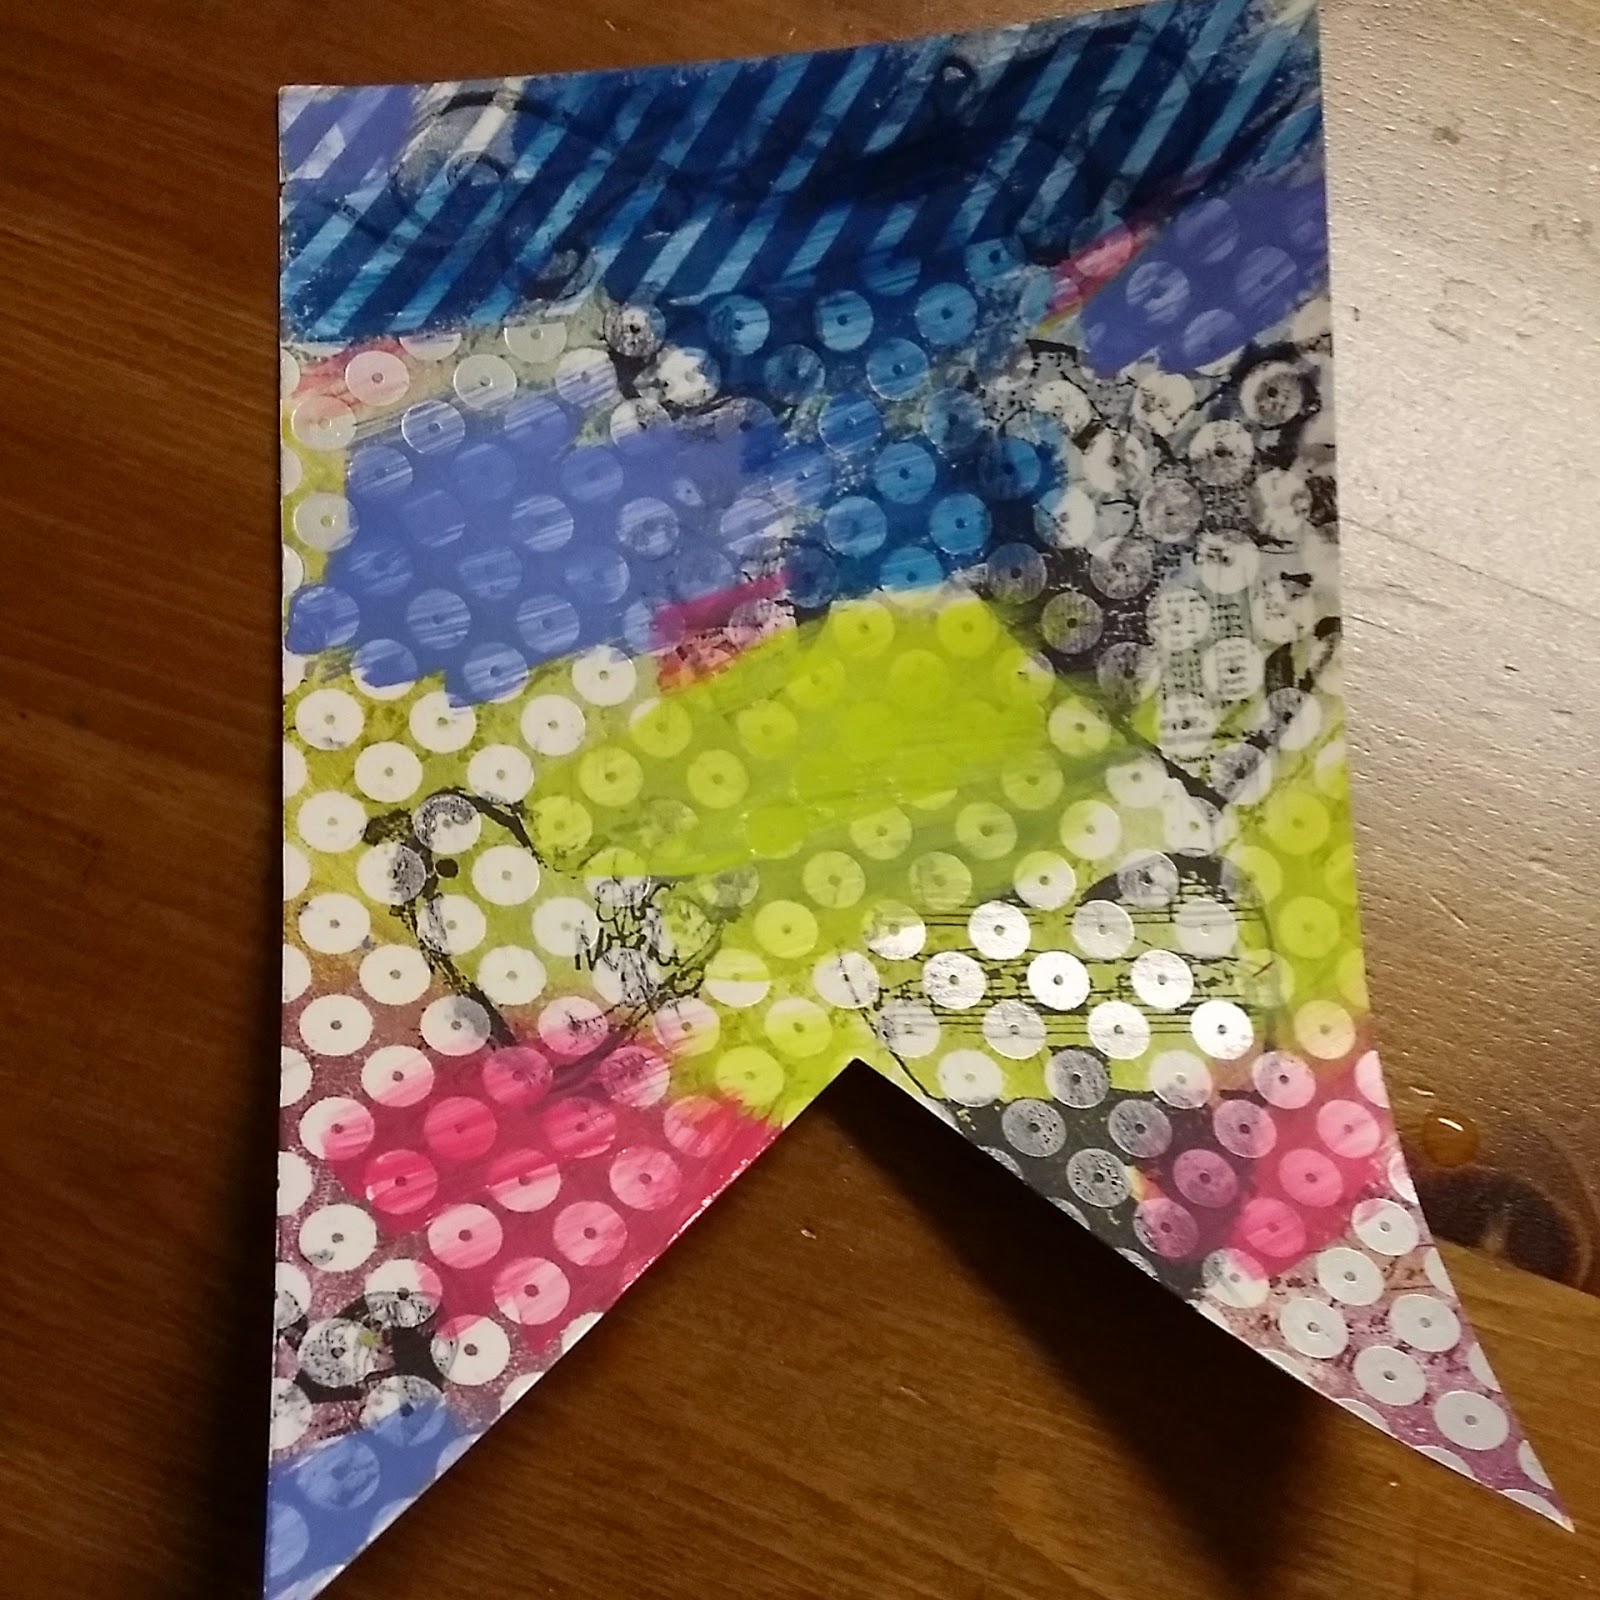
Started with a Heidi Swapp
Color Magic Jumbo Tag
Selected these Tim Holtz Mini Distress Inks
Swiped the Tim Holtz Distress Inks
on a "non-stick" craft mat
Placed the Heidi Swapp tag on top
of the ink covered craft mat. 

Used my fingers to FIRMLY press 
the tag down to pick up the ink.
Used a damp cloth to remove excess distress ink
Pulled my favorite Dina Wakley 
"Clearly Collaged Hearts"
mixed media stamp set from my stash

(note: all the stamped images used 
in this project are from this set)
Randomly stamped hearts all over the tag
with black Ranger archival ink
Pulled these four 
Americana acrylic paint
colors from my stash
Added acrylic paint to the background
Added a light coat of gesso 
to the background
Added another layer of random
heart stamps
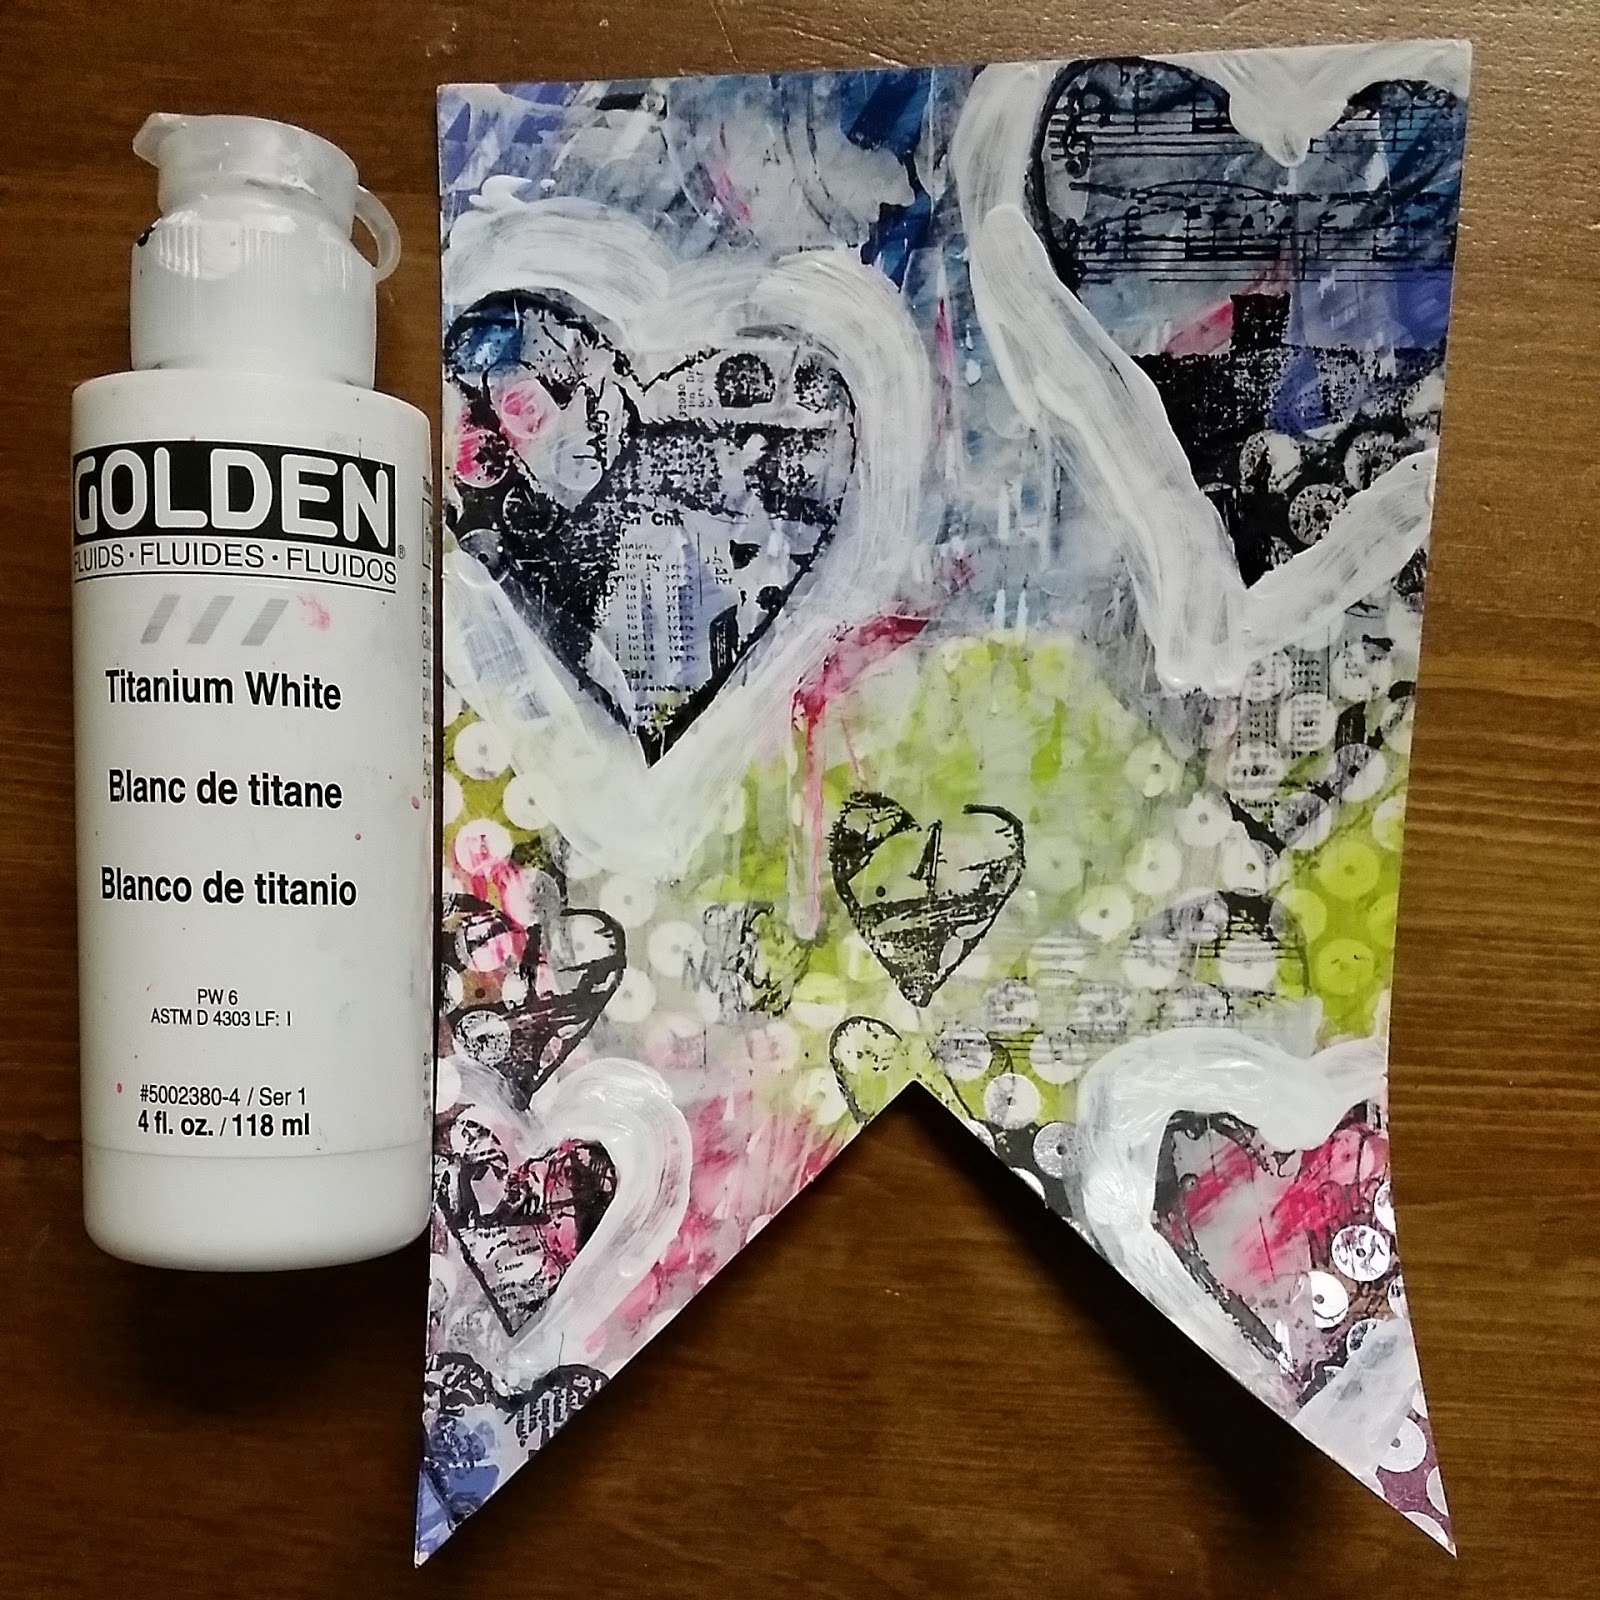
Outlined the stamped hearts with
Golden white acrylic paint
Stamped Dina Wakley's "Love rocks"
around the hearts
Outlined all the hearts with a
'Indanthrene Blue' Faber Castell Pitt pen

and blended with my finger
Outlined all the hearts with a
white Uni-ball Signo pen
Added details to the hearts with Golden
Fluorescent Magenta paint
Outlined the hearts with a black
Uni-ball Signo (Broad) pen
Added dot details with a gold
Painters pen
Stamped a heart on a piece
of patterned scrapbooking paper 
and mounted it with dimensional tape. 
Splattered the entire tag with
Heidi Swapp 'Black Velvet' Color Shine. 
Added Dina Wakely's "Where there is love,
there is not darkness" sentiment to the
bottom of an old sales receipt
Selected Unique Laser Design's "Love" 
MDF Wood to embellish my tag
Adhered the sentiment and ULD
embellishment with matte medium
Distressed the edges of the tag
with Ranger Archival Ink
Doodle stitched around the edges of the tag
Added blue and wine sari ribbon &
bling charm as final embellishments
Close-up of ULD's MDF wood
embellishment
And there you have it!
My completed mixed media "Love" tag
Check out all of the delicious mixed media embellishments at Unique Laser Designs today!

Have a BLESSED day!

XOXO,
Shelley

Friday, November 7, 2014

DIY Origami "HAPPY MAIL" Envelope Using Unique Laser Design's "Handle With Care" Chipboard Embellishment!

"HAPPY MAIL" is equally fun to make as it is to receive! Today, I am sharing how to make an origami envelope using a 12x12 piece of scrapbooking paper and some scrapbooking supplies that you probably already have on hand. This super cute DIY envelope is the perfect size for mailing gift cards for the upcoming holiday season.

DIY Origami Envelope (front)
DIY Origami Envelope
with a Tag &
Starbucks Gift Card
Enclosed
Okay, let's get started:


Start with a 12x12 Piece of Patterned Scrapbooking Paper.
I Chose This Christmas Themed
October Afternoon's Midnight Clear
from the Silent Night line. The

Map of the North Pole Compliments
My Air Mail Theme Beautifully.
I Added Black Doodle Stitching Around
the Border of the Paper for Added Texture.


Folded the 12x12 Piece of Patterned
Scrapbook Paper in Half to Make a Triangle.

Folded the Bottom Right Corner
Over as Shown Above.

Folded the bottom Left Corner
Over the Top of the Right Side as Shown Above.

Folded the Bottom Left Corner
As Shown Above to Create a
Diamond Shaped Enclosure.

Diamond Shaped Enclosure (Close-up)

The Envelope Flap Should Tuck
Nicely Inside the Enclosure
as Shown Above
(Back of the envelope).

Front of the Envelope

Distressed the Edges of the Envelope
with Tim Holtz's Vintage Photo
Distress Ink or Markers for
a More "Aged/Worn" Look.

Grabbed Some "Air Mail" Themed Supplies
From My Stash to Decorate
My Envelope. Here is a peek inside
my "Air Mail" Stash inside My Credenza. 

"Air Mail" Themed Goodies I Used
on the Front of 
the Envelope.

Added a Coat of Gesso to
Tone Down the Patterned
Scrapbooking Paper.

Chose the Unique Laser Design
"Handle With Care"
Chipboard Piece to Embellish the
back of the envelope.

Sprayed the ULD "Handle With Care"
Chipboard Embellishment with
Heidi Swapp's 'Sweet Cherry'
Color Shine.

Stamped 'Snail Mail" on the Bottom
Left Corner & Adhered the "Handle With Care"
Chipboard Embellishment with Matte Medium.
And VOILA" ~ Your DIY Origami Happy Mail Envelope is COMPLETE! ;D
Happy Scrapping, Everyone!

XOXO,
Shelley

Thursday, November 6, 2014

Desktop Display


Hi everyone! This is Martha Lucia with my first project in Unique Laser Designs! I am very excited to share this with you. My project is a "Desktop Display" that I altered with a few things. Let me show you.


I start by selecting two products from ULD Store, which was the most difficult part because I was shocked by all these options. But I needed to start with something, I took the wheelbarrow and the shaped circles in wood. 

Then I used different colors of Tim Holtz distress ink to color the circles and after they dried, which only took a few seconds, I stamped them with  Memento Tuxedo Black with a text stamp.

For the wheelbarrow I used a patina technique with VerDayProducts in Bronze Color. I love this effect over the wheel and handles.  The steps to get this effect  are too easy, I only needed to paint the wheelbarrow with bronze paint and after it dried I sprayed it with VerDay Patina Solution. Note the details:


The base of my desktop was natural wood, so I painted it with a Red Wood Stain from Ikea. I let it dry and then I cut a little small piece of designer paper for the stand.  


To decorate the stand I cut some words  in card stock Rich Razzleberry using my die cutting machine and framelits or cutting templates from Little Yellow Bicycle.


As I was thinking of a display, I decided to decorate some journal cards with gold glimmer paper , staples and bakers twine, so I can interchange the board message every day. 


To keep these cards in place I created to decorate a paper clip with metal on topper, using a piece of Polished Purple Metal Sheet from Add a Little Dazzle and the design of one embossing folder. I pasted the piece of metal with Sticky strip to keep this in place over the black part of my paper clip.


The last part of my project was the assembly. And I decided to top the wheelbarrow with some little paper flowers. I pasted the circles and the wheelbarrow with dimensionals to give more dimension to the project.


Now I want to show you what the original products I chose looked like and invite you to visit the ULD Store because you will go crazy with all the special pieces that you can find to create and embellish your projects. 


Products Used:
  • Shaped Circles
  • Wheelbarrow
  • Desktop Display (Heidi Swap)
  • VerDay Bronze Kit 
  • Polished Purple Metal Sheet (Add a Little Dazzle)
  • Distress Ink (Tim Holtz)
  • Red Wood Stain Behandla (IKEA)
  • Paper Flowers (Crafty City)
  • Cutting Templates (Little Yellow Bicycle)
  • Journal Cards (We R Memories)
  • Designer Series Paper & Card Stock (Stampin Up)
  • Big Shot 
  • Multi Tombo Liquid Glue
  • Dimensionals
  • Paper Clip

I hope I have inspired you to create something for you or a present during this holidays. Come back soon to see more wonderful ideas!

{{HUGS}} Martha Lucia!