Showing posts with label scrapbook layout. Show all posts

Thursday, February 19, 2015

Cub Scouts

My oldest son Morgan is a cub scout.  This is a picture of him as a wolf cub (second year) holding the spirit flag that his den won that month for having the most kids go to the Report to State.  They got to march down in Austin up to the capital building then then get a tour.  So proud of my scout and my wonderful husband for being the den leader!!


I used the wonderful wood stars from Unique Laser Designs to add to the accents of the page. They were just the perfect touch for this page.

http://www.uniquelaserdesigns.com/#!product/prd1/1770439155/stars-%28lg%29


I first treated the stars by inked the edges with a chalk ink in a brown, just to soften the edges and make them look a bit distressed.  


I then treated the stars with one of two centers before placing them on the layout.  For three stars I took the small scout emblem sticker and placed it in the center.  The other three stars I placed a green pearl in the center.


Supplies Used
Wood Stars - Unique Laser Designs
Cardstock - BoBunny
Papers - Paper House Productions & Kaisercraft

Cork – Paper House
Pearls – Doodlebug
Ink – Prima
Stencils – UmWow
Mists – Tattered Angels
Adhesive - Scotch and Beacon
Trimmer & Scissors - Fiskars
Enjoy!!

Saturday, February 14, 2015

Cherished Moments Layout

Happy Sweethearts Day! Kisha here today with a non-traditional Valentine Day post. Usually at this point in the month of February, we would have overloaded you with designs using hearts and the color red.  Today, I want to share with you a bit of masculine mixed with lots of love.


Now let's begin the creative journey. First I'll start with the Unique Laser Designs wood embellishments used to create my layout.


After cutting my top layered pattern paper to size and adhering it to my base cardstock, I now prepare to use the Diamond Stencil and spray mist to create my base layers.


I alternate spritzing the darker and lighter mist to create a variation of colors with this pattern.


Next I alter the DF Rhonda frame by first misting it with the darkest color and top it off with butterscotch gelatos and finally adding spots of Embossing Dabber and topping it with Perfect Pearls powder in an orange hue.


Adding more layers/dimension by using a script stamp, embossing ink pad and white embossing powder to bring in a crisp pop of color.


For my final Unique Laser Design item, I kept it fairly simple by distressing it using white embossing powder. 


Now begin to add your layers of pattern paper bits, tags, twine and of course all your distressed wooden embellishments


Here's a look at the completed layout and a few close up views are below.


Products Used:
Pattern Paper
Mix'd Media Inx
Prima Color Bloom
Heidi Swapp Color Shine
Gelatos
Embossing Dabber/Ink Pad/Powder
Perfect Pearls Powder
Mosaic Crystal Tiles
Crystals
Florals
Twine
Tags
Stamp
Gesso

Saturday, November 1, 2014

Mmmmm! Lunch With Max

Well, howdy there new friends!  It's Renee Robbins here from Scrap Owl with today's blog post.  I'm so excited that I get to hang out with the sweet folks over here at uniQue Laser Designs for a couple of months.  They have already been super gracious and all of the projects I have seen have been incredibly inspiring.

I've had a great time working with the various products I received from uniQue Laser Designs.  Once I got started playing with the wood and cork embellishments I just couldn't stop!  For this post, I wanted to share this sweet layout I completed of my beautiful nephew... well, he's beautiful in one photo, but a messy little monster in the other.  Ha!

uniQue Laser Designs | Mmmmm Cork & Splatter Set | Renee Robbins of Scrap Owl


Making A Messy Masterpiece

So, as a proud Aunt, I have to confess that the title of this section is really about my nephew and not the layout, but using the pieces from uniQue Laser Designs certainly helped elevate my page to the next level.  To create it I used the Large Wacky Mmmmm  as the title.  The foundation is cork and I didn't do anything extra to it since it was simply perfect the way it was.  But, when I splattered my Pear Tart irRESISTible texture spray, the title did happen to get a little coating.  All part of the fun, I say!

uniQue Laser Designs | Cork Mmmmm & Wood Splats | Renee Robbins Scrap Owl


However, in addition to the title, I also used wood Splats to dress up the page.  The Splats come in a 6 splat set, but I only needed to use four of them for the optimal effect.  Plus, this way I have two more for another project!!

uniQue Laser Designs | Splats (6pc Set)


To dress up my splats, I heat embossed them using Recollections Pearl Embossing Powder.  The clear shine that the pearl provides to the wood gives it an almost translucent metallic look.  Depending on the way the light hits the Splat, you can see the wood grain or it looks silver.  Certainly a cool effect.

uniQue Laser Designs | Wood Splat | Renee Robbins Scrap Owl

Just a Few More Details

Also on this layout, I used Pink Paislee's Solstice Bora Bora patterned paper for the foundation, Studio Calico's South of Market Lettuce, Turnip the Beet for the circle, Pebbles' Jen Hadfield Homemade 1905 Pine for the banner, and Chickaniddy Crafts' Scrumptious for the stripes and journaling stickers. 

I hope you like the layout!  I look forward to showing you my next uniQue Laser Designs project.  In the meantime, take a gander at the inspiration offered up by the other marvelous ladies on the team.  And, feel free to stop by my site for a visit!   If you're into scrapbooking podcasts, we've just released episode 40!! :)

Stay Scrappy My Friends,


Monday, September 8, 2014

Kicking it "old school"


Yesterday it was 85 degrees, today it is 72.  Fall is in the air, and that means it's time to go back to school.  I'm going "back to school" with my project today too.   Not only did I use an old school photo of me, but the patterned paper I chose has an "old school" feel to it too. The tweed background, stripes, chalkboard alphabet, the phonics blocks, and the penmanship lined paper---all bring back those grade school memories.   

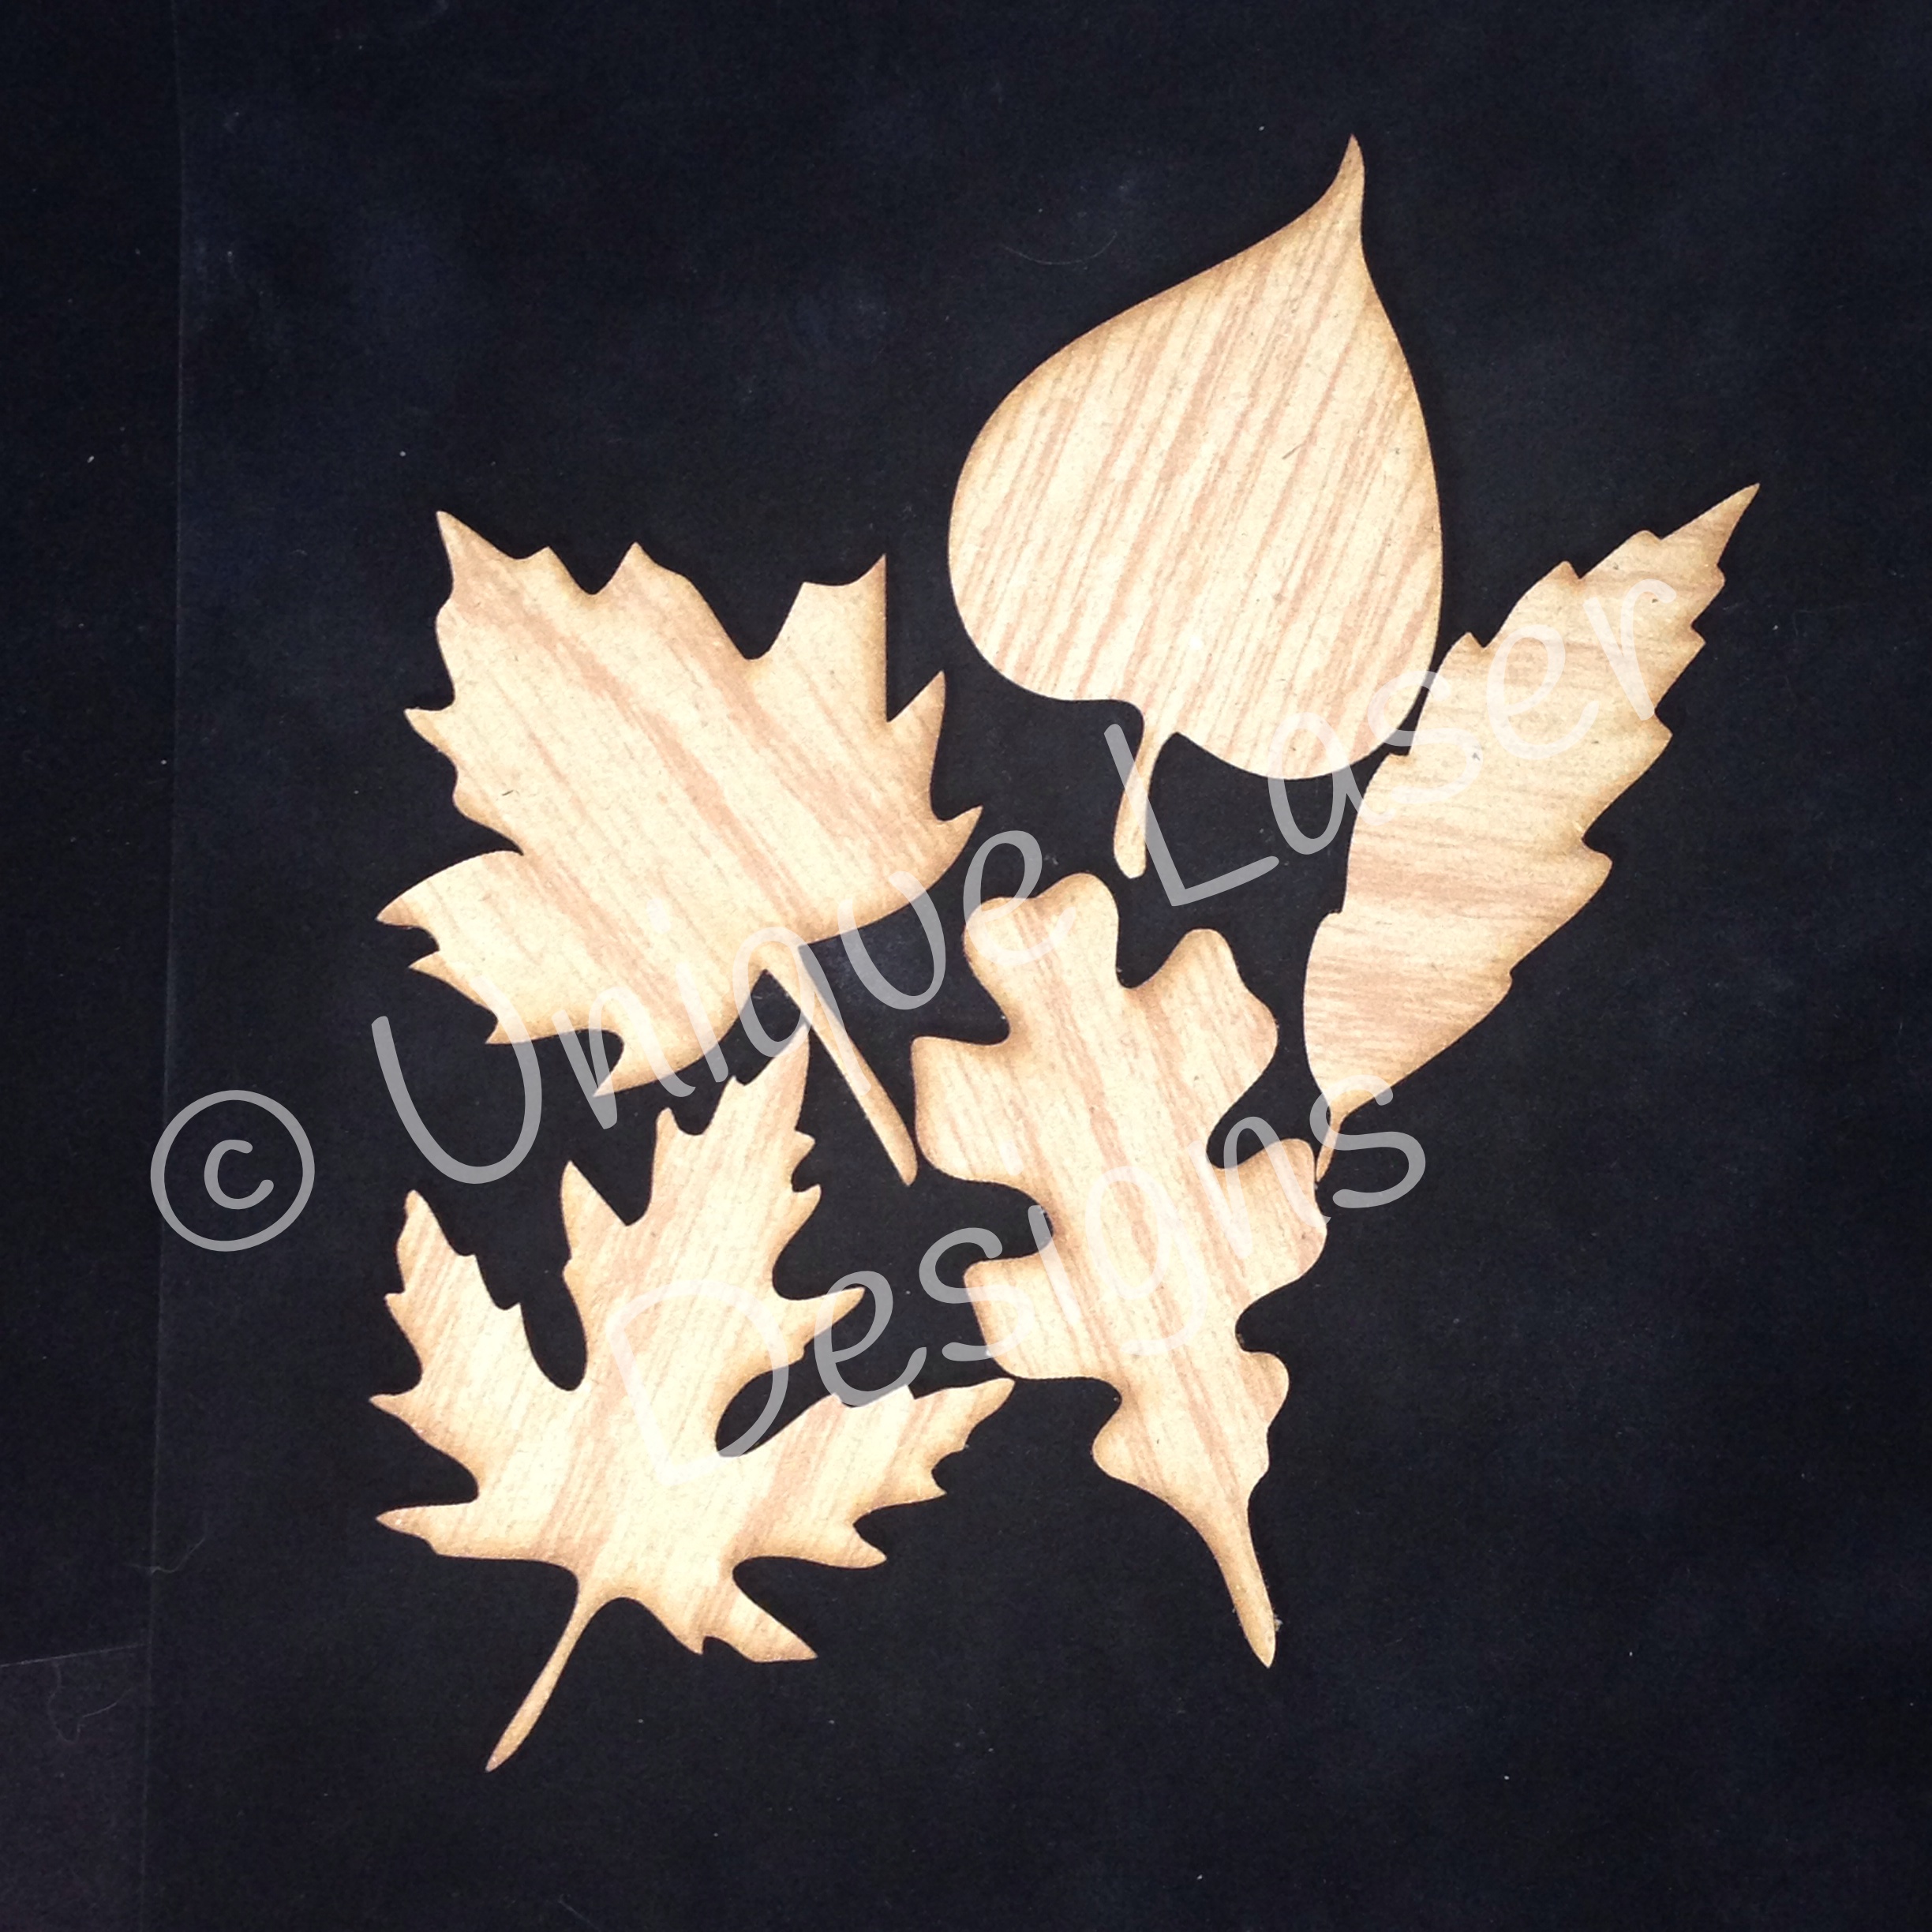
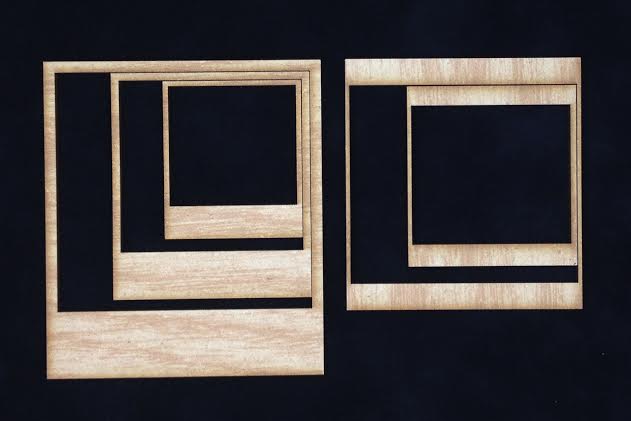
This oak leaf and Polaroid frame (turned into a chalkboard with black paper and a white gel pen) are wood embellishments from Unique Laser Designs.  To color the the leaf, I used Twinkling H2Os from Creative Imaginations.  In this picture, you cannot adequately see the amazing shimmer from this copper paint.  For the frame, I quickly and simply ran some Distress Stain (wild honey) over the wood to give it a hint of golden color.
When you think that your layout needs just a little "something"---it might just be a small wood "something" from Unique Laser Designs. Oh, and have you heard? You can now choose your shapes in chipboard too!


Tuesday, July 22, 2014

A trip back in time

Let me take you on a little field trip back in time.  Isn't it just natural to want to use these wood pieces in a layout about George Washington's home of  Mount Vernon?


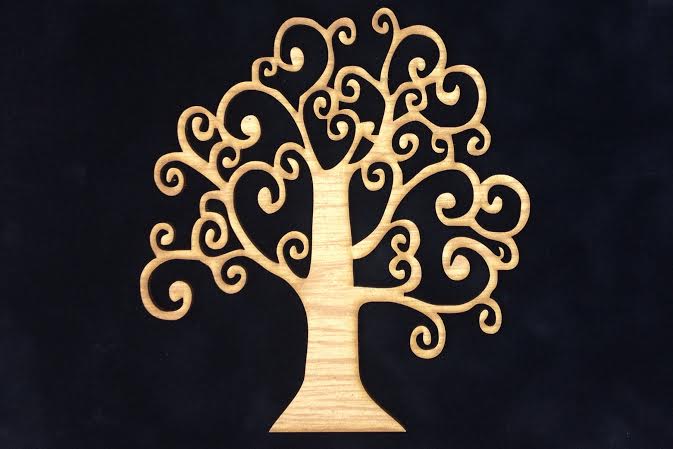
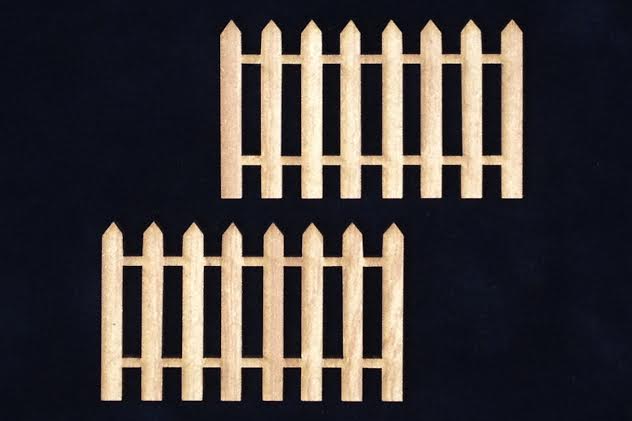
 the curly tree, the large Polaroid frame, and the picket fence 


I used Tim Holtz Distress Stains (walnut for the tree, wild honey for the fence, and picket fence for the Polaroid frame) to color these wood shapes from Unique Laser Designs.  This method of coloring maintains the natural beauty of the wood without covering it up.  I added some red bling to complete my cherry tree, but then I really didn't feel like I needed to add anything else.  This was such a simple time in history, I didn't want to add too much.

This layout design is very loosely based on one I saw in the most recent Close to My Heart catalog.  I added my own style with the wood embellishments and surprise---my version has a lot more photos! My versions ALWAYS have a lot more photos.  

One of my favorite things about using Unique Laser Designs products on scrapbook pages is their thin-ness.  I really don't like bulky scrapbook pages, and even layered on top of each other as in this layout, I'm still easily able to slide the page into a clear protective sleeve.

So, I took my ULD shapes way back in time...where are you going to take yours?


Monday, July 14, 2014

A splash of color


Time to make a "splash" with these paint splats from Unique Laser Designs.  I think they are perfect for embellishing my layout about our trip to the National Gallery of Art in Washington DC.


I simply used gelatos (from Faber-Castell) to color on them.  
The color goes on so smoothly.


I think they would also be great for layouts about 
swim lessons,
or puddle jumping, 
or painting my room a new color, 
or art class,
or a day at the beach, 
or dad's giant cannonball splash into the pool, 
or muddy footprints from a rainy day.

SO versatile--I think I may need to order some more splats!

So, what would you use some splats for?


Thursday, May 22, 2014

You Are My Happy

Hey there!!!...This is Debbie/StudioBeeCreations...with my DT posty for
********
OH MY GOODNESS!!!
You have to lovelovelove this elephant puzzle piece from ULD!
My grandguy Myles is an animal expert!
If you are OH SO LUCKY to spend the day with him....@ the ZOO...you would appreciate his overwhelming knowledge of all the beautiful creatures found there!
Here is my layout:
This is my first-born GrandGuy Myles.....check out those beautiful blue eyes!!!
Myles absolutely LOVES animals...especially elephants!!!!
He lives close to the Greenville Zoo..in Greenville,SC...and nevernevernever tires of visiting the ZOO.
His Papa & Mama ( that would be us)..got a season pass...just so we could take him...and his brothers to visit his favorites.
Which is why...as soon as I saw the ELEPHANT puzzle from ULD, I knew I had to have it...to incorporate into a scrapbook layout.
soooooooo...Myles...we call him Smylie...loves to visit his friend "Joy" at the zoo....I have manymanymany pics thru the years(he just turned 10 yrs old) with Myles & Joy.
I also incorporated the "wordage" from the ULD blocks stencil and some heart cutouts.
As a member of the Design Team @ ULD....I am soooo very lucky to be able to create with this most awesome product!....The team is always open to new ideas and creative input!
I was able to use MANY pieces of ULD on this 2-page spread....PLUS...I used a tag I made from my Stampin'UP! demonstrator days...sweet!!
Loveeeeeeeeeeeeeeee this guy.....
HE is my happy!!...he has my HEART!

creative blessings,
debbie