I know that school is right around the corner (and some children have already started back) but I can't let go of summer. Not yet!
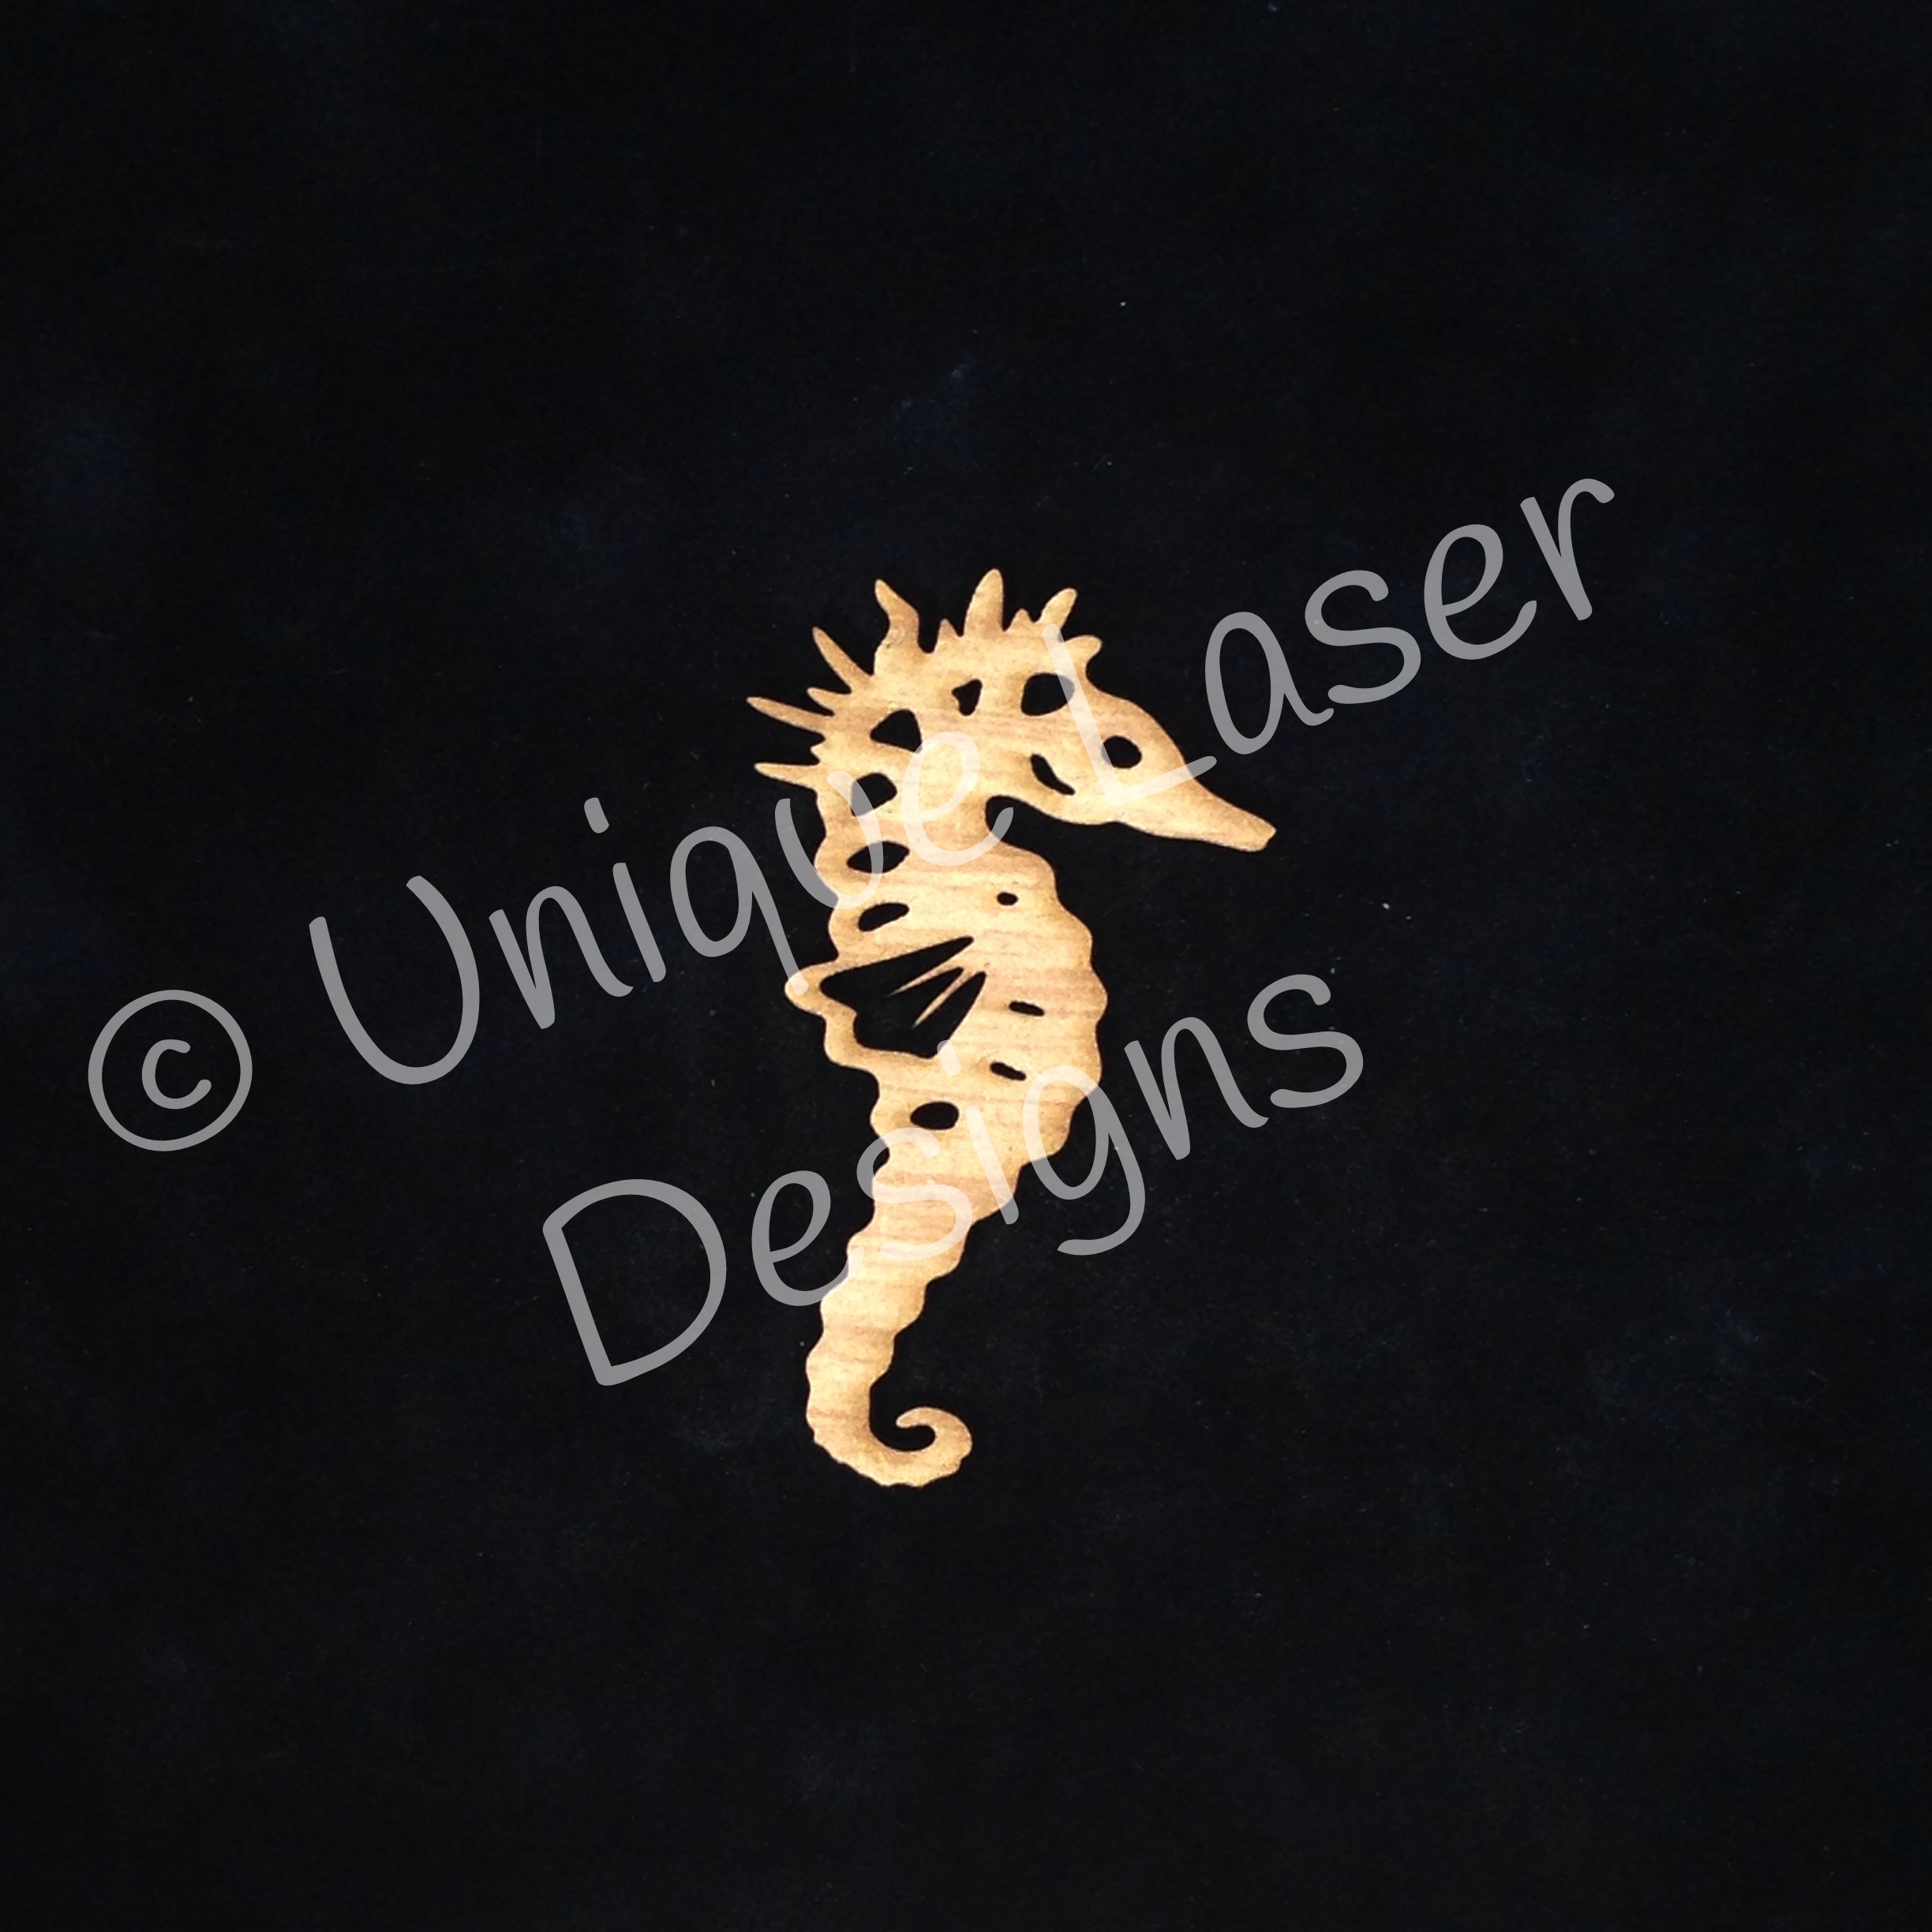
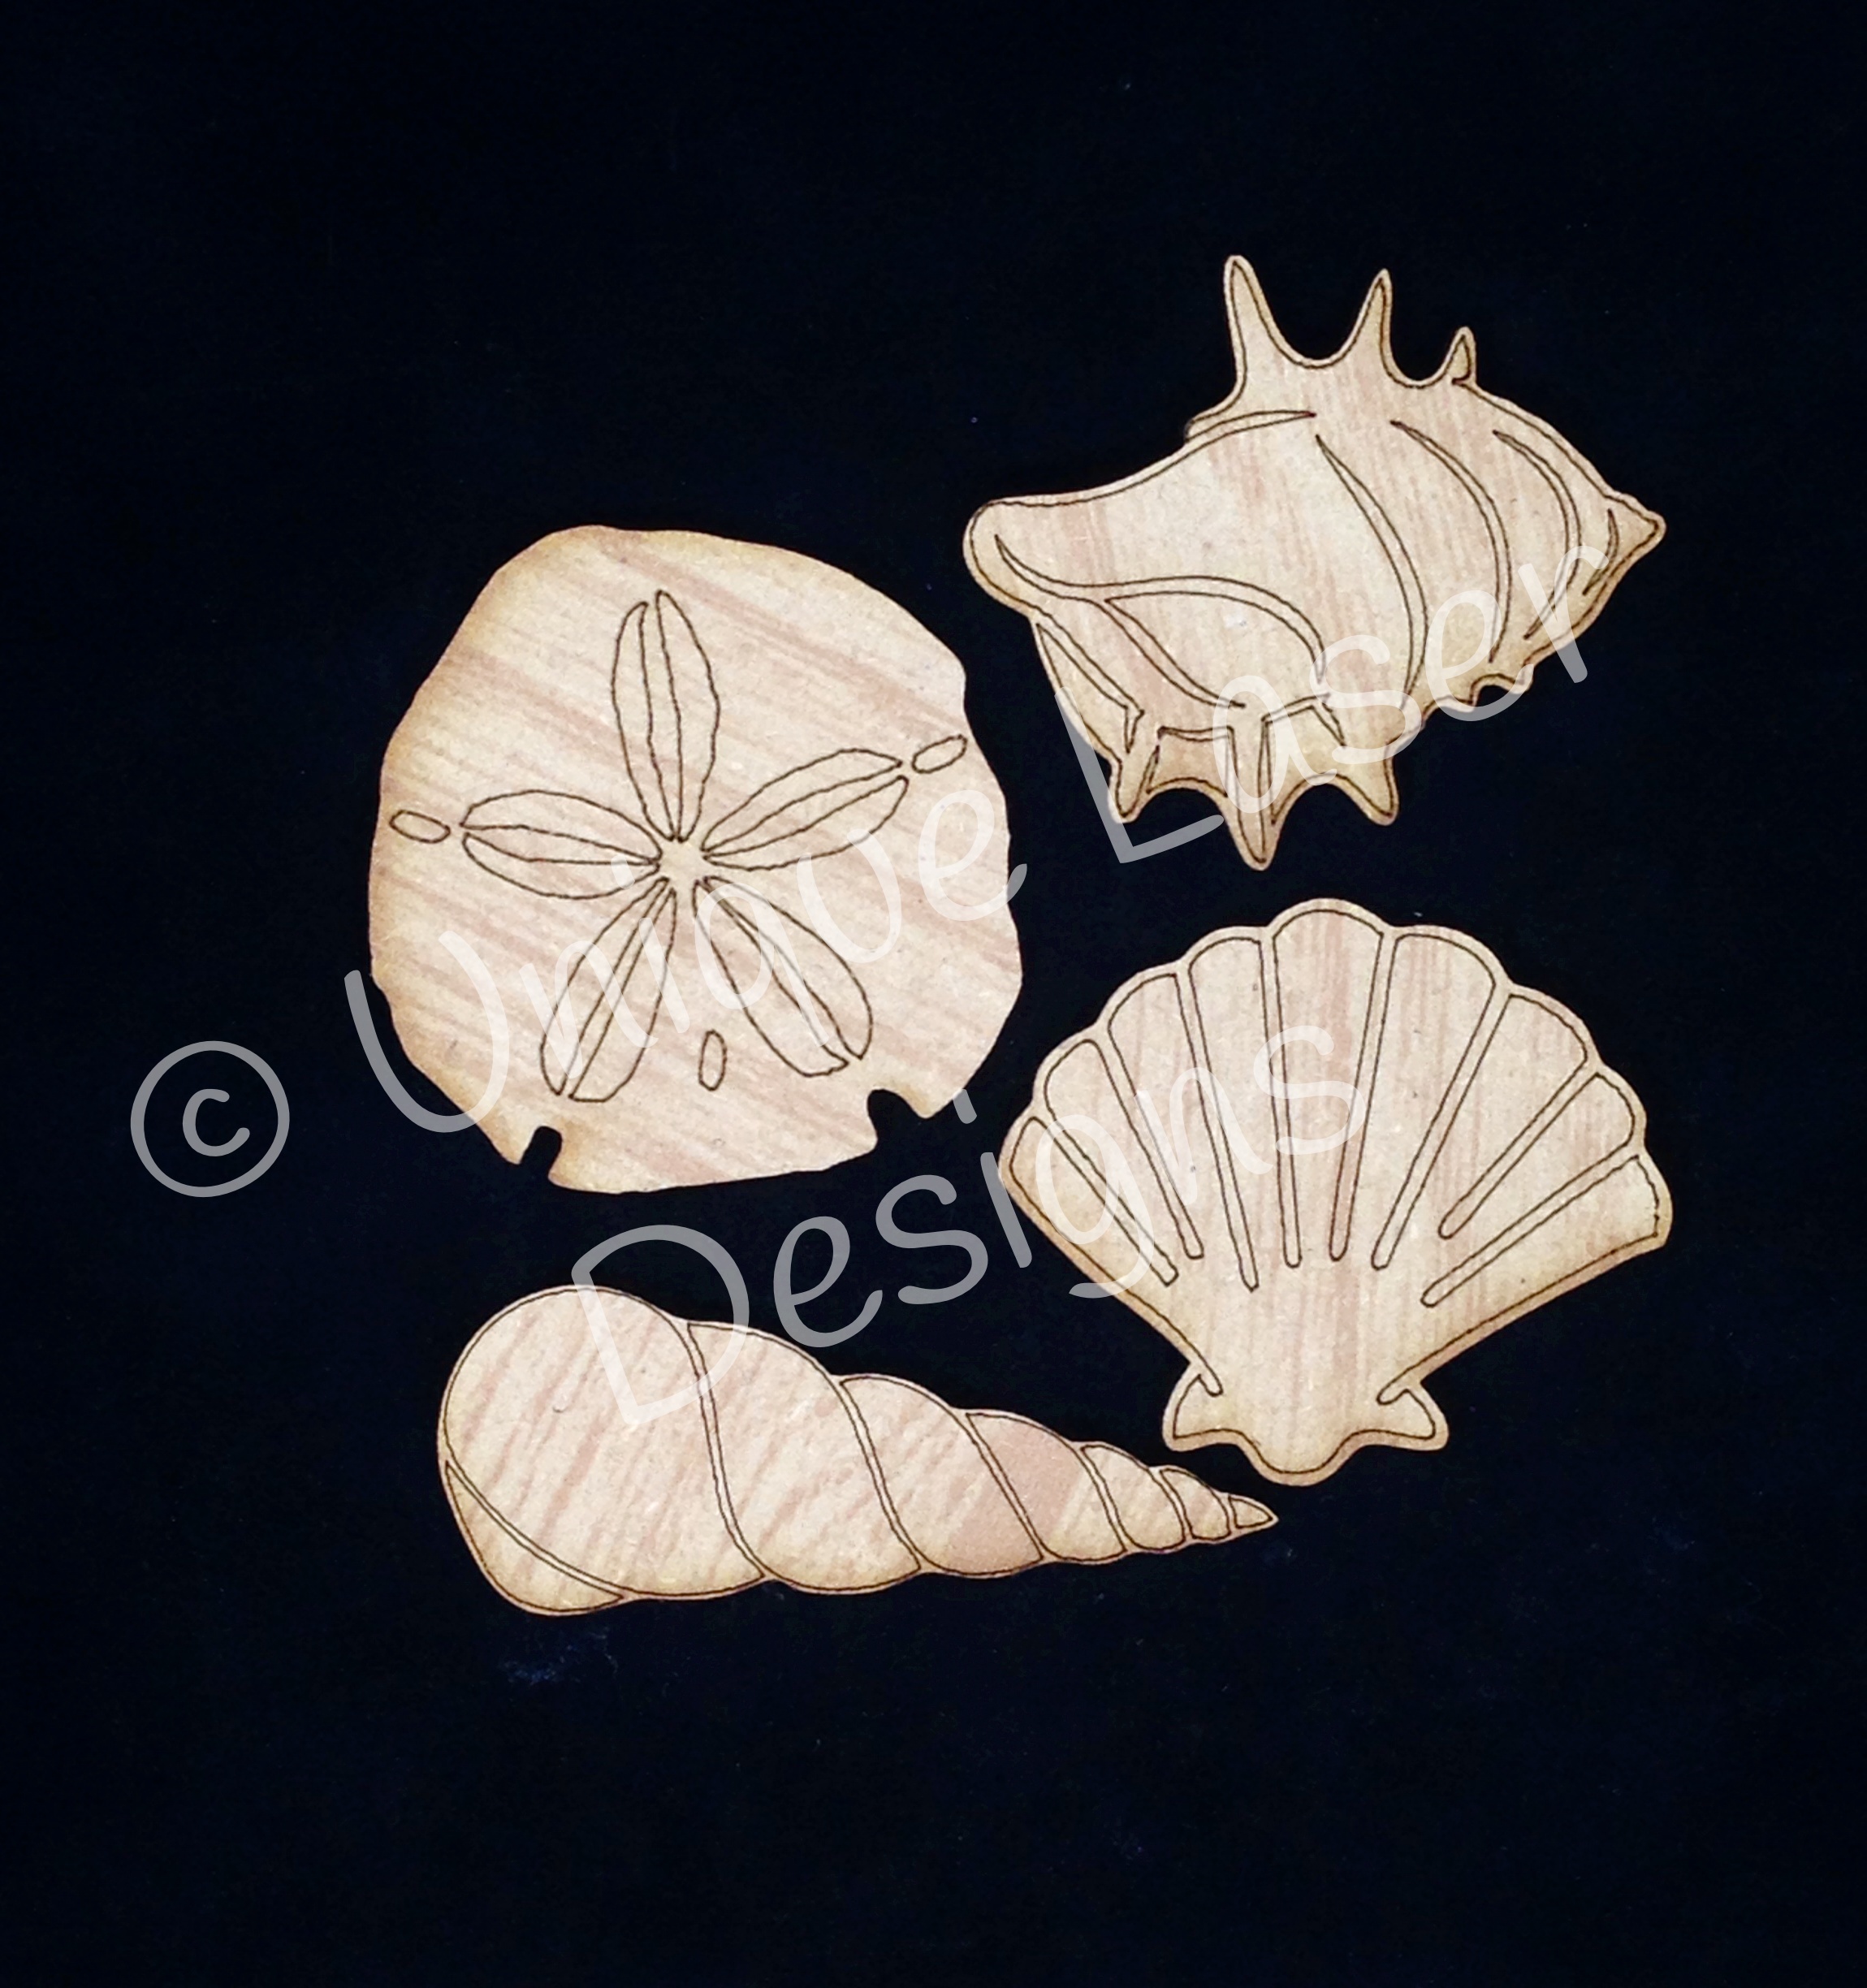
So when Unique Laser Designs came out with these new summer pieces-Shells and Dolphin- I was beyond excited!


So the next question is-what to make? What to make?!
A friend of ours gave us this cool beach photo holder. So we put it out. Totally appreciative of the gift! Now this was a couple of years ago. And when I saw those new pieces-it came to me instantly-it was time to give this beach photo holder a little up do!

So the first thing I did was paint the beach letters with Tim Holtz Distress Paint. If you are familiar with his colors-any guesses as to which color? Salty Ocean! Of course! ;)

Then I painted the base with scattered straw because that was the only color that I had close to a sandy color. Just recently Tim Holtz made sand on his blog (July Tag 2014). I was so intrigued that I had to try this new technique. And did have to substitute a few ingredients. I used a generic gold glitter and stampendous black embossing powder in place of the products Tim used here. The rest was the same-Thick UTEE embossing powder, and antique linen Distress embossing powder (which is key here for color). I did use glossy accents too.
I don't have pictures of the process-because it is a messy process! But it's fun and amazingly it looks like sand. Although the mixture itself has glossy accents in it, I applied glossy accents directly to the base so the mixture would stick.
Also, I sprayed the sand, shells, and beach with a Glitter Blast Clear Sealer from Krylon. This keeps the sand in place and the glitter in place (on the dolphin).
So here is the finished photo holder:

For the dolphin I used Sonic Silver Micro Glitter from Sparkle N Sprinkle. I painted him with gesso, then a brushable glue (also from SnS), and covered with glitter.

For the shells I did give them all a light coat of gesso. For the sand dollar I painted it lightly with Spun Sugar Distress Paint. Then I used the Worn Lipstick Distress Marker to go over the lines (that was Tim Holtz inspired also). Then I used Star Dust Stickles to trace the outlines. Lastly, I dabbed black soot distress ink around the edges to give it definition. (And you can see a close up of the sand underneath.) :)

This shell was done the same way as the sand dollar.

This shell was done the same way with the addition of some Shaded Lilac distress ink to make it look different than the other two shells. I dabbed it on with my finger so I could play a little with shading.

I think this is a great conch shell. And I really wanted it to be a coral color. I used a bright orange acrylic craft paint and made it darker in some areas. A little outline of black soot distress ink and Stickles finishes this little shell.

I had to do one more photo of my finished project. I had to take it outside. And since I don't live on the beach-I did the next best thing. Took a picture of it next to the pool. LOL! :)

Thank you all for stopping by! Go check out the new summer and fall designs at Unique Laser Designs! And you can follow us on Facebook, Pinterest, and Instagram!