Showing posts with label Feathers. Show all posts

Monday, February 16, 2015

A FEATHER PIN

Hi friends, Martha Lucia here with a Feather Pin for you. For today I want to create something different and this time my imagination give me a Pin.


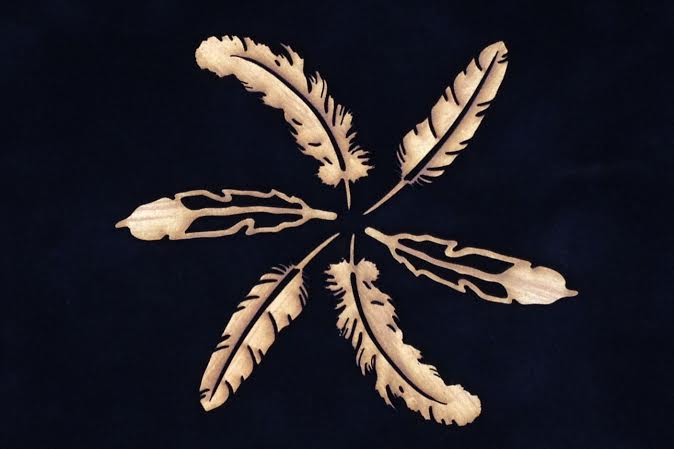
Don´t think that this is a card. My pin is attached to the card but before I explain all the details let me show you how beautiful the designs of all the Feathers are that you can find in Unique Laser Designs Store. They come in a package of 6, 2 of each model and in two different sizes, 2" and 4".


I started my project using the Feathers in MDF version. They are available in MDF, chipboard and cork. My first step was to apply GooseBumps directly over the feather and let it dry for a few minutes to give it a little more texture. On the third photo you will note the difference between a natural feather (left side) and the feather with the GooseBumps.


I started to give it color using four different colors of Gelatos. I began with the soft to dark color and I applied the color with my finger tips. I used the brush paint only to clean the spaces inside the feather.


Now you will see how looks my feather after I all the color was applied and how the GooseBumps gave to it a little texture.


To create the base of my pin I used a canvas fabric that I cut with a Circle Die and decorated with some Sequins, Tulle Ribbon and Thick Backer´s Twine. I attached my feather to this using silicone. And behind it all I put a  little clothespin. 


To finalize my idea, I created a base card to attach my pin and present it to you.


Materials:


See you the next week with another unique idea because with the products of Unique Laser Designs the ordinary becomes extraordinary.


Monday, October 27, 2014

A Gift of Love

It's under two month's till Christmas and I wanted to share a little 8x8 canvas of my niece for my mother for Christmas.


Dot Graph
Feathers

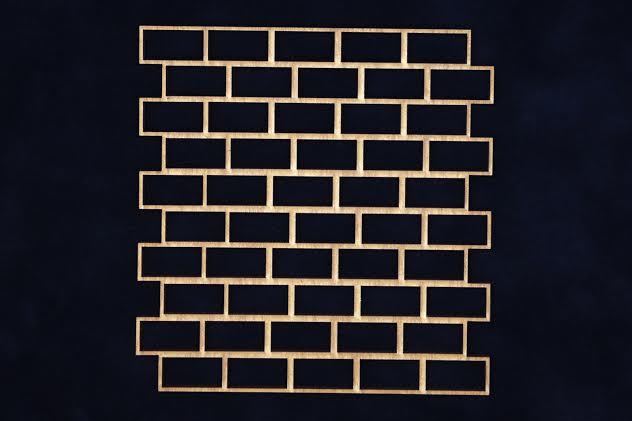
The three products I have used, are the gorgeous feathers in chipboard as opposed to MDF, the MDF Dot Graph and the little tile with the word "smile" engraved on it from the Brick Wall pattern - again in chipboard.

I covered the canvas with gesso and then applied some texture paste with a mask.  Once dried I used Cotton Candy Tim Holtz distress stain over the masked area.

For the Dot Grid and Feather I used my White Prima Chalk Ink directly on them and dried with the heat gun.   For the feather I then applied some gel medium and applied some white sugar dust on top.  It has come out so beautiful and shiny.  I just love the white on the feather it looks awesome.


Here is a close of the Dot Grid which I slipped underneath the photo 


A nice simply canvas which is a beautiful gift of love, perfect for a Christmas present.  I hope I have inspired you to create some wonderful gifts.

Happy Scrapping


Monday, October 13, 2014

An Eerie Steampunk Tag

Hi everyone!  Sharing a tag made with Unique Laser Designs goodies with a Halloween Steampunk mixed media vibe:


This tag started with a blank base tag that I sprayed with orange spray ink, then black spray ink through the brick stencil from ULD:

                                          W-1124 Brick Wall 4¾" x 4¾"

Here is the look after I added some black soot distress ink to the edges and to soften the tag, and then used water dripped on to give this distressed look:


And here is the finished look with the stencil in the background:


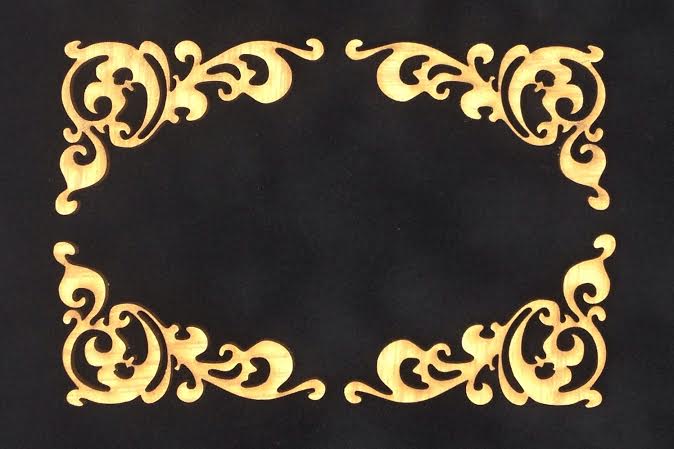
Next I took 2 corner scroll pieces:

                                          W-6000 Corner A (Set of 4) 2½" x 1¾"

I dabbed these with embossing ink, and then used embossing powder to cover them:


I also used this on one of the feathers from this set:

                                          W-1072L Feathers (6pc Set) 4"

Then I added some stamping to both pieces using black archival ink.  I also added some black glitter to the edges of the feather.

To add to the steampunk look, I added a gear from this set:

                                          W-1052L Gears Set B (12pc Set) 6" (Lg), 3" (Md), 2¼ (Sm)

The gear is painted with black paint, and sprinkled with a bit of the copper orange embossing powder. 

Here is a closer look at the embossed, stamped and glittered pieces:


Thanks for joining me on the blog today!  Have a little creative mixed media fun....grab some ULD pieces, ink, paint and embossing powder, and have some creative play time!


Thursday, October 2, 2014

Marbling Mixed Media Tutorial Using Unique Laser Design's Cork Feathers!

Today, I will share how I created my Week #39 Title card for my pocket scrapbooking layout using these Unique Laser Design's SUPER AMAZING cork feathers. 
Unique Laser Design's Cork Feathers
Okay, let's get started:
Started with a piece of 4 x 6 patterned 
scrapbooking paper.
Pulled 2 shallow pans from my kitchen.
Purchased this Linit Liquid Starch
at my local grocery store.
Poured just enough liquid starch to cover the bottom of one pan.
Added just enough tap water to cover the bottom of the other pan.
Selected these paint colors from my stash that compliment my pocket scrapbooking 
layout this week. NOTE: FLUID PAINT performs
 better that regular acrylic paint
for this marbling mixed media technique. 
Added drops of paint, one color at a time in the pan with the liquid starch. Golden Fluorescent Pink fluid 
& Americana Electric Pink acrylic paint drops.
DecoArt Diarylide Yellow fluid acrylic paint drops.
DecoArt Cobalt Teal fluid acrylic paint drops.
DecoArt Raw Umber fluid acrylic paint drops.
Used the end of a paint brush to swirl the colors together
to create my desired marbling pattern in the surface.
Placed the patterned paper (pattern face down) 
on top of the marbled paint surface & immediately removed from the starch pan. 
Immediately placed the marbled side down 
into the pan of water to rinse off the
excess starch & removed from the

 pan of water immediately.
Dried completely (a heat gun works great).
Added an additional layer of color with KaiserCraft's Script background stamp
and Ranger's Dandelion Archival Ink.
Added "Week #39" using 'Sketchbook" 
Thickers by American Crafts.
Added dates with the Dear Lizzy roller date stamp.
Outlined "Week #39" with a black
 Signo Uniball pen.
Added a scalloped doodle stamp by 
Roben-Marie Smith (Paperbag Studios).
Added three cork feathers from Unique Laser Designs.
Doodled around the scallops & feathers
 with a white Signo Uniball pen.
Doodled two black border lines with a 
black Signo Uni-Ball pen.
Added bling rhinestones
 to the centers of the scallops 
with a UHU glue stick.
Distressed the edges of the patterned 
paper with black Heidi Swapp Archival Ink.
And, VIOLA' ~ My Week #39 
Pocket Scrapbooking Title Card is COMPLETE!
I hope you enjoyed this marbling mixed media technique. Please check out 
Unique Laser Design's cork feathers or visit the official website at Unique Laser Designs. Thanks for dropping by.

XOXO,
Shelley

Friday, July 25, 2014

Complete a project with just one ULD!

Are you ever working on a project and say I only need one more embellishment to finish this off?  Why not finish it off with just one Unique Laser Designs wood embellishment?

Here are a few tags I made where I only used one ULD.  Remember you can paint, distress, stamp, emboss, cover w/ paper, etc.. so many options for finishing off your wood embellishments. 

Stop by the Unique laser Designs website to see a variety of shapes you might want.

mini dragon-fly painted

mini "Dream" left blank

Love the feathers, covered in rock candy, distress ink,
paints, and glitter!

mini heart colored blue

Painted mini red heart.

Chunky glitter gold over a pink heart.

Mini "Inspire" left blank.


Thank for looking at my tags.. Hopefully next time you need one more embellishment, you reach for your wood
embellishments.