Showing posts with label Distress Stain. Show all posts

Thursday, November 6, 2014

Desktop Display


Hi everyone! This is Martha Lucia with my first project in Unique Laser Designs! I am very excited to share this with you. My project is a "Desktop Display" that I altered with a few things. Let me show you.


I start by selecting two products from ULD Store, which was the most difficult part because I was shocked by all these options. But I needed to start with something, I took the wheelbarrow and the shaped circles in wood. 

Then I used different colors of Tim Holtz distress ink to color the circles and after they dried, which only took a few seconds, I stamped them with  Memento Tuxedo Black with a text stamp.

For the wheelbarrow I used a patina technique with VerDayProducts in Bronze Color. I love this effect over the wheel and handles.  The steps to get this effect  are too easy, I only needed to paint the wheelbarrow with bronze paint and after it dried I sprayed it with VerDay Patina Solution. Note the details:


The base of my desktop was natural wood, so I painted it with a Red Wood Stain from Ikea. I let it dry and then I cut a little small piece of designer paper for the stand.  


To decorate the stand I cut some words  in card stock Rich Razzleberry using my die cutting machine and framelits or cutting templates from Little Yellow Bicycle.


As I was thinking of a display, I decided to decorate some journal cards with gold glimmer paper , staples and bakers twine, so I can interchange the board message every day. 


To keep these cards in place I created to decorate a paper clip with metal on topper, using a piece of Polished Purple Metal Sheet from Add a Little Dazzle and the design of one embossing folder. I pasted the piece of metal with Sticky strip to keep this in place over the black part of my paper clip.


The last part of my project was the assembly. And I decided to top the wheelbarrow with some little paper flowers. I pasted the circles and the wheelbarrow with dimensionals to give more dimension to the project.


Now I want to show you what the original products I chose looked like and invite you to visit the ULD Store because you will go crazy with all the special pieces that you can find to create and embellish your projects. 


Products Used:
  • Shaped Circles
  • Wheelbarrow
  • Desktop Display (Heidi Swap)
  • VerDay Bronze Kit 
  • Polished Purple Metal Sheet (Add a Little Dazzle)
  • Distress Ink (Tim Holtz)
  • Red Wood Stain Behandla (IKEA)
  • Paper Flowers (Crafty City)
  • Cutting Templates (Little Yellow Bicycle)
  • Journal Cards (We R Memories)
  • Designer Series Paper & Card Stock (Stampin Up)
  • Big Shot 
  • Multi Tombo Liquid Glue
  • Dimensionals
  • Paper Clip

I hope I have inspired you to create something for you or a present during this holidays. Come back soon to see more wonderful ideas!

{{HUGS}} Martha Lucia!

Wednesday, October 8, 2014

Personalized just for my door


With all the wreaths I have made, one would think I live in a house with 1000 doors.  The truth is, I only have 2.  But, I like to re-arrange and update and refresh and change my door decorations a LOT!

This berry wreath has been around my house for awhile, so I though it was time it got a makeover.  I used a large (5") letter "S"  for Starsky and small (1") numbers for our address and an oak leaf (from the 5 piece leaf set) all from Unique Laser Designs. Twinkling H20s are my new favorite watercolor and they added a sparkling shimmer to the oak leaf and to the numbers.


For the "S", I used Distress Stains, creating overlapping stripes along the grain of the wood and then I added some random criss-cross swipes with more Twinkling H20s.

I added that oak leaf with a removable adhesive so I can replace it with different shapes depending on the season.  I'm thinking an ornament for Christmas, a heart for Valentines Day, a bunny for Easter, a flower for spring.  Looks like I have some more creating to do!  Thankfully, Unique Laser Designs has a shape for every need and for every holiday!


Sunday, September 7, 2014

Monster Tag Time

Hi everyone!  Time for some silly monster fun here at Unique Laser Designs!!  This tag is simply cute, and is a great embellishment for goodie bags at a Halloween party, or on a Halloween LO, or even make several for a spooky, festive banner:


To make the eyes on this tag I used W-1052S Gears Set B:


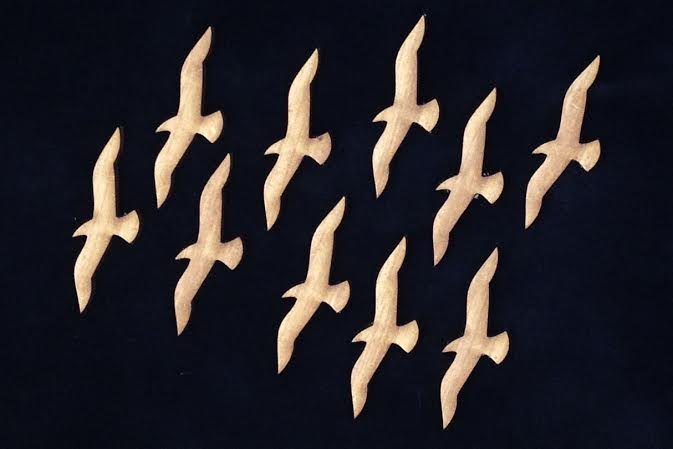
The mouth is made using the W-1081 Gulls:


For the eyes, the gears were painted with black chalkboard paint and I dabbed on brushed pewter distress stain with a paper towel:
 

I also painted smaller gears orange for the eyes.  The mouth was done with black chalkboard paint and lightly brushed with peeled paint distress paint.  Here's a closer view:
 

Thanks for stopping by today.....more inspiration coming soon....


Friday, August 8, 2014

Beach Bliss and Seahorses

Hi there everyone!  Laura here and so excited to share my first project as a newbie on the DT!!  Unique Laser Designs wood pieces have such detail, they are an amazing way to embellish a scrapbook LO:


For this LO I used:

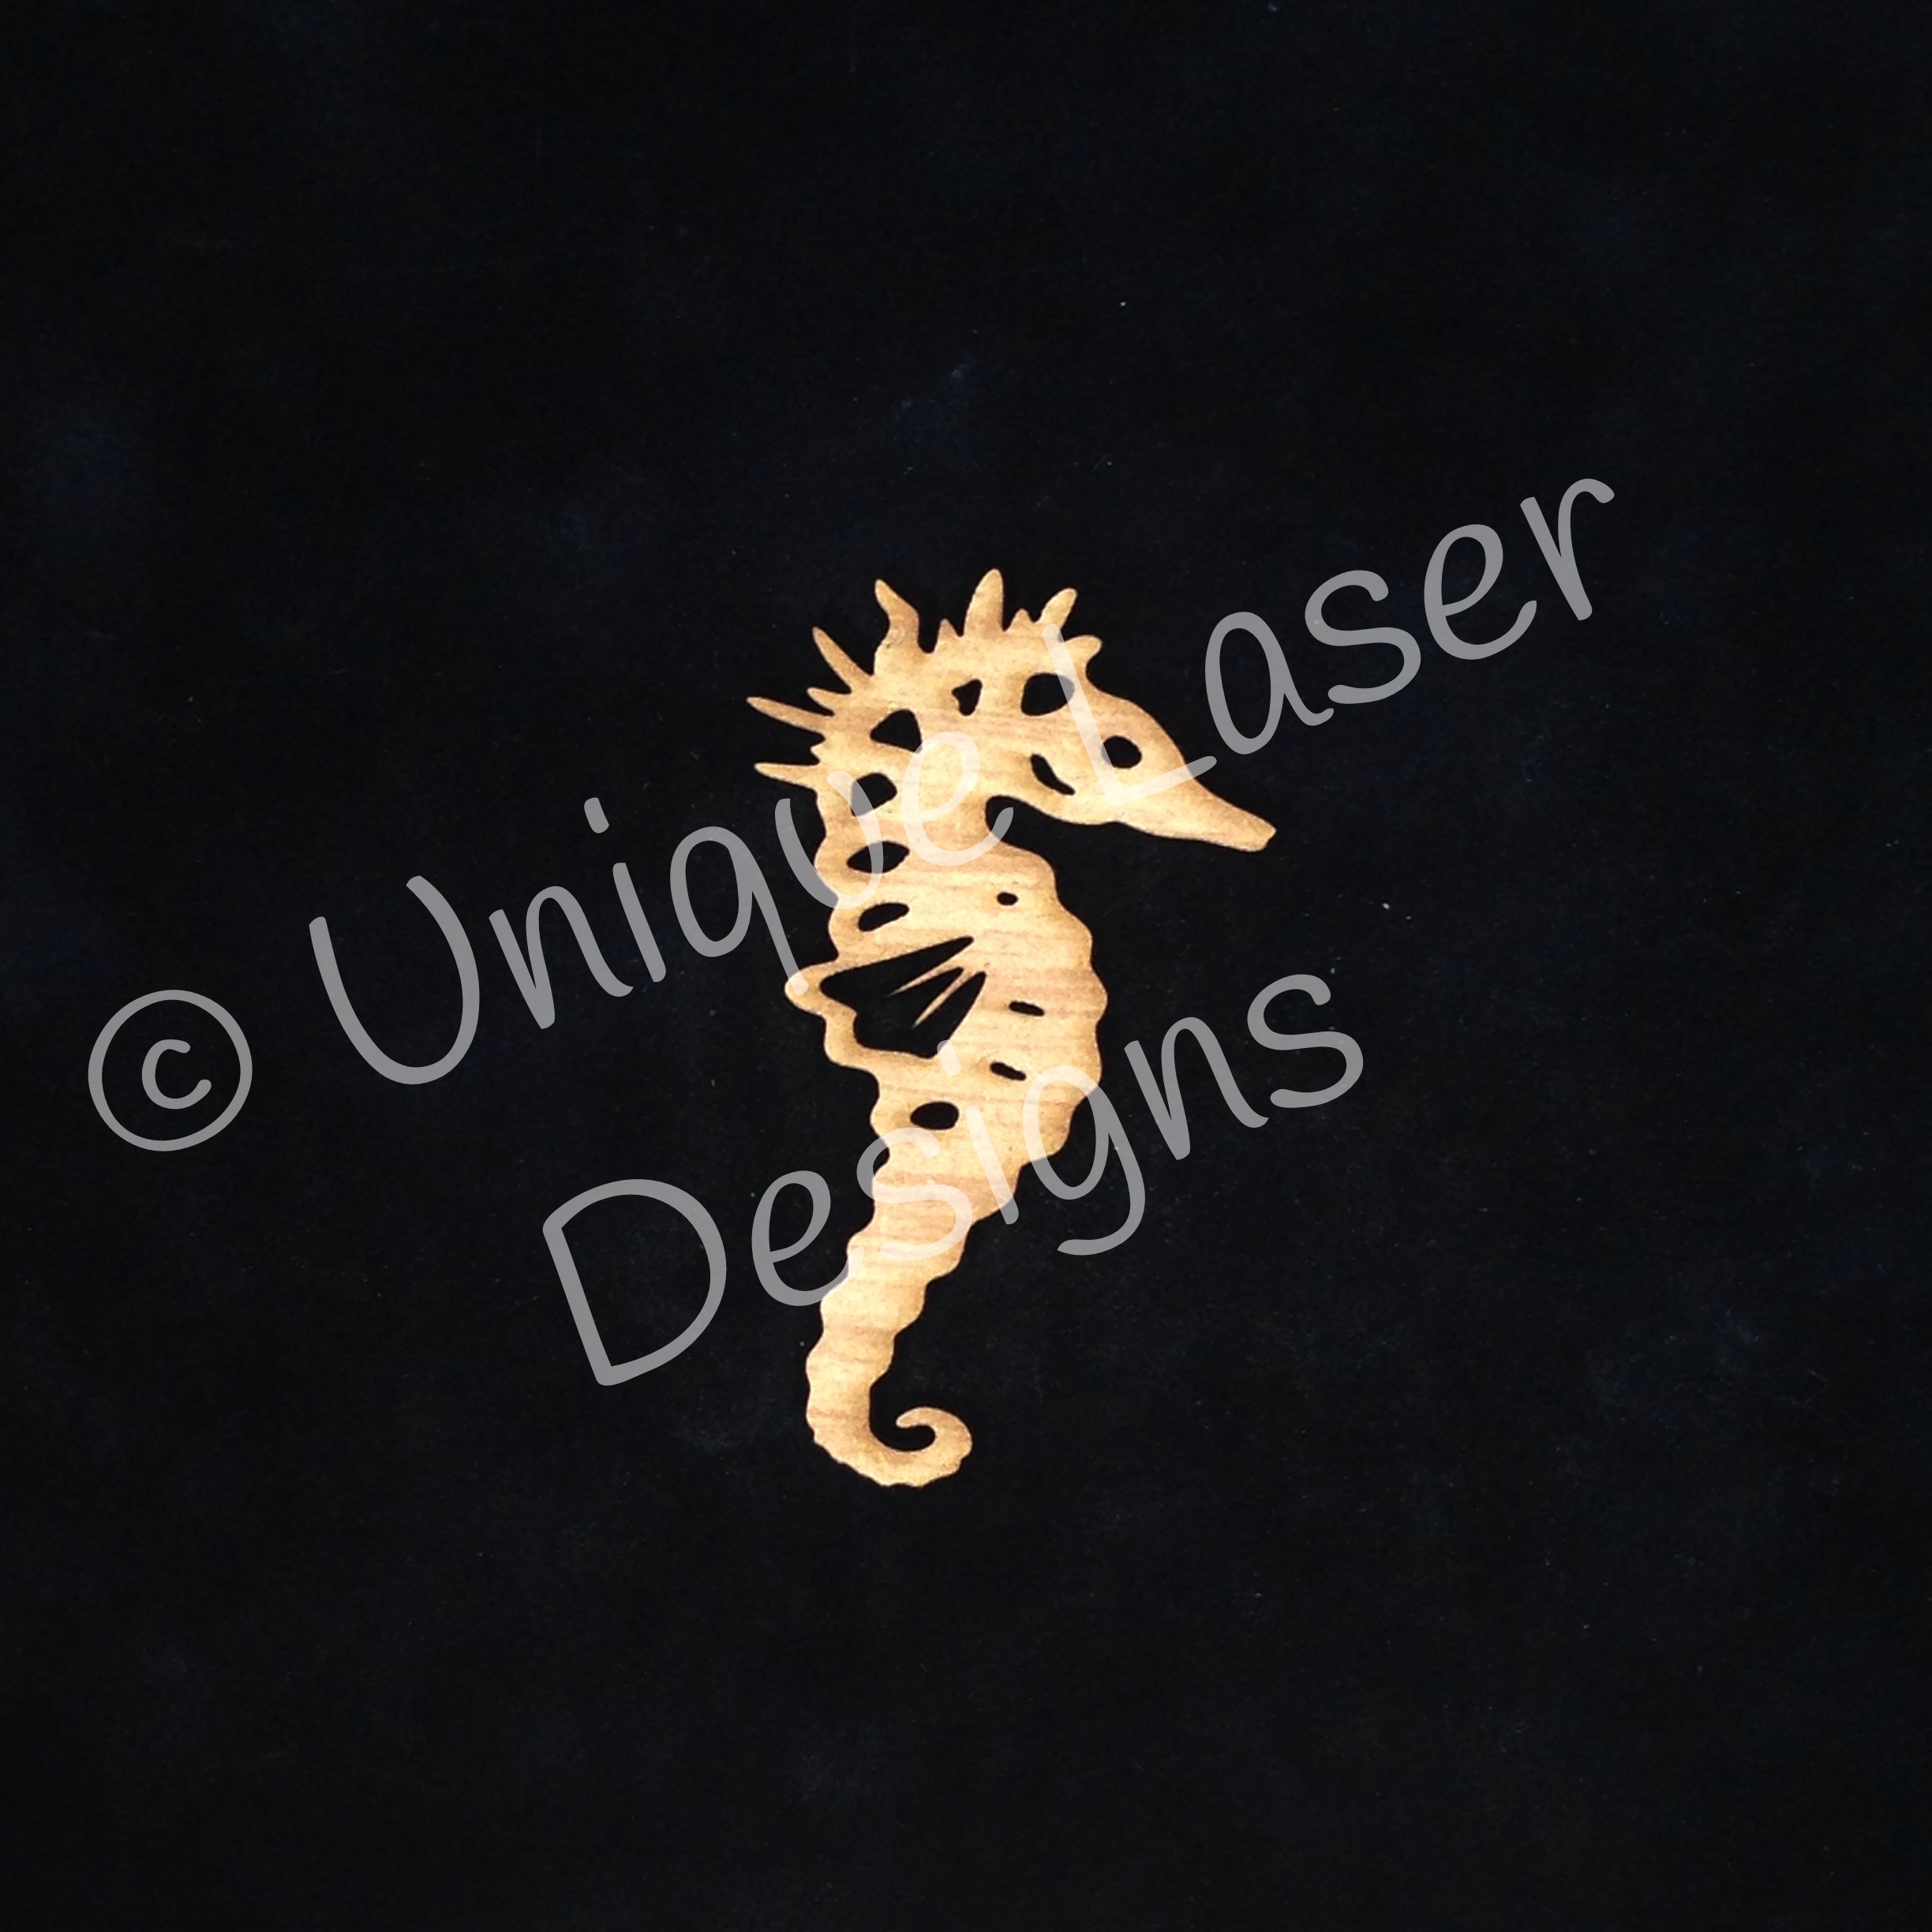
ULD Seahorse:


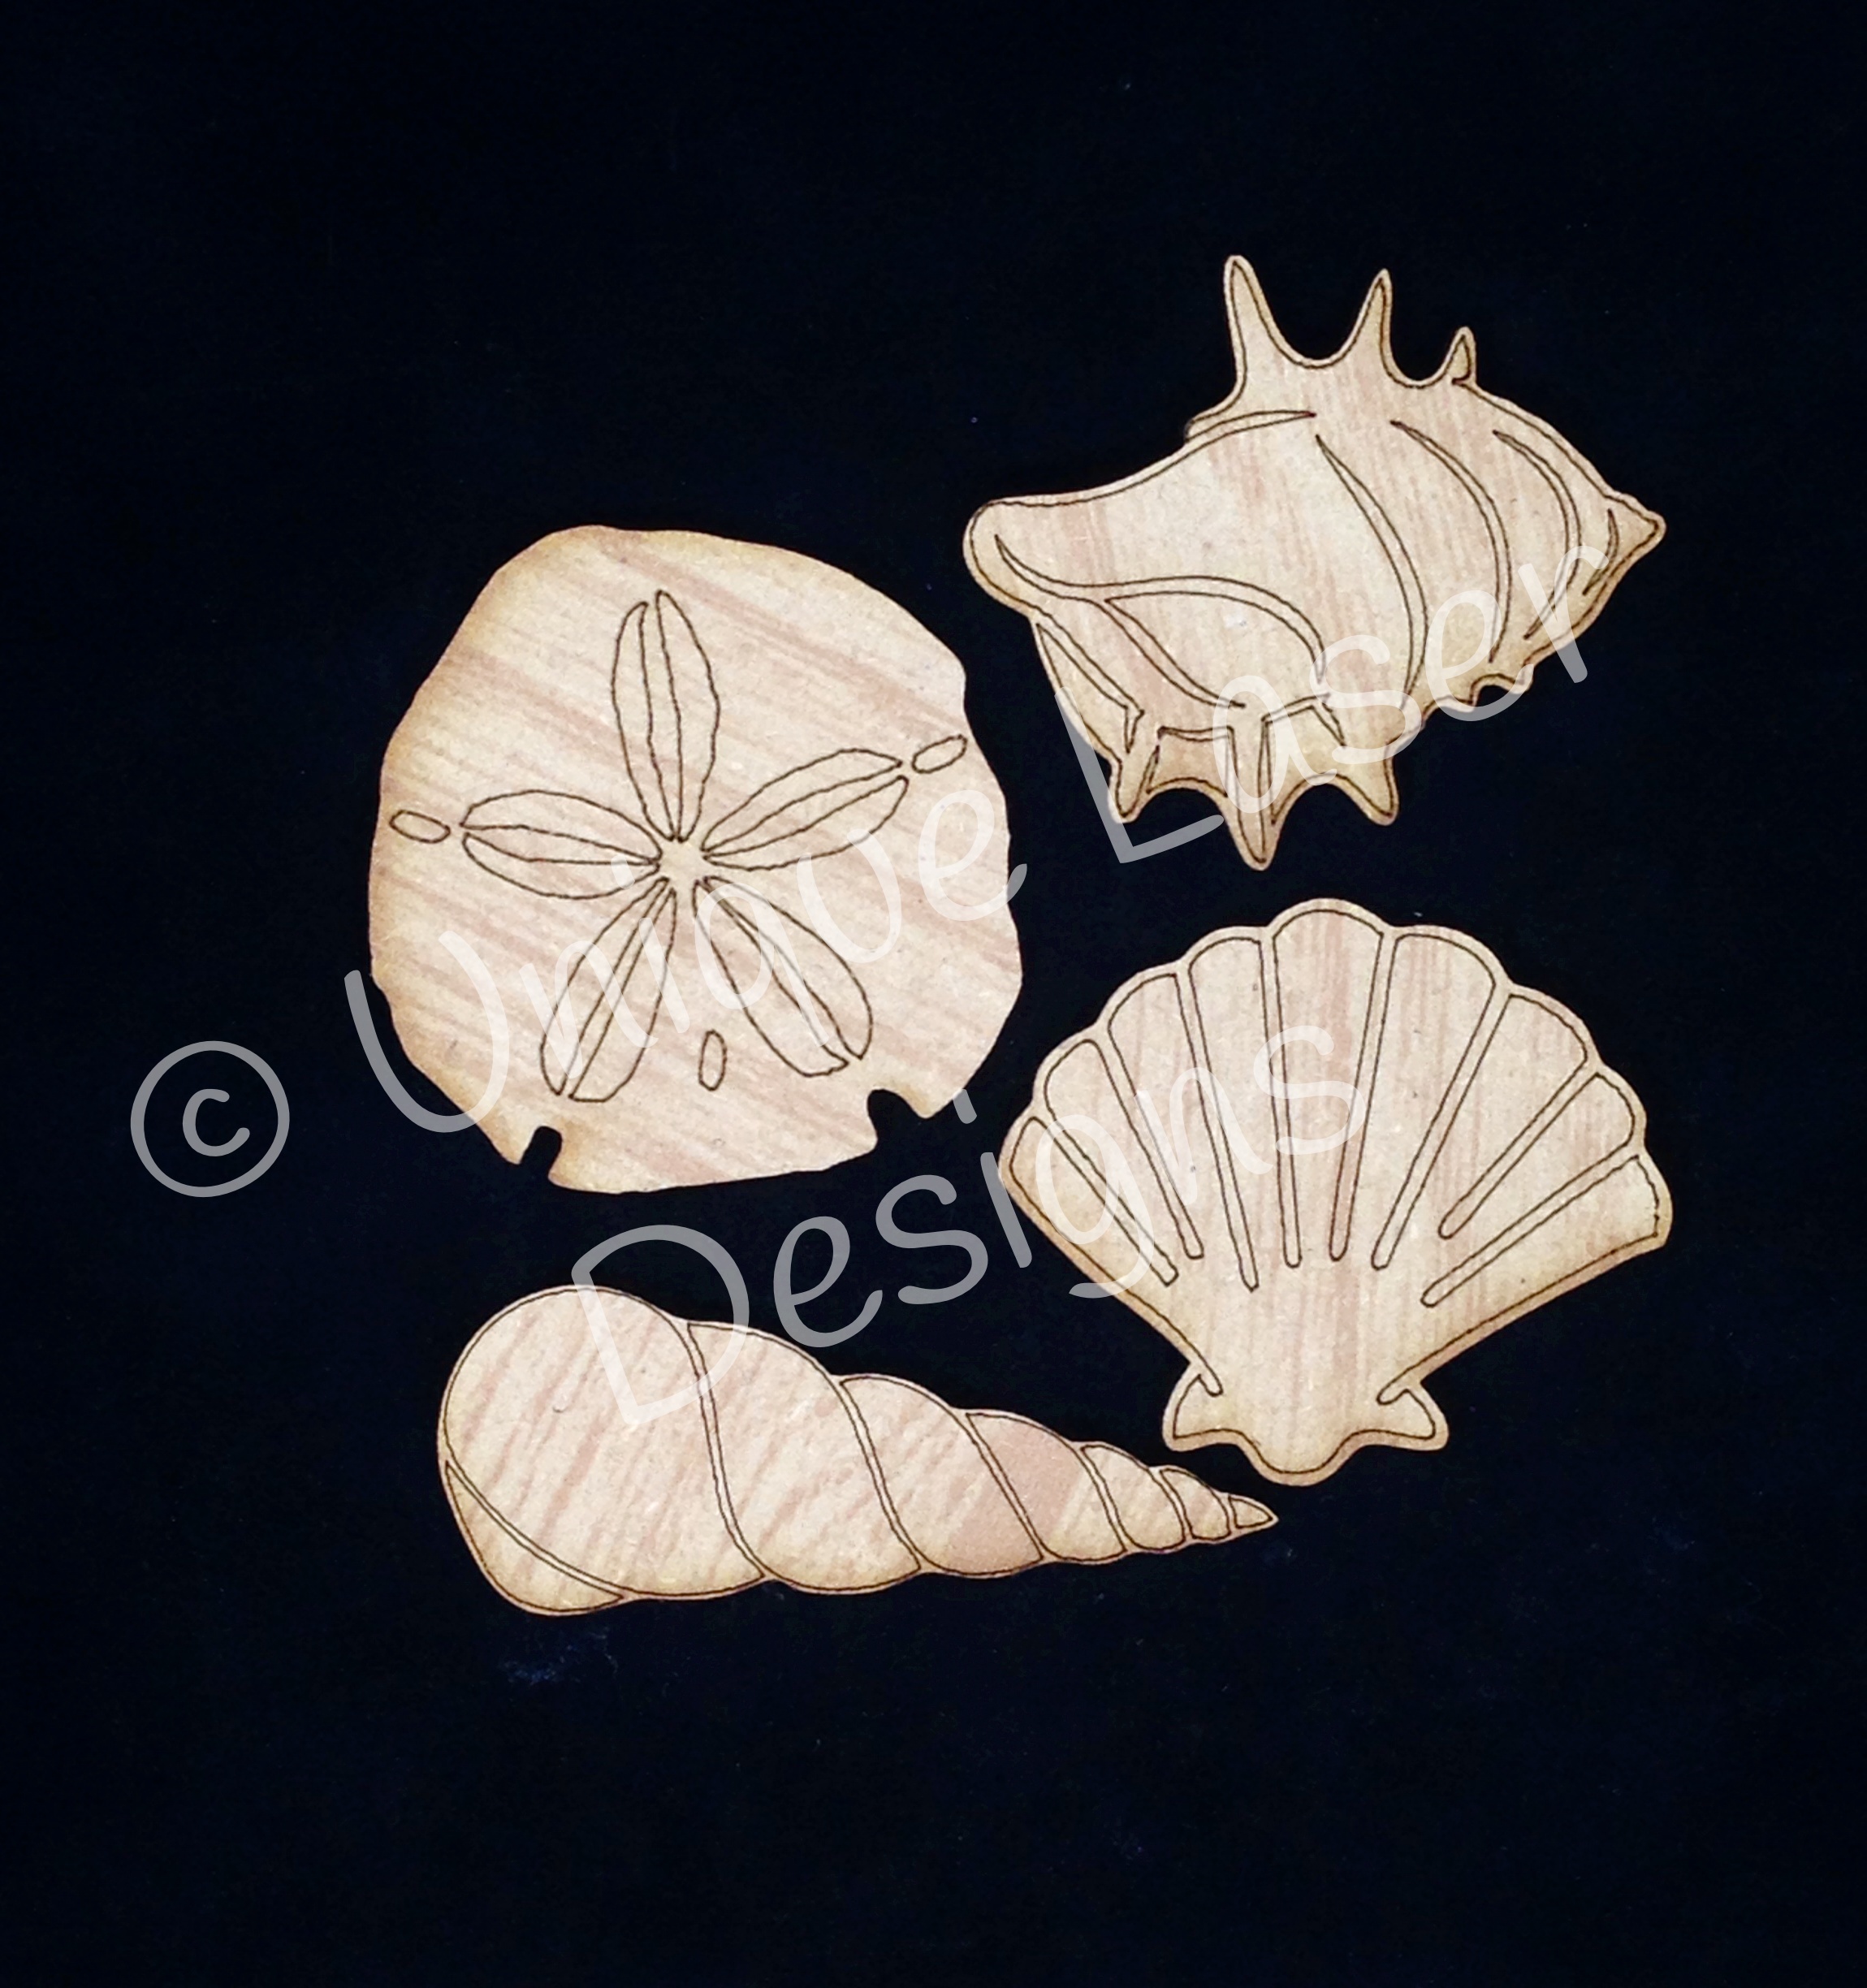
ULD Shells:


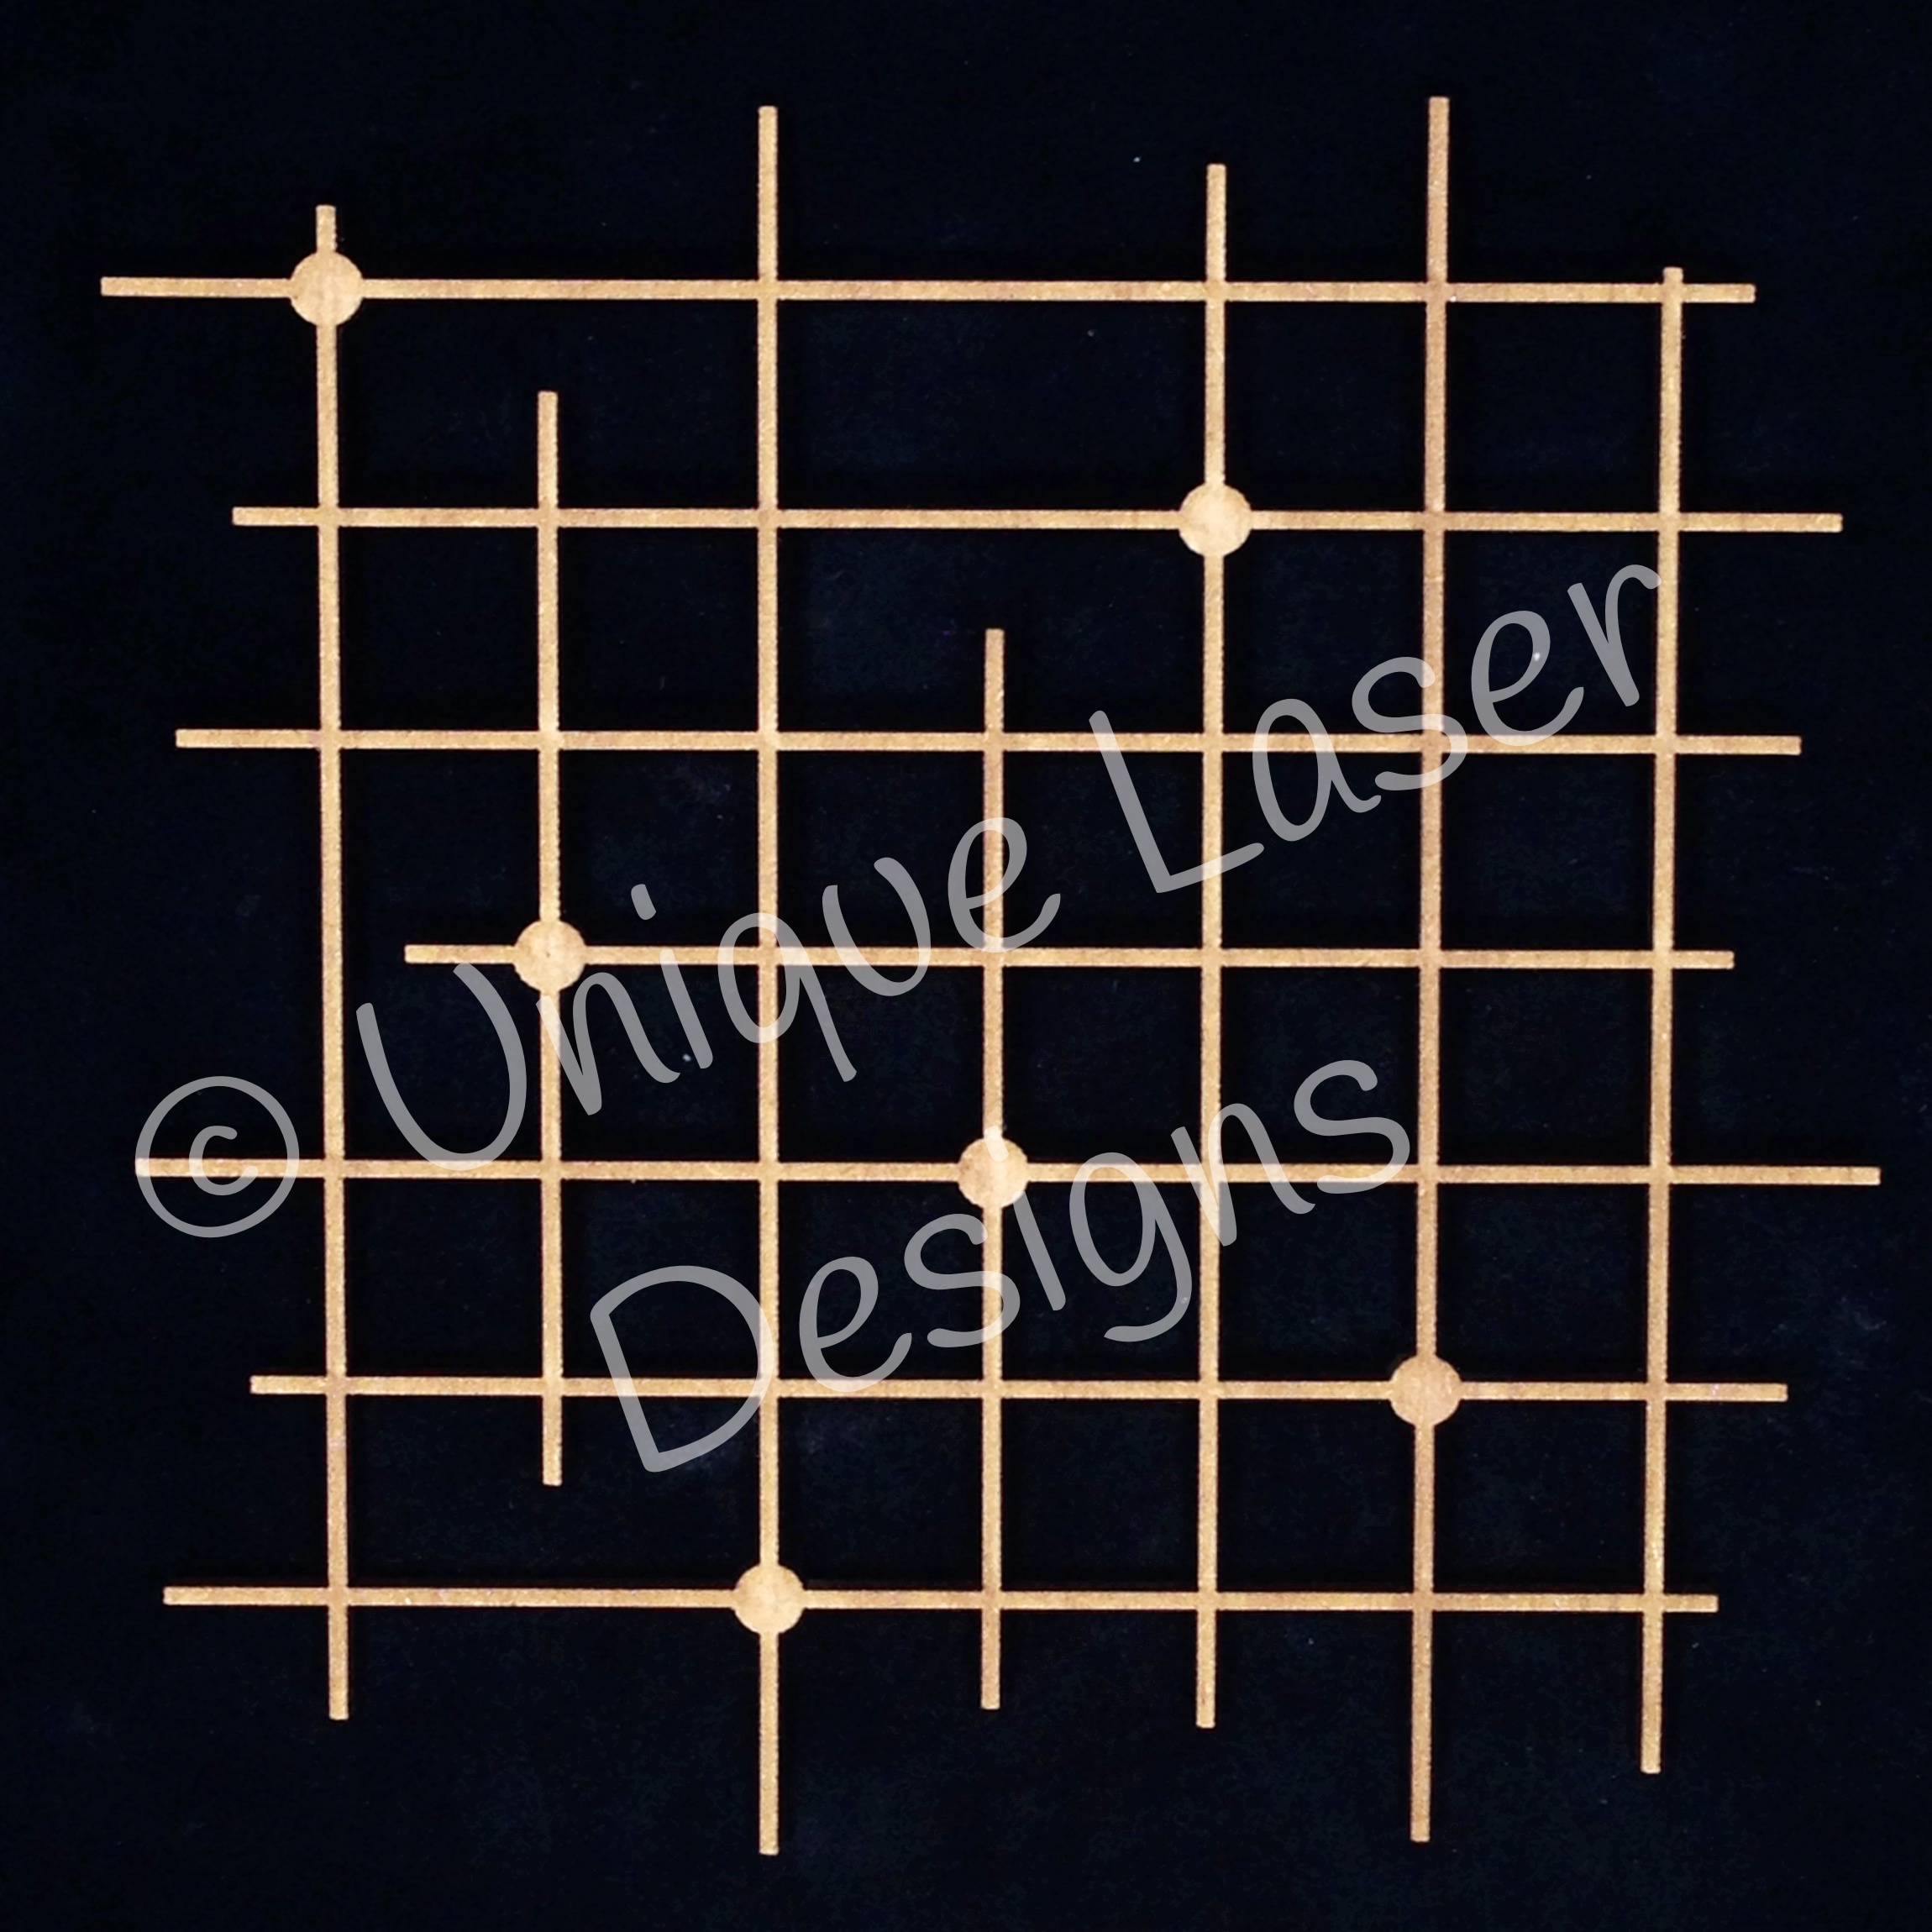
ULD Dot Graph:


To color the seahorses, I started with a layer of aqua paint:


Then layered on Distress Paint and a bit of black acrylic paint (while still wet....yep, I'm impatient....lol):


I finished them off with a spray of Biscotti Perfect Pearls.  The square tiles on the LO were done the same, except I did not spray them with Perfect Pearls, but I did add a layer of Glossy Accents to make them look like tiles.  The squares are the negative space pieces that came from the dot graph piece.

Here is a close up of the finished pieces:


From the above photo you can also see where I used the Dot Graph piece as a stencil for black spray mist.

The seashells were brushed lightly with Picket Fence Distress Stain, then Antique Linen Distress Paint, and then brushed with Vintage Photo Distress Ink....I sprayed them with the Biscotti Perfect Pearls to give them a hint of shimmer:


Wooden embellishments are such a hot trend....and ULD has so many different and detailed designs, it's hard to choose! Can't wait to start the next project to share with you soon!   Thanks for stoppin' by today!


Supplies Used:
Paper:  Prima-Seashore; kraft cardstock
Ink/paint: Adirondack Paint Dauber-Aqua, Black; Distress Paint-Peeled Paint,
Antique Linen; Distress Stain-Picket Fence; Distress Ink-Vintage Photo;
Perfect Pearls-Biscotti; Color Shine Spray-Black; Glossy Accents
Embellishments: Unique Laser Designs-Seahorse, Shells, Dot Graph; Prima-
Seashore clips and ATC cards.

Tuesday, July 22, 2014

A trip back in time

Let me take you on a little field trip back in time.  Isn't it just natural to want to use these wood pieces in a layout about George Washington's home of  Mount Vernon?


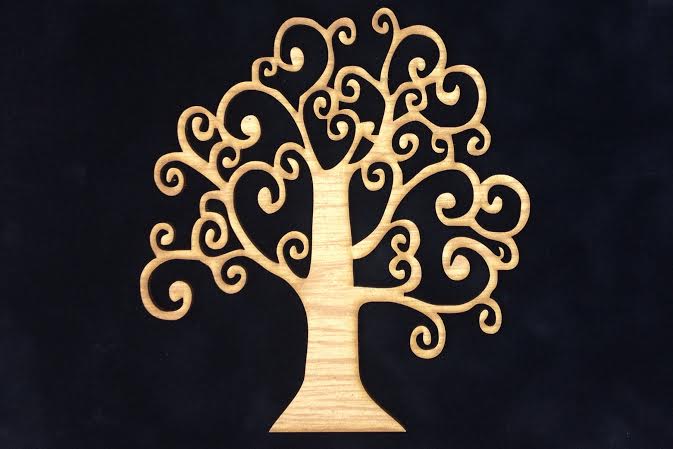
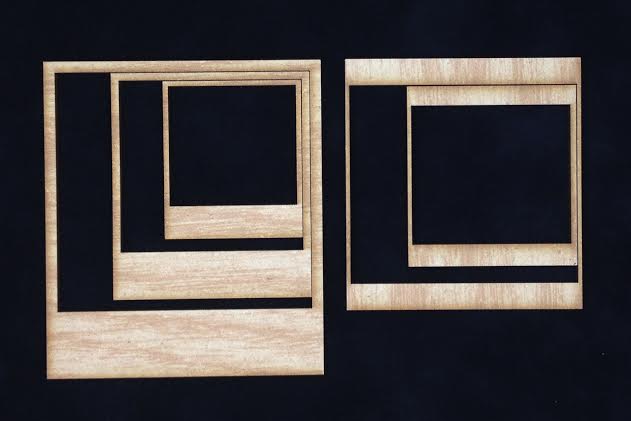
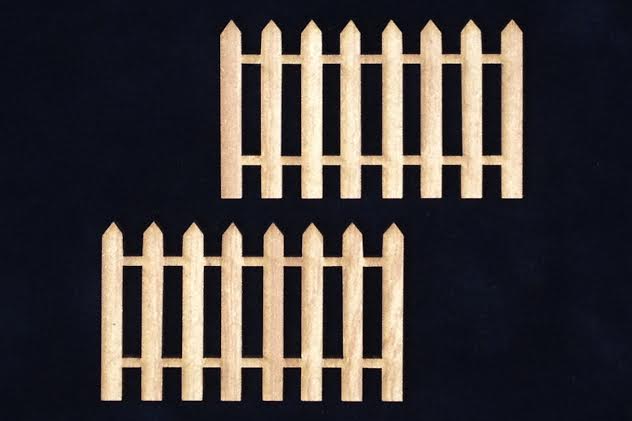
 the curly tree, the large Polaroid frame, and the picket fence 


I used Tim Holtz Distress Stains (walnut for the tree, wild honey for the fence, and picket fence for the Polaroid frame) to color these wood shapes from Unique Laser Designs.  This method of coloring maintains the natural beauty of the wood without covering it up.  I added some red bling to complete my cherry tree, but then I really didn't feel like I needed to add anything else.  This was such a simple time in history, I didn't want to add too much.

This layout design is very loosely based on one I saw in the most recent Close to My Heart catalog.  I added my own style with the wood embellishments and surprise---my version has a lot more photos! My versions ALWAYS have a lot more photos.  

One of my favorite things about using Unique Laser Designs products on scrapbook pages is their thin-ness.  I really don't like bulky scrapbook pages, and even layered on top of each other as in this layout, I'm still easily able to slide the page into a clear protective sleeve.

So, I took my ULD shapes way back in time...where are you going to take yours?


Thursday, July 3, 2014

What's your medium?

Hello Unique Laser Design Fans!

Today I am showing you just 20 different things you can add to your wood embellishments from ULD.  Yes only 20.. I will do another set of 20 in a few weeks.  Who knows there might even be more.

Here are just a few ideas.. I did use one product twice so if you see 21 examples.. keep in mind the Tim Holtz distress crackle paint was used twice, once with broken china and once with fired brick.

I used the stars and circles from ULD as my samples. 

Tulip fabric paint, Stickles, Liquid Pearls, Distress Paint, Distress Marker, Colored Pencil,
Heidi Swapp Archival Dye, Distress crackle paint.  All of these mediums were just one coat.  All of them
covered the wood to match their true color except for the Heidi Swapp ink.  You can see that star looks more green.


Glossy accents, Acrylic Paint, Chalkboard paint, Distress stain,
Distress Embossing powder, Stazon ink.
Every one of these products was true to the color and look
awesome in person.  I love the glossy accents and the stamped
images on the wood. Are you getting any ideas? 

Distress crackle paint (again), Glitter, Glimmer Glaze, Color Shine,
Creative Impressions Paint, Copic Marker, Liquid Applique.
All of them look true to their color except for the copic marker, it looked more pink
but if I did more coats it may of been more purple.  I love the glitter and liquid
applique.. it looks so cool in person. 


After seeing 20 different things you can add to the Unique Laser Designs embellishments I hope you start to look around your craft room for more ideas.  Remember I only did one coat.. you can add more coats and get more color.  But I really liked the results. 

We all have the mediums.. now we need to just order more ULD wood embellishments.  Click to the website to stock up on our new shapes. 

Thanks for taking a look. let me know which mediums you want to see next time.  Leave a comment.


Wednesday, April 2, 2014

Wishing for spring wreath


My wish...SPRING!
Oh spring, spring...where for art thou spring?

I created something springy and crafty last week, but it really didn't seem to have any effect on Mother Nature, so I'm trying again. This time, I'm making a wreath to grace the door and scare away the winter spirits.  And I'm using ADORABLE spring shapes from Unique Laser Designs!

First, I took a straw wreath and wrapped and wrapped it with this pastel variegated yarn.
Next, I took some canvas flower shapes from Linnie Blooms,  I colored them with gelatos (pink and orange), and spritzed with water so I could spread the color with my fingers.  On some of the flowers I added LOTS of color, some just a bit.  Some are more orange, some are more pink. A flowery hodge-podge!
Next, it's painting time!  I painted these ADORABLE Easter shapes and letters from Unique Laser Designs.


I "marble-ized" the solid egg and bunny by blending gelatos over the dried acrylic paint and then splattered the letters with pink paint after covering them with a few thin coats of Distress Stain Picket Fence.


This is my ode to spring.  Mother Nature are you listening this time?


I couldn't stop playing with these adorable shapes, so I'm tucking in a few more ideas if you get a few minutes to play.


Pin It