Showing posts with label leaves. Show all posts

Saturday, November 8, 2014

Heartland


Hello everyone! My name is Michele, and I am so proud to create and share a few projects with you made with the beautiful wooden laser gems from Unique Laser Designs! I am honored to be a guest designer this month, and I hope you will all enjoy the projects I have created especially for you.

I am a "paper artist," and I love creating cards with layers of paper, texture, and color. When I opened my very first ULD package, I was amazed at how beautiful, delicate, and detailed these wooden cuts are. They are PERFECT for adding wonderful new dimensions to your paper creations. They even smell wonderful and woody an organic. Originally, I had planned to paint the Heart Tree a rich black, and the Leaves in cherry reds. But once I had them in my hands, I knew the natural tones of the wood would make this scene pop.


To create this simple, seasonal scene, begin with basic white card stock cut into a 5.5 by 5.5 inch square. Cut a smaller square of black card stock 5.25 inch square. Cut your favorite background pattern paper into the smallest 5 inch square. Adhere your stacked trio together, making sure your edges and corners appear even.

To create the top layer of the little white hills and trees, I used a die cut machine and my favorite thin steel craft dies. You can use your own favorite products, or if you prefer, you can hand cut a small snowy hill, a few tiny little lollipop trees and a few houses freehand. I used a bright shiny pearl white card stock from Bazzill Basics in Diamond for the hill, trees, and homes.


I played around with the windows a little, before selecting a bright yellow glitter card stock from DCWV in Sunshiny. I cut thin strips of the glitter paper and glued them behind the open window cuts of my little homes. I love how it gives the little neighborhood homes a warm glow.


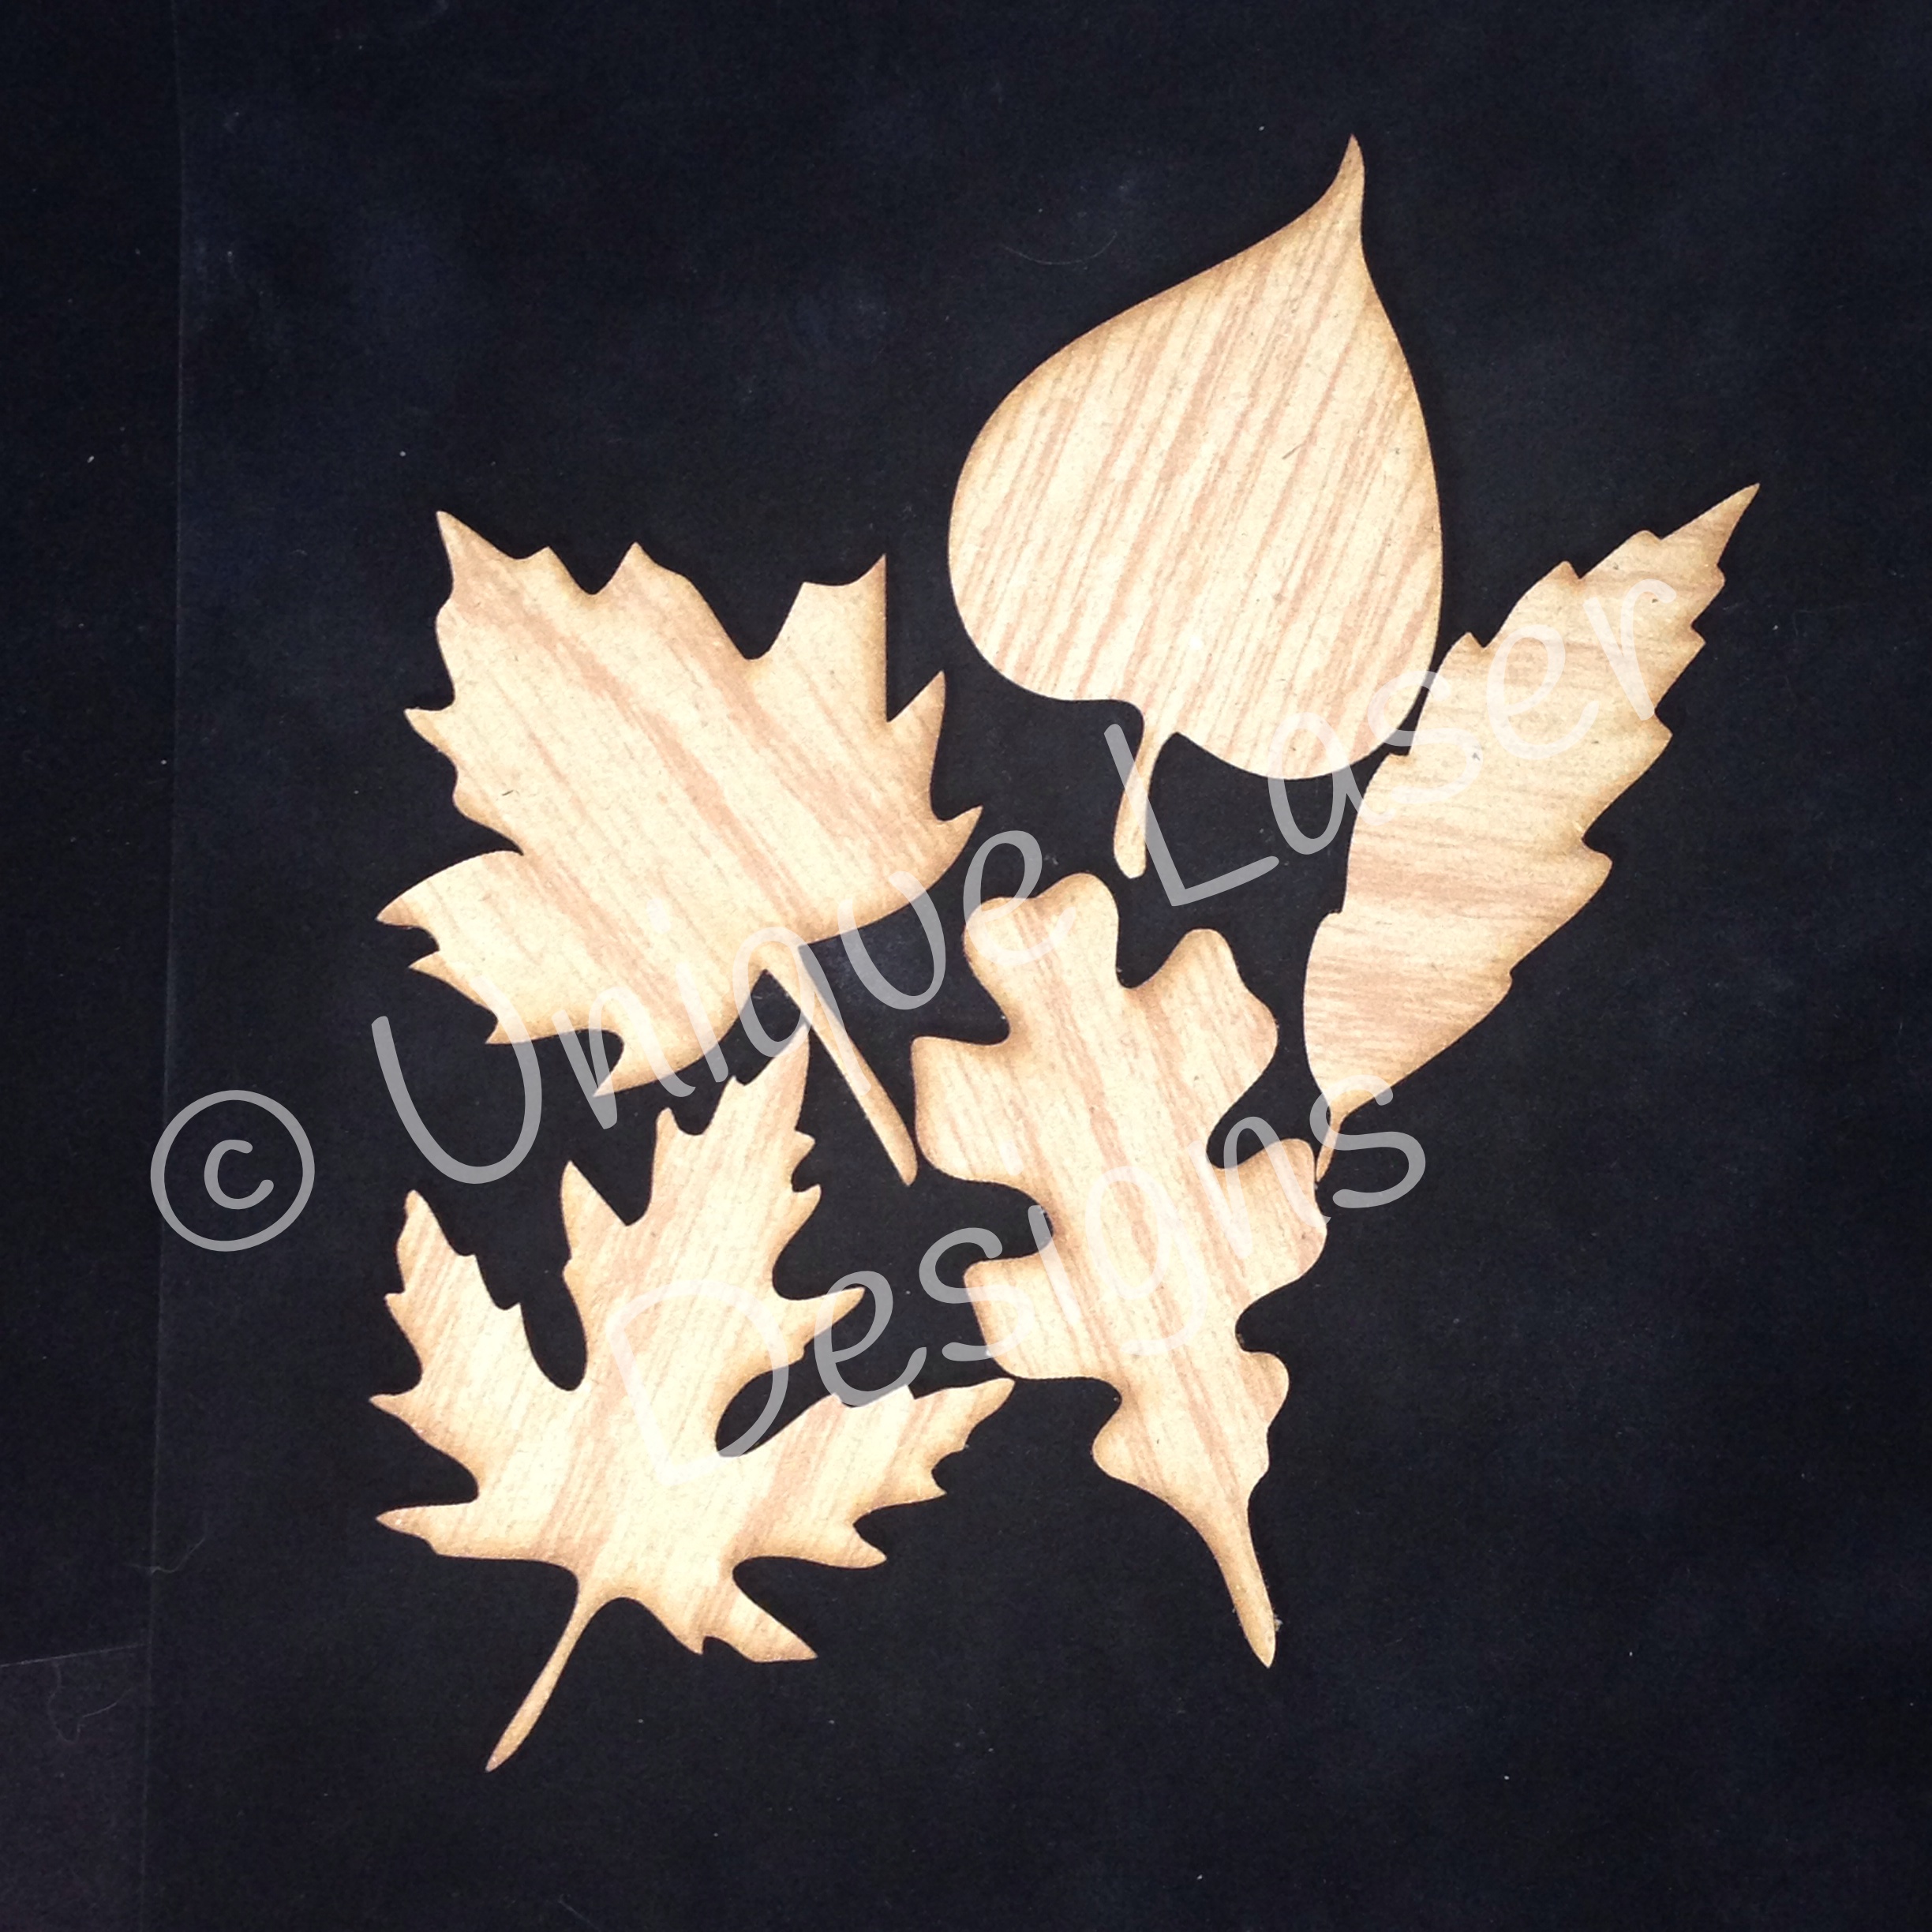
Now for the star of the show, the beautiful Small Heart Tree, right in the heart of this little cozy community, adhered with a basic craft glue. I selected two leaves from the Small Leaves 5 pc set and adhered them in the top corners. They make the perfect combination for this warm, bright scene.


This project was easy and fun, thanks to the easy-to-work-with, smooth Unique Laser Designs cuts. Thanks for joining us on our blog today, and enjoy your little piece of Heartland.

Life your life in color.


Supplies Used:
Black card stock
white card stock
patterned paper
Bazzill Basics in Diamond
Memory Box die, Modern Landscape
Poppystamps die, Brevilla Houses
DCWV Glitter Card stock, Sunshiny
Unique Laser Designs, Heart Tree (small, 2 pc set)
Unique Laser Designs, Leaves (small, 5 pc set)

Saturday, October 25, 2014

Colorful Fall Layout

Hi again everyone! 
I’m back to share my second project as Guest Designer for Unique Laser Designs! For this project I decided to do a layout using their beautiful wood leaves. They smell so good! I really hesitated to do anything to them at all because the wood grain is so lovely but I had a specific project in mind so went ahead with my original plan.


First, I gave them a coat of Gesso.


Then, I spread some Aleene’s Turbo Tacky Glue over a small section at a time, then placed my pre-treated eggshell over it, and gently pressed it down. Do this until it’s completely covered with eggshell pieces and leave just a little space between pieces. I got the Eggshell Tutorial from Gabrielle Pollacco a few years ago. The pretreatment is the most tedious and time consuming, so you really have to want to try this technique to do it! (I will cover that part at the end of the tutorial for those that want to try it.)


Once you get them all done, let them dry completely. Then you’ll have to carefully break off the eggshells that hang over the edges.


Next, I gathered all my Tim Holtz Alcohol Inks that I thought I might want to use for my leaves. I knew I wanted an Autumn theme so these are the colors I came up with, as well as a little gold Metallic Mixatives and Alcohol Blending Solution.


After being satisfied with the colors, let them dry and add a layer of Ranger Glossy Accents. This seals the eggshells in and leaves a beautiful clear coat over the mosaics. Here are the finished leaves.                                              


Now, for my layout. It took me quite awhile to choose my background paper to compliment the photos I wanted to use as well as the leaf mosaics. I distressed the edges and added Tim Holtz Vintage Photo Distress Ink to the edges with the wood tool and felt.


This is the first non-human layout I’ve made and it was a challenge for me using so many pictures. It took me several hours of deciding how to place them because I wanted to be sure and feature the beautiful wood pieces I’d just decorated. I also had trouble deciding whether or not to mat the pictures but in the end decided I didn’t want to cover anymore of the background paper than necessary so I just inked the edges of the pictures with the Tim Holtz Vintage Photo.


I then did a little dragonfly stamping and stamp-embossed a dragonfly at the bottom as well as some pretty leaf vines. I then added the title and a few birds and beautiful butterflies from Reneabouquets.com.

Thank you for stopping by! 
All of the trees pictured here were photographed by me on our property with the exception of the aspen, which is at our neighbor’s that is right next to our driveway.

PRODUCTS USED:
Daler Rowney Gesso (from Walmart)
Tim Holtz Alcohol Inks – Currant, Butterscotch, Citrus, Sunshine Yellow, Rust, Meadow, Ginger, Red Pepper and Gold Metallic Mixatives
Ranger Glossy Accents
Bo Bunny Forever Fall Bouquet (background paper)
Tim Holtz Vintage Photo Distress Ink Pad
Fiskars Butterfly Magic Clear Stamps (lower dragonfly)
Inkadinkado Foliage Trails Clear Stamps
Hot Off The Press Dragonfly Clear Stamps (small dragonflies)
A La Mode Embossing Powder
Reneabouquets.com butterflies


To pretreat eggshells: Save up several and soak them in warm water and a bit of anti-bacterial water for at least an hour or overnight. Pull out the membrane and be sure to get all the little bits or the shell pieces won’t glue to your chipboard. Then let them dry for a few hours on paper towels. Then you are ready to go!

Tuesday, October 21, 2014

Leafy Trio

Hey there everyone!  Have you seen that Unique Laser Designs (ULD) offers many of their designs in cork?  The texture and color of cork is wonderful on it's own, but there are a lot of options for adding to these types of embellishments too!

For today's post I used the ULD leaves:

                                          W-1186L Leaves - Large (5pc Set) Approx. 1½" to 3¼"-cork

Here is a card I made using the cork leaf as is:


This look has a natural beauty and texture to it.

Next up, I made a card using Distress Paint, and embossing powder with a word stamp:
 

Here is a closer look at the leaf with paint brushed on the edges:
  

And then with the embossing:


This last example, I brushed the edges and just a bit over the top, with some Inka Gold:


The texture in the cork picks up just a bit of the gold....just enough to hi-light it......here's a closer look:


So when you browse the ULD store for your favorite wood embellishments, check out the cork option too....so many ways to use these pieces!

Thanks for stopping by the blog today!!  Check back soon for more inspiration!

Wednesday, September 24, 2014

Falling Leaves


There are unlimited ways to be unique with your wood, cork, or chipboard!  I could sit all day, going through my paints, inks, mica flakes, colored lacquers, colored pencils, pastels, and so much more!

Above are leaves I created using different techniques and materials.  So fun playing and deciding what to do to add texture and dimension.  I will keep these leaves handy for art coming up!


Used for this project is mainly the large leaves.  The leaves also come in a small size.


Also used a butterfly from the mini cut outs as an accent.


This leaf background can be painted, inked, or used with alcohol markers.  I distressed the leaf and used Distressed ink to stamp a light background to look subliminal.  Then I used StazOn to add a darker stamped image.  The blending of both looks cool and adds dimension.  The butterfly is also stamped and beads on wire wrapped around.


The second leaf is colored in a dull green, browns, and copper.  I used a fine line embossing pen (Available at your local craft, stamp, or scrapbook store.) to draw leaves and color patchy areas for shadows.  The embossing powder I used is "Antiquities," it is more of a textured type embossing powder and not slick.


After painting the background and shading, I found bits and pieces of rhinestones in an orange-coppery color and added some glitter to the edges.


The last leaf is designed using USArtQuest's Prills.  Prills are delightful little soft bead material with many sizes and colors mixed in each jar.  I used Perfect Paper Adhesive and a little scoop spoon to add the Prills after adding the adhesive.    I might have to try this for a Christmas project with a ULD ornament and use many colors.  It looks really cool in different shades.

Be watching to see what I do with these leaves!!!


Sneak peek at a design I created for next month for another DT.  See how wonderful ULD leaves work for any project.  These are the smaller leaves.


Check your stash and see what textures and materials you can add to your ULD art!


Cre8tivelea Yours - Lea


Monday, September 8, 2014

Kicking it "old school"


Yesterday it was 85 degrees, today it is 72.  Fall is in the air, and that means it's time to go back to school.  I'm going "back to school" with my project today too.   Not only did I use an old school photo of me, but the patterned paper I chose has an "old school" feel to it too. The tweed background, stripes, chalkboard alphabet, the phonics blocks, and the penmanship lined paper---all bring back those grade school memories.   

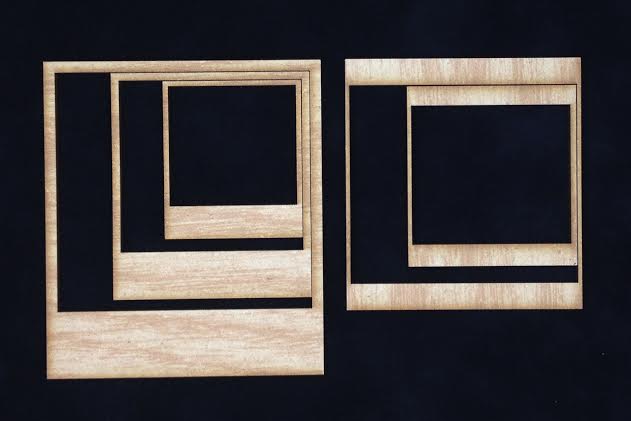
This oak leaf and Polaroid frame (turned into a chalkboard with black paper and a white gel pen) are wood embellishments from Unique Laser Designs.  To color the the leaf, I used Twinkling H2Os from Creative Imaginations.  In this picture, you cannot adequately see the amazing shimmer from this copper paint.  For the frame, I quickly and simply ran some Distress Stain (wild honey) over the wood to give it a hint of golden color.
When you think that your layout needs just a little "something"---it might just be a small wood "something" from Unique Laser Designs. Oh, and have you heard? You can now choose your shapes in chipboard too!