Saturday, July 19, 2014

Birthday Blessings

July must be the month of birthday's for newborns and above.  I've been swamped with new birth and anniversary of birthday gifts to create.  Today, I will share with you a matching birthday card and tag I created .

Let's begin with the birthday tag I created:


This tag was created using Unique Laser Designs wooden scallop fence. I decided to turn the fence upside down for more interest, I also thought this would showcase a different method of embellishing with it. 


I used a variety of distress ink to enhance the wooden fence. While the ink was still wet on the fence, I added sprinkles of distress embossing powder for more texture.  I love adding texture upon texture.

Up next I created a matching card for the recipient using the same wooden fence. For the card I altered it a bit differently by using more blue distress ink.


Being that my card has a healthy amount of black on it, I wanted to incorporate more blue (being these are the birthday girls fav colors).


Just take a look at this dimension! 
 
 Next I created another tag using the fence more so as a fence, by utilizing the colors that would usually been seen on a white picket fence.  Of course I still added a bit of grunge to the entire tag.


To gain a good vibrant coat of color, always start with a good layer of gesso before inking/misting your piece. These wooden embellishment really take hold to distressing very well.


Here you can see I even looped a portion of the floral stem and the gauze through the fence.  The guaze was misted with green and kraft colored glimmer mist. After misting/inking your pieces, you can also use a nail file to ruff up the edges of the fence for a more realistic look.

 
ULD Products Used:
 
www.uniquelaserdesigns.com


Thursday, July 17, 2014

Tag Fridge Magnet Tutorial

Hi Ladies, I'm back again this week to show you a cute this project I made as a gift for my mother, using these two products from the Shop.

W-2007 Stars (15pc Set; Sm & Lg) (5) 1" x 1"; (10) ½" x ½"
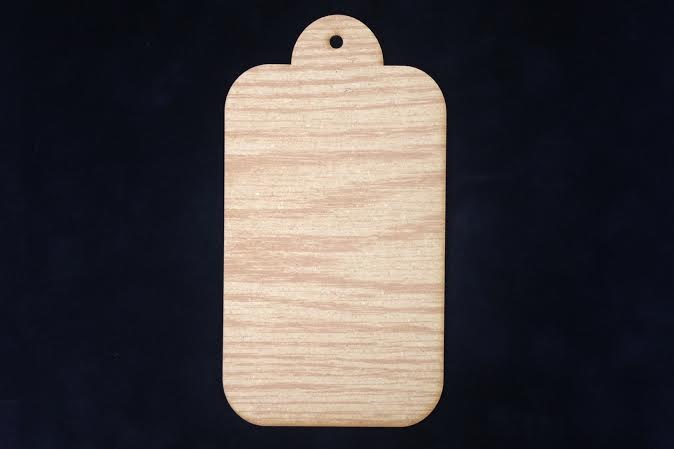
W-1109 Tags (3pc Set) 3½" x 6½"


Firstly you need to prepare your tag, I painted the tag with Orange Marmelade Distress Ink and then applied some gesso on top of it.  The Gesso came out a nice peachy colour.  Let it dry.


Next take take a small of piece of patterned paper and stick it down.  Take you favorite mask or stencil and using some Versamark Watermark Stamp pad go over your stencil.


Now apply some coloured Embossing Powder and heat with a Heat Gun


Apply some smaller strips of patterned paper and adhere you photo, and some extra embellishments.  I have used stars


Once completed take an old fridge magnet and adhere it to the back of the Tag, and voila your Fridge Magnet is completed.  I used a glue gun to stick my magnet down.


And here is my completed Tag Magnet


A very simple inexpensive gift which is extra special.

TFL & Happy Scrapping


Wednesday, July 16, 2014

Unique Mixed Media!

Hi crafters!
Rachelle here today sharing a mixed media project I created
using these beautiful


 Here is the finished project:

"Love"

 I began by using a flat canvas, 5x7 in. I covered the canvas with several distressed layers of cardstock.
I love layers, layers, and more layers!
Next I added shimmer z paints spritz~bed or roses and inked the edges. Then I used texture paste and stencil which applied the writing. Then I added more spritz.

More Views:

I then applied the products which I painted and inked until dry.
As you can see I applied lots of pearls, lace, ribbon, clocks, and flowers.
Next I applied the embellishments. I created the dress for the dress form.


Finally, I added the tag and used a rub-on. The dress form took the longest
to create because I used chiffon and tulle. All done by hand.

There you have. All done!
I so enjoyed using the ULD products to create this canvas.


Try out these and more fantastic 
for your next project. You will be glad you did!

Thanks for stopping by today. Check back here each day a new project created by
 our awesome design team!

See Ya Soon!
Huggies!!!


Tuesday, July 15, 2014

Glow in the Dark Dinos

Hello Everybody!

I have a super fun project to share with y'all today using the dinosaurs from the Unique Lasers Designs store.

I know I do a lot of projects involving things from various thrift stores.  But today I will decorate a picture frame from IKEA!  

Here is the frame as it comes from the store.  It's new and ready to have a picture put in it so it can be hung up on the wall.  But I have other plans!


First I get the Dinosaurs ready.  Here are the 3 dinosaurs that I am using.  They are in various stages.  The top one is in its natural wood state.  The middle one has gesso on it-priming him for painting.  And the bottom dino has been painted blue (with Tim Holtz Distress Paints salty ocean).


Here are the other 2 dinos painted and ready for the next step (using TH mustard seed and spiced marmalade.) 

Here is where the magic comes in--wait for it.  Wait for it---Glow in the Dark Embossing Powder!  So COOL!.  So for each dino I applied Versamark to it and covered it with glow in the dark embossing powder.  I heat set it like normal.  Then I did it all a 2nd time to make sure they were nicely covered.


For the frame I mixed light modeling paste with 2 shades of green Gelatos-Lime Lime and Green Tea.  Then I used a stencil from Dylusions. 


Here's the frame almost finished.  The dinosaurs will go in the areas without squares.  (I do finish that corner.) ;)


Here is the frame in the daylight.  


And here is the frame in the dark!


The shapes come out great!  So fun and easy to do when you have Unique Laser Design pieces to work with.  The details are perfect!  :)

Thanks for stopping by!  Make sure you like us on Facebook.  Check out our Pinterest page too!  There is a LOT of inspiration there.  :)


Monday, July 14, 2014

A splash of color


Time to make a "splash" with these paint splats from Unique Laser Designs.  I think they are perfect for embellishing my layout about our trip to the National Gallery of Art in Washington DC.


I simply used gelatos (from Faber-Castell) to color on them.  
The color goes on so smoothly.


I think they would also be great for layouts about 
swim lessons,
or puddle jumping, 
or painting my room a new color, 
or art class,
or a day at the beach, 
or dad's giant cannonball splash into the pool, 
or muddy footprints from a rainy day.

SO versatile--I think I may need to order some more splats!

So, what would you use some splats for?


Sunday, July 13, 2014

Mixed Media~Canvas Project!


Hi there crafters!
Rachelle here sharing my canvas project created using
These are the products used for this project: 


  Wood Laser Products:
*Polaroid Frames
*Open Window
*Hearts lg/sm
*Border Swirls

Here is the project:

"A Simple Perfect Day"

I began by sizing and cutting out canvas to fit the embroidery hoop. Next I applied texture paste using a stencil. Allowed to dry and apply ink and prima text stamps. Allow to dry.


Next I painted the wood cut outs and allowed to dry. While these pieces are drying, I selected and applied the cardstock and greenery. I used a thin layer of paint on the window so the lines could be seen. Once dry I applied my granddaughter's pic to the back of the window and tullie to appear as drapes.


 I continued to apply the embellishments:


 Hearts, swirls, flowers resin birds and ribbon.


There you have it!
The finish project!


I hope you have been inspired and ready to created your next project using these fantastic products from

That's it for now crafters!
See Ya Soon!