Saturday, August 23, 2014

Friday Fun !!!!

Hi everyone, it's Heidi here to share another layout using the some of the new gorgeous triangles and filmstrip's in store.  

You just have to love these little triangles, there are four different triangles, one has circles inside, one is plain, one has stripes and then you get a small solid one as well.


I am really loving mixed media at the moment, so have created this layout and to embellish it I have used the triangles which I have inked in black for contrast and then embossed with Lime Green American Crafts Embossing Powder.


Because the background is full of colours and textures, I needed the dimension from the triangles, to stand out.  Take a look at the close ups


I find using a hot glue the easiest to stick them down with.


The 2nd item which I have added to my layout are these gorgeous little filmstrips... OMG they are just fabulous.


I cut one in half and then cut different lengths, inked them with Black Brilliance Ink and added them onto the layout, 


So stop on by the shop and pop these into your shopping cart next time you are shopping, they are just gorgeous and you will not be disappointed,

TFL and Happy Scrapping


Friday, August 22, 2014

Recipe for Love Keepsake

One of the things I absolutely love about Unique Laser Design pieces is the ability to let the raw wood shine through.  I love to ink, paint, stamp, glitter, etc., but sometimes the raw beauty of the laser cut design is almost too pretty just as it is!

This was created to be a recipe shadow box keepsake to remember times spent cooking with my  grandmother:

For this project I used these pieces:

W-1100L Cutlery Set (Lg;3pc Set) 4"


\

W-1153 Shapes-Hearts


The wood pieces give this project great texture and dimension, and to pop things a little more, I used foam tape on the back of the Cutlery Set, leaving a gap to allow for the twine:


To get even spacing, start with the middle piece of cutlery, then add the others:


And a couple of close ups to show off the rich gorgeous wood pieces:


The hearts which are attached with glossy accents:


And this is the final project framed:


Love that Unique Laser Designs pieces are so beautiful, they can stand on their own too!

Thanks for stopping today....come back soon for more inspiration!

Thursday, August 21, 2014

Gelli Printed Artist Trading Cards

Artist trading cards are always fun to make.  I find that working in a small size is challenging.  The hardest part for me is covering up my background.  Backgrounds can stand on their own.  When you select the right elements, that's when the magic happens.
Here is my finished project, four ATCs lined up.


The first thing you're going to notice is that the heads don't match.  I only had three kids heads. I chose the illustrated head to go on the fourth card.  Don't worry, I have added "the heads of children" to my next shopping list.

What I want you to know about this set of ATCs is that they are made on wood from Unique Laser Designs.  And they were so easy to make!

First, gesso your wood.  Gesso is your friend.  It primes your surface and makes your paint appear more vivid.   Then apply your base color to the ATC.  I used a bright green.


While the gesso was drying, I used my die cut machine to cut several pieces out of old greeting cards.  Thick glossy cards make excellent reusable templates for several projects.  Just don't tell that relative that sends these cards how you use their store bought mementos.  (If you don't make your own cards, support your local crafty person!)  And if either of these options are not available in your home, file folders are the next best thing.
  

I decided to used my Gelli plate to make the background of this ATC set.  I then used my die cutter to make a template to use on the Gelli plate.
For the next layer of paint, I had chose orange.  I applied it to my Gelli Plate and set down my ATCs.  When I pulled the ATCs up, I saw orange.  Too much orange.  I spritzed the ATCs with water and then wiped the centers clean of the orange, just leaving a bit of orange around the edges.

I opted for pink instead.  After seeing how the paint transferred to the ATC, I also decided to use the "ghost image" on the ATC.  I put the pink paint on the Gelli Plate, put on the die cuts, then peeled them back off.  Then I placed the wooden ATCs onto the Gelli Plate.  The result was a finer, less blobby transfer print.  

This is how the ATCs looked after the Gelli treatment:

I was thrilled with the result and wanted to keep them the way they were.  I convinced myself to go on with my project.  Using black ink, I grunged them up a wee bit and inked the edges of the cards.  

After searching through my stash, I found colorful rub-ons.  I applied these to the four cards.  

I finished the ATCs off with the collage heads, flowers and the ULD word blocks.  

These are the Unique Laser Design products that I used in this project:
Wood ATC set
Brick Wall Stencil

The word blocks are actually the bricks from the Brick Wall Stencil.  

If you would like to see close-ups of this proect, please click here.  Thanks so much for stopping by and having a look!


Wednesday, August 20, 2014

Hummingbird in Wax


Hi, Lea here!  Today's project will show you how to take "encaustics" - hot wax to create on wood cut outs.


Here is the ULD  cut out I used.  It is a complete design with the hummingbird, flowers, leaves, and ring around it.  I will be making a hanging project with wire.

There are a variety of techniques and tools that are used when working with wax.  Most fine artists use a boar brush (natural as synthetic brushes will melt in the heat), and a large iron without holes.  They also use a griddle and a pot of wax.  The easiest way to use wax is with with clear beeswax, a wax medium, and the brush - collaging pictures.

The way we will work is with a hot wax tool (not all made for wax but work well), and a small tip for painting and blending.


Walnut Hollow has "Hot Marks," tool with many tips and some impressing stamps.  Clover makes a small trowel iron and a sew/craft iron kit with different tips.  I used Suze Weinberg's Hot Wax tool.


Look at the photo at the top of this post first.  You can see I have a craft sheet, cubes of wax, my hot wax tool with fine tip, and my wood cut out.  I prefer the Hot Wax type wax or wax made for wax art.  They are pure beeswax and less binders added.  One may use crayons or other cheaper type waxes, but they have so many binders (resin and other additives) that they don't blend well or have the creaminess I like to use.  Suze's wax cubes are not as expensive as art wax bought from like Dick Blick, etc...

The picture above shows the tool going into the wax, saturating the tip.  When you pick up the tool, the wax is on the tip to be used on the cut out.

You can use clear beeswax to make the wax transparent, and you can shade by overlap and blending with colors.  You can even impress in hot wax!


Use the wax tool and going in the direction of the grain, paint the color onto the cut out.  I am left-handed so I always start on the right side and work towards the left.  Right handers would start at the left and go right.  The wax dries fast but I always follow this method so I do not accidentally put the side of my hand in media I just put down.


Three colors were used to color the cut out leaves.  I also decided the circle band around the scene was a vine, so I also made it green.  The base coat is the green color, yellow for highlights, and forest green for shadows.  Brown can also be used for shadows, blended a bit to mix with the green.

To find out where the shadows and highlights are, think of the sun or light striking the object from either the left side or right side.  Rounded areas that stick up would be highlighted because the sun would hit those areas.  Bends or an area underneath another area would be shadowed.

Doing this will take your art from a 2D coloring book look to 3D!!


For the open flower, I used the pink for the base color.


Although I do not use white often, I used white for the highlight on the flower.


Magenta is used as the shadow.  some colors are laid down and some are blended into the color that is below it.  More white, pink, or magenta can be added as needed.  The wax is very forgiving.  If you don't like what you have done, use a stamper's heat tool, heat the area, and wipe off the wax with a cloth or paper towel.  A paper towel is used between colors to clean the tool.


The buds are done mostly magenta as closed buds usually look darker.


The bird is finished with orange, gold, and red/magenta.  In person, the wings sparkle slightly.  Gold wax is basically a beeswax with like a mica pigment in it.  You can see the tiny mica pieces as you apply the wax.


When cleaning your mat, just heat the wax with a stamper's heat tool and wipe off the melted wax with a paper towel.


To add an embellishing touch, I used a dark blue color of wax and the cut out "Dream."  This was glued to the piece.

The cut out is turned into a hanging using copper wire (19 gauge or less) and beads.  I added a suction cup so it can be hung on a window or on your mirror in your bathroom!

Try new media's!  Play!  Create different types of art!

Cre8tivelea Yours - Lea


Tuesday, August 19, 2014

A birthday, a birthday, and back to school


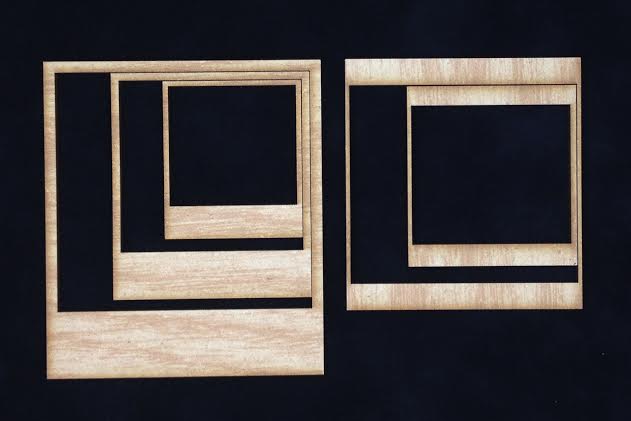
August---full of birthdays and then onto eeeek--"school".  The mere mention of it sends shivers down my spine.  But, I will acknowledge its upcoming presence by the end of  this post.  First, I just wanted to share a few quick cards with you that I made using the Polaroid frames from Unique Laser Designs.  Yes, you can use them to frame a photo, but look how cute they are on a card!

On this ice cream card, I colored the frame with a creamy metallic silver gelato.  The little hexagon is colored with a sparkly gel pen. Did you guess that the scoop of the ice cream is really a cloud? I'm so sneaky!  I colored that with a Copic marker and then swirled Stickles (rock candy)on to make it sparkle.


Hexagons are the theme for this next card.  I dry embossed a hexagon pattern on the card and then added a  Unique Laser Design Polaroid frame---this time I used a paint marker to color it black. The small wood hexagons with the sentiments-- I rubbed on different ink pads, just like I did the cute bee (see below)---easy easy easy and quick! 


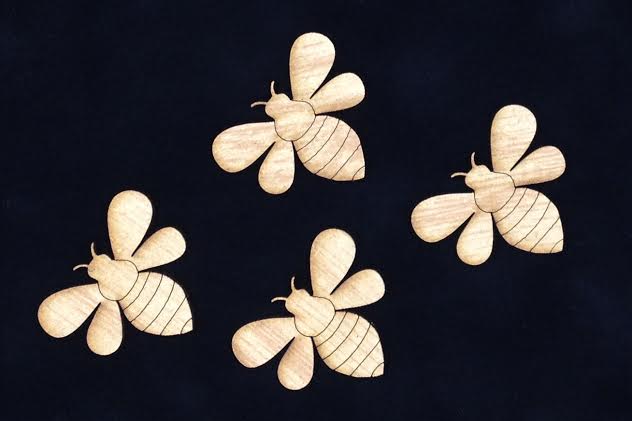
I used a Sharpie to color the black stripes on the bee and then covered it (really thick) with a layer of Stickles (rock candy again). It looks like a suncatcher--so crackly and sparkly at the same time.


Now, onto school.  My daughter is going to be in 5th grade and is SO excited to find out who her homeroom teacher will be.  To celebrate that first day of school, I used a Unique Laser Designs ATC card and made a chalkboard by painting on a few layers of chalkboard paint before adding some die-cut letters and leaving some room to write with chalk.  A few strings of twine hot-glued onto the back and it's ready to hang around a soda bottle.  Now, it's re-usable and her teacher can pass a message on and  be "soda-lighted" for someone else (for a birthday, a great test score, a travelling award around the classroom).


Hope you are "soda-lighted" with these projects that you are feeling inspired to celebrate a birthday, a birthday and school!